
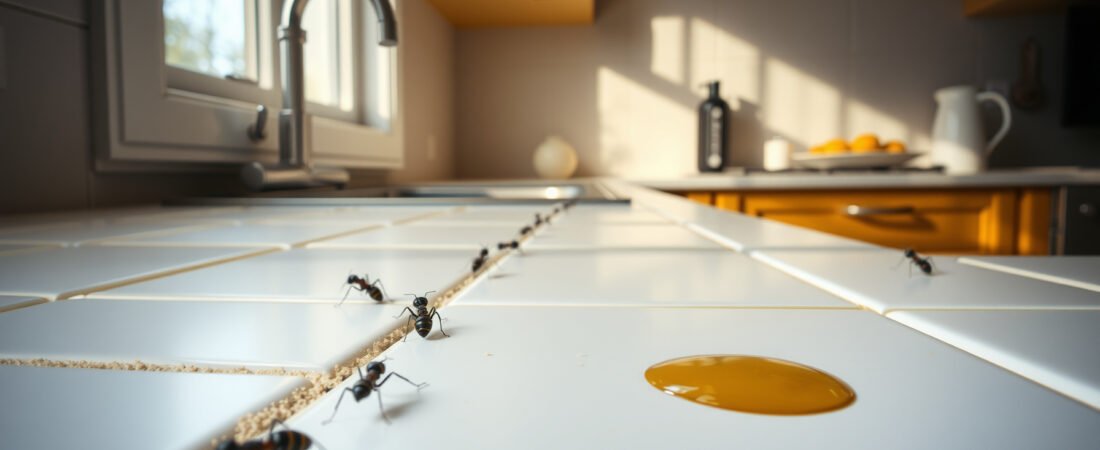
Spraying the ant trail you see on the counter is exactly why you still have ants three weeks later. That’s the core problem — and it’s the mistake that keeps most kitchen ant infestations going in circles. The ants you can see are scouts, maybe 10% of the colony. Kill them and the colony simply sends more. Permanent elimination means going after the queen, not her expendable workforce.
Why Killing the Ants You See Never Actually Works
Ant colonies are built around one ruthless biological fact: the queen can produce anywhere from 800 to 1,500 eggs per day depending on the species. A single Argentine ant queen can found an entirely new satellite colony within days if the original nest is disturbed. Spray the foragers on your countertop and you’ve accomplished almost nothing — the colony interprets that as a local hazard and reroutes around it.
This is also why most ant infestations get worse right after a raid with surface spray. The chemical disruption causes a behavior called “budding” in certain species, where a stressed colony splits and spawns multiple new nesting sites. Picture this: you spray a trail of little black ants along your backsplash on a Tuesday morning, feel good about it, and by Thursday you’ve got two trails instead of one — each coming from a different direction. That’s budding in action, and it happens frequently with pavement ants and odorous house ants, two of the most common kitchen invaders in the US.
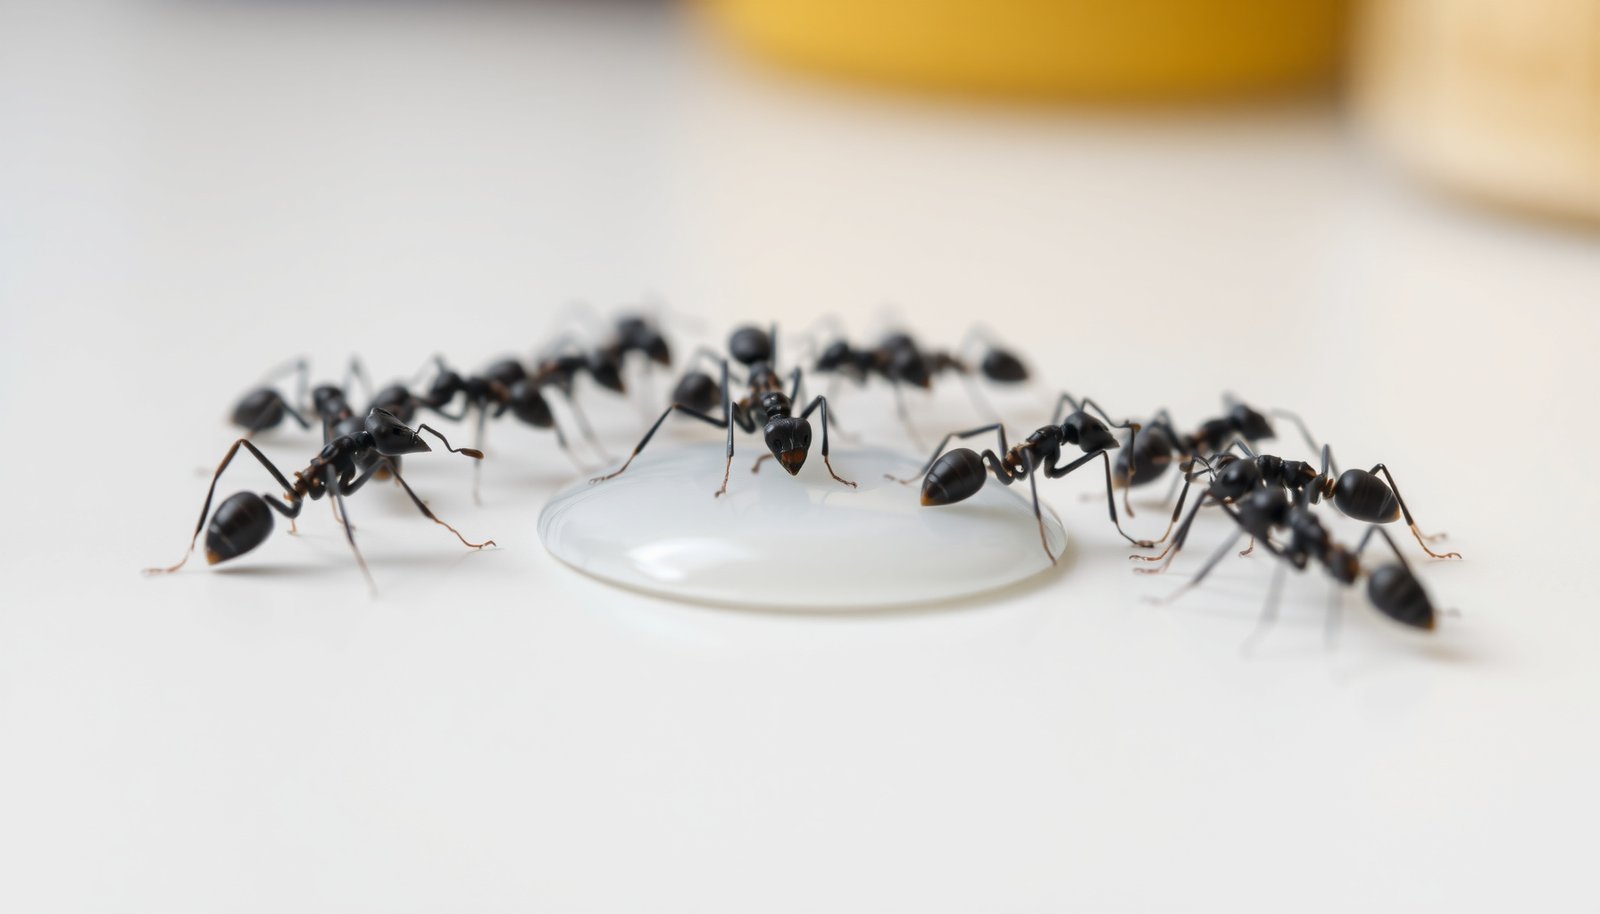
This close-up shows a typical ant foraging trail along a kitchen cabinet gap — the exact route worker ants use to carry food signals back to the colony, which is why targeting the trail itself without addressing the nest or entry point never delivers lasting results.
What’s Actually Attracting Ants to Your Kitchen (It’s Not Always Food)
Here’s something most guides skip entirely: ants aren’t always in your kitchen because of crumbs. Moisture is often a bigger draw than food, especially for odorous house ants and carpenter ants. A slow drip under the sink, condensation around a poorly sealed dishwasher, or even a damp sponge left on the counter can pull scouts into a kitchen that’s otherwise spotlessly clean. Kitchens happen to concentrate both food and water in one room — that’s a jackpot for any foraging insect.
There’s also the pheromone trail problem that doesn’t get nearly enough attention. When a scout finds something worth reporting — food, water, a warm void behind a cabinet — it lays a chemical trail on the way back to the nest. That trail persists long after you’ve wiped down the counter. A standard kitchen cleaner doesn’t neutralize foraging pheromones. You need something with a mild acid component — undiluted white vinegar works well — to chemically disrupt the trail so other workers stop following it. This doesn’t kill ants, but it cuts the communication line.
“Most people focus entirely on what ants are eating, but the moisture gradient in a kitchen is equally important. I’ve inspected homes where the ant entry point traced back to a slow leak inside a cabinet wall that the homeowner didn’t even know existed. Fix the moisture problem and the infestation often resolves itself without any chemical intervention.”
Dr. Ellen Marsh, Board-Certified Entomologist and University Extension Specialist, Cooperative Extension Program
How to Use Ant Bait Correctly So the Queen Actually Dies
Slow-acting bait is the only reliable method for permanent kitchen ant elimination — but only if you use it correctly, and most people don’t. The active ingredient in effective ant baits, typically borax or a similar slow-kill compound, needs to be carried back to the nest before it works. That means worker ants need to stay alive long enough to deliver the bait to the queen and brood. Fast-kill sprays defeat this entirely, which is why you should never spray near your bait stations.
Placement matters just as much as product choice. Put bait directly on the active trail, not randomly around the kitchen. A station that’s even 12 inches off the foraging path gets ignored. Refresh bait every 5 to 7 days in active infestations — if workers are consuming it quickly, that’s actually a good sign. Full colony elimination typically takes 2 to 6 weeks depending on colony size and species. Impatience is the most common reason baiting fails.
Pro-Tip: If ants are ignoring your bait, switch between a sugar-based bait and a protein/grease-based bait. Ant colonies shift their nutritional needs seasonally and even by time of day — a bait that’s rejected in the morning may be readily taken in the evening when the colony’s preference cycles toward fats.
Here’s how to run a complete bait program step by step:
- Identify the active trail first. Watch for 10 to 15 minutes in the early morning or late evening — those are peak foraging hours for most kitchen ant species. Follow the trail as far back toward the wall or cabinet gap as you can.
- Place bait directly on or within 1 inch of the trail. Use a pea-sized amount of gel bait or position a station squarely across the foraging path. Don’t scatter multiple stations randomly across the kitchen.
- Stop all competing food sources for 48 hours. Secure food in airtight containers, wipe down surfaces with vinegar, and remove pet food bowls overnight. If there’s better food nearby, ants will ignore the bait.
- Do not disturb the foraging ants. This is hard to do psychologically, but resist killing the ants you see on the bait. They’re doing exactly what you need them to do.
- Replace bait every 5 to 7 days. Gel bait dries out and becomes less attractive quickly, especially in warm kitchens. Fresh bait maintains the chemical lure that draws workers in.
- Assess at the 3-week mark. A significant drop in trail activity by week 3 means the bait is reaching the colony. If there’s no reduction, switch bait formulations and re-evaluate entry points.
Sealing Entry Points: The Step That Makes Everything Else Permanent
Bait eliminates the current colony. Sealing entry points prevents the next one. These are two separate jobs and you genuinely need both — skipping exclusion is why so many people deal with recurring ant problems every spring even after a successful baiting round. Ants can enter through a gap as small as 1/16 of an inch, which means a hairline crack in your wall-to-floor caulk is a viable ant highway.
The most overlooked entry zones in a kitchen aren’t the obvious ones. Homeowners usually check the window frames and door sweeps, which is reasonable, but ants more commonly enter through utility penetrations — the gaps around plumbing pipes under the sink, conduit holes where electrical wires pass through walls, and the void space behind dishwasher kick plates. A tube of paintable silicone caulk handles most of these in under an hour. Steel wool stuffed into larger gaps before caulking adds a physical barrier that deters re-entry even if the caulk eventually shrinks.
| Entry Zone | Recommended Fix | Difficulty |
|---|---|---|
| Wall-to-floor caulk gaps in kitchen | Silicone caulk (paintable) | Easy |
| Plumbing pipe penetrations under sink | Steel wool + expanding foam or silicone | Easy |
| Dishwasher kick plate void | Remove kick plate, seal gap behind it, reinstall | Moderate |
| Window weep holes and frame gaps | Copper mesh inserts or silicone bead | Easy |
One honest nuance worth acknowledging: if you’re in an apartment or attached townhome, sealing your own unit only goes so far. Ant colonies nesting in shared wall voids or under a communal foundation can repressure into any unit through gaps you haven’t found yet. In multi-unit buildings, permanent control often requires coordinated treatment — something tenant and landlord responsibilities for pest issues between units can get complicated around, since the same principle applies whether you’re dealing with ants or other shared-wall pests.
Which Ant Species Is in Your Kitchen — and Why It Changes Your Approach
Not all kitchen ant infestations respond to the same treatment, and misidentifying the species is one of the most common reasons DIY attempts fail. There are four species that account for the vast majority of US kitchen infestations, and each has a behavioral quirk that affects your strategy. Odorous house ants, for instance, are notorious bait-avoiders — they have relatively small colonies of 10,000 to 100,000 workers, but they relocate nests instantly when threatened, making aggressive spray treatments actively counterproductive. Pavement ants, on the other hand, respond very well to slow-kill gel baits and are generally the easiest kitchen ant to eliminate permanently.
Carpenter ants deserve a separate mention because they signal a structural problem, not just a food problem. Finding carpenter ants in your kitchen — particularly large black ants, often over half an inch long — means there’s likely a moisture-damaged wood source somewhere in or adjacent to your kitchen, possibly inside a wall cavity. Baiting alone won’t resolve a carpenter ant problem if the nesting site in damaged wood isn’t addressed. And because misidentification between ant species and termites causes real confusion (the existing guide on correctly identifying pest signs applies the same diagnostic logic), taking a clear photo of your ant before buying any product is time very well spent.
Here’s a quick species reference for the most common kitchen invaders:
- Odorous house ants — Small, dark brown, smell like rotten coconut when crushed. Multiple queens per colony. High risk of budding if sprayed. Best treated with patience and gel bait only.
- Pavement ants — Small, dark, often seen trailing along floor edges and under appliances. Single queen colonies. Respond well to both gel bait and granular bait placed near entry points.
- Argentine ants — Extremely small, light brown, form massive supercolonies that can contain millions of workers across multiple nesting sites. Very difficult to eliminate permanently without treating the outdoor nest perimeter.
- Carpenter ants — Large, black or bicolored, often solitary foragers (not tight trails). Presence indicates moisture damage nearby. Requires structural inspection, not just bait.
- Little black ants — Tiny and uniformly black, common in southern and midwestern states. Forage in well-defined trails. Respond well to sugar-based gel baits and are generally manageable with a consistent 3-week baiting program.
The counterintuitive thing about kitchen ant control that almost nobody talks about: the species that are easiest to see — large, slow-moving carpenter ants — are often a sign of a harder-to-solve underlying problem, while the ones that seem minor, like tiny Argentine ants, can represent the most entrenched infestations on the continent. A trail of small brown ants across your counter deserves more urgency than most homeowners give it.
Getting ants out of your kitchen permanently is genuinely achievable for most homeowners — but the path there runs through the colony, not through the foragers. Identify your species, deploy slow-kill bait with real patience, then seal the entry points once the colony is gone. Do those three things in sequence and you’re not just solving this infestation — you’re making your kitchen structurally less hospitable to the next one that tries to move in.
Frequently Asked Questions
What is the fastest way to get rid of ants in the kitchen permanently?
The fastest permanent fix is finding and destroying the colony, not just killing the ants you see. Use a slow-acting bait like Terro (borax-based) near ant trails — worker ants carry it back to the nest and kill the queen within 1-2 weeks. Killing just the surface ants won’t stop the problem because a single colony can have hundreds of thousands of workers.
Why do I keep getting ants in my kitchen even after cleaning?
Ants can detect food residue at concentrations humans can’t even smell, so a ‘clean’ kitchen may still have enough scent trails to attract them. They’re also after water, not just food — a leaky pipe or wet sponge is enough to bring them in. Check under the sink and behind appliances, since moisture is one of the biggest overlooked attractants.
What do professionals use to get rid of ants in the kitchen?
Pest control pros typically use a combination of gel baits placed along baseboards and inside cabinets, plus a residual perimeter spray applied outside the home’s foundation. Indoor sprays alone are rarely the main tool professionals rely on because they scatter colonies rather than eliminate them. If you’re dealing with a severe infestation, a professional treatment usually runs between $150 and $300 for a one-time visit.
Is it safe to use ant bait in the kitchen around food and pets?
Most ant baits like Terro contain borax at about 5.4% concentration, which is low enough to be considered safe around humans and pets when used as directed. Keep bait stations away from pet food bowls and areas where toddlers crawl or play, just to be cautious. Never spray pesticides directly on countertops or food prep surfaces — stick to baits in enclosed stations for kitchen use.
How long does it take to completely get rid of an ant infestation in the kitchen?
With bait stations, you’ll usually see a noticeable drop in ant activity within 3-7 days, but full colony elimination takes anywhere from 1-4 weeks depending on colony size and ant species. Don’t make the mistake of removing bait stations too early — keep them out until you’ve seen zero ant activity for at least a full week. If you’re still seeing ants after 4 weeks of consistent baiting, it’s worth calling a pest control professional to check for multiple colonies or hidden entry points.
Disclaimer: This article is for informational purposes only and isn’t a substitute for professional pest control advice. Always read and follow the product label instructions exactly — label directions are legally binding and vary by brand and active ingredient. Keep all pesticides, baits and traps away from children and pets, ventilate treated areas as directed, and consider calling a licensed pest control professional if an infestation is large, recurring, or involves a structural pest like termites or carpenter ants.