
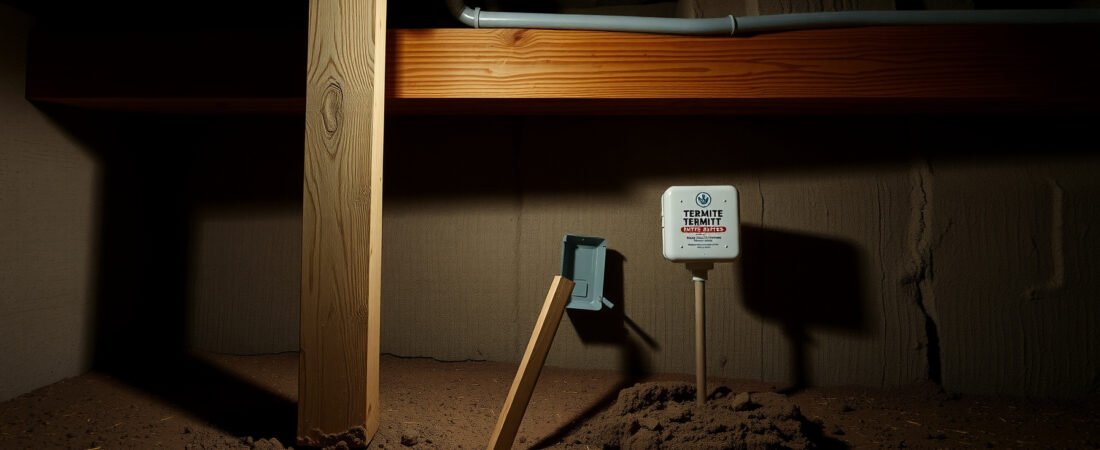
Termite damage isn’t slow — it’s invisible. A subterranean termite colony containing over 1 million workers can consume a full foot of 2×4 lumber in about five months, all while you have absolutely no idea it’s happening. Here’s what most homeowners get wrong: the decision between DIY and professional termite treatment isn’t really about cost or confidence — it’s about which species you’re dealing with and where the colony actually lives. Treating the wrong species with the wrong method is how people spend $200 on borate spray and still replace their floor joists two years later.
Why Termite Species Determines Everything About Your Treatment Choice
There are roughly 45 termite species found across the United States, but for most homeowners the battle comes down to two: subterranean termites and drywood termites. Subterranean termites live underground and travel up through mud tubes — their colony can extend 150 feet from your home’s foundation. Drywood termites, by contrast, live entirely inside the wood they’re eating, which means their entire colony could be sitting inside a single door frame or a piece of furniture.
This distinction completely changes what treatment can actually work. Liquid termiticide soil barriers are highly effective against subterranean species because you’re essentially creating a chemical perimeter the workers must cross to reach food. Applied to drywood termites — which never touch the soil — that same barrier does nothing. The most common DIY failure isn’t buying the wrong product in general; it’s buying the right product for the wrong species.
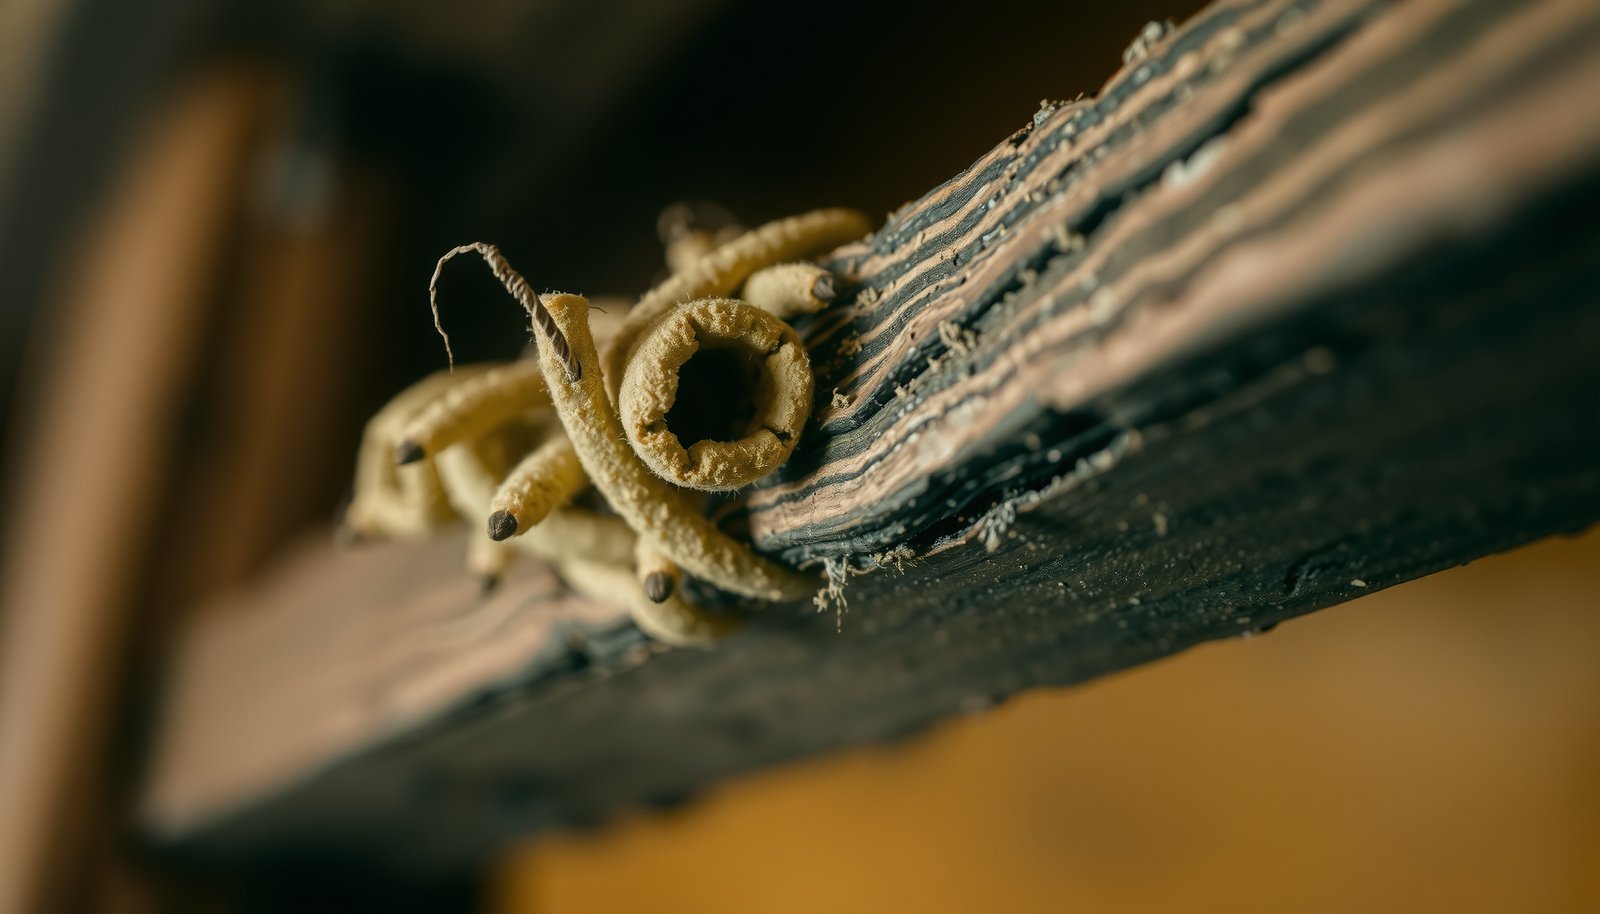
This image shows the visible difference between subterranean mud tube damage along a foundation wall versus the smooth, clean galleries of drywood termite damage — recognizing which pattern you’re looking at is the single most important step before buying any treatment product.
What Are the Best DIY Termite Treatments That Actually Work?
For subterranean termites with a confirmed, localized infestation — say, a single wooden step or a small section of sill plate — DIY treatment is genuinely viable. The products available to homeowners today are meaningfully better than what existed a decade ago. The key is knowing what each one does and doesn’t do.
Here are the four main DIY treatment categories worth considering, in order of how aggressively they address the problem:
- Termiticide liquid barriers (Termidor SC, Taurus SC): Both contain fipronil, a non-repellent active ingredient that termites can’t detect and can’t avoid. Workers pass through it, carry it back to the colony, and transfer it to nestmates. A single treated zone can eliminate an entire subterranean colony within 90 days. This is the gold standard for subterranean DIY treatment — but it requires trenching around your foundation and applying roughly 4 gallons of diluted product per 10 linear feet of trench. It’s labor-intensive and requires PPE, but it’s the same chemistry professionals use.
- Borate wood treatments (Bora-Care, Tim-bor): Borates penetrate unfinished wood and make it toxic to termites from the inside. They’re highly effective as a preventive barrier on bare wood — during a renovation, on exposed floor joists, or in a crawl space. The major limitation: borate treatments can’t penetrate painted, sealed, or finished wood surfaces, so their use on finished structures is minimal.
- DIY bait stations (Spectracide Terminate, Advance Termite Bait): Bait stations placed around the perimeter intercept foraging workers and introduce a slow-acting chitin synthesis inhibitor — a chemical that prevents termites from molting, eventually killing the colony over several months. They require consistent monitoring every 30–90 days and only work if termites find the bait. In sandy soils or during dry seasons, foraging patterns shift and stations can go untouched for months.
- Foam termiticide injection (Termidor Foam): Expanding foam carrying fipronil or imidacloprid can be injected directly into wall voids, galleries, or hard-to-reach wood members. It’s especially effective for drywood spot treatments because it reaches inside the wood structure. Pros use this routinely; it’s also accessible to careful DIYers for small, well-defined infestations.
One honest caveat here: DIY liquid barriers require a trenching tool, a proper pump sprayer calibrated for volume, and the ability to apply product continuously without breaks in the treated zone. A gap of even 12 inches in a liquid barrier is enough for subterranean termites to find their way through — they’re not randomly wandering, they’re following chemical trails laid by scout workers.
When Does DIY Termite Treatment Fail — and Why?
Picture this: a homeowner in coastal Georgia finds a mud tube on their exterior foundation, buys Taurus SC, mixes it correctly, and trenches the perimeter by the book. Six months later, the termites are back — or rather, never left. What went wrong? The colony’s primary foraging area was a tree stump 20 feet from the house. The liquid barrier protected the foundation but never interrupted the colony’s food supply, so they simply found an untreated entry point through a crack in the slab near the back patio.
DIY termite treatment has real limitations that don’t show up on product labels. The five most common failure modes worth knowing about:
- Incomplete perimeter treatment: Utility penetrations, concrete porches, and attached slabs make continuous trenching nearly impossible without drilling — which requires specialized equipment and adds significant complexity.
- Misidentifying termites vs. flying ants: Swarmers from both species look similar at a glance. If you’re treating for termites but you actually have carpenter ants, no termiticide will help at all. (The site’s guide on termites vs. flying ants covers the identification markers in detail.)
- Treating the symptom, not the colony: Mud tubes you can see represent maybe 10% of the activity happening in a given structure. Destroying visible tubes without addressing the soil colony just redirects workers — they build new tubes within days.
- Wrong product for the infestation size: A small bottle of foam termiticide is genuinely useful for a localized drywood problem in one window frame. It’s completely inadequate for a whole-house subterranean infestation that’s been active for two or more years.
- Skipping reinspection: DIY treatments have no built-in follow-up. Professionals return on a schedule and look for new activity. Without that, a partially treated colony can reestablish quietly in an untreated section of the structure.
There’s a counterintuitive reality most people don’t consider: a fresh, small infestation is actually the best candidate for successful DIY treatment. The longer an infestation has been active, the more extensive the colony and the more entry points exist — and by the time most homeowners notice visible damage, termites have often been present for two to four years already.
“The products available to homeowners today are genuinely professional-grade — Taurus SC and Bora-Care are the same actives used in commercial treatments. The gap isn’t the chemistry anymore. It’s the inspection. A trained technician isn’t just applying product; they’re reading the structure for hidden entry points, moisture problems, and secondary colonies that a homeowner walking the perimeter will miss entirely. That inspection piece is where most DIY attempts fall short.”
Dr. Amanda Rhoades, Board-Certified Entomologist and Urban Pest Management Specialist, University of Florida IFAS Extension
How Do Professional Termite Treatments Compare on Cost and Effectiveness?
Professional termite treatment costs vary significantly depending on treatment type, square footage, and infestation severity. A liquid termiticide barrier treatment on an average 1,500 sq ft home typically runs between $400 and $900 for the initial treatment. Bait station systems — where a technician installs and monitors stations on a service contract — usually cost $300–$500 upfront plus $100–$300 annually for monitoring visits. Fumigation (tenting), which is the primary option for severe whole-structure drywood infestations, runs $1,200 to $2,500 or more for a typical home and requires vacating the structure for 24–72 hours.
Here’s how the major treatment options break down across the key decision factors:
| Treatment Method | Best For | Approximate Cost Range | DIY Possible? |
|---|---|---|---|
| Liquid termiticide barrier (fipronil) | Subterranean termites, perimeter protection | $400–$900 professional / $75–$150 DIY product cost | Yes, with significant labor |
| Bait station system | Subterranean termites, ongoing monitoring | $300–$500 + annual contract | Partial — consumer stations available but less reliable |
| Borate wood treatment | Preventive or exposed-wood spot treatment | $200–$500 professional / $30–$80 DIY | Yes, on unfinished wood only |
| Tent fumigation (sulfuryl fluoride) | Severe drywood whole-structure infestations | $1,200–$2,500+ | No — licensed applicator required |
One thing the cost numbers alone don’t capture: most professional treatments come with a renewable warranty — typically one year, renewable annually for $150–$300. That warranty includes retreatment at no additional cost if termites return. For a homeowner who’s already dealt with one infestation, the math on a warranty often makes the professional option competitive even against a successful DIY job, because it removes the reinspection burden entirely.
Just like identifying the cause behind a persistent pest problem — whether you’re comparing bed bug bites vs flea bites vs mosquito bites or determining which termite species you’re actually facing — getting the diagnosis right before spending money on a solution is what separates effective treatment from wasted effort.
Should You DIY or Hire a Professional? A Decision Framework That Actually Works
There’s no universal answer here — and any article that tells you “always hire a pro” or “you can always do it yourself” is oversimplifying. The honest answer depends on four things: species confirmed, infestation size and duration, your home’s construction type, and how comfortable you are with moderately technical chemical application. Slab-on-grade foundations with limited exterior soil access are genuinely difficult to treat correctly without a drill, a pump, and experience reading termite activity patterns. Crawl space homes with accessible soil and bare wood joists are a much more realistic DIY scenario.
Use this framework to make the call:
DIY is a reasonable choice if: You’ve confirmed subterranean termites (not drywood), the infestation appears limited to one section of the structure, your home has accessible soil around the perimeter, you’re comfortable with the labor of trenching and product application, and you don’t have a concrete slab or stone foundation that would require professional drilling to treat beneath. For people working through similar decision points on other household pests — like weighing DIY sprays against professional treatment for persistent kitchen ant problems — the guide on getting rid of ants in the kitchen permanently covers a similar framework that applies well here.
Hire a professional if: You have a slab foundation, the infestation spans multiple areas of the structure, you’re seeing active swarmers (which signals a mature, established colony), the damage involves structural members like rim joists or load-bearing posts, or you can’t confidently confirm species. Also hire a professional if you’re buying or selling a home — a professional inspection report and treatment warranty carry weight that a DIY treatment history simply doesn’t.
Pro-Tip: Before spending anything on treatment, get at least two termite inspections from licensed pest control companies — most are free. Inspectors will identify entry points, assess damage depth, and confirm species. Use that information to make a genuinely informed treatment decision, whether you ultimately DIY or hire out. The inspection itself is the most valuable thing you’ll get.
There’s one underexplored factor that consistently matters more than most homeowners realize: moisture control. Subterranean termite colonies don’t randomly choose structures — they choose structures with moisture problems. A crawl space with no vapor barrier, a leaking gutter that directs water against the sill plate, or wood-to-soil contact at a deck post creates conditions termites actively seek out. The most durable termite solution — DIY or professional — is always paired with eliminating the conditions that made the structure attractive in the first place. A liquid barrier alone, without fixing the moisture, is just delaying the next infestation.
Termites aren’t going to solve themselves, and they don’t slow down while you’re deciding what to do. If you’ve confirmed activity, start with a free professional inspection to understand the scope — then use that information to make a confident, well-targeted decision about treatment. That one step costs you nothing and changes everything about how effectively you deal with what comes next.
Frequently Asked Questions
what are the best termite treatments for homeowners to use themselves?
The most effective DIY termite treatments are liquid termiticides like Taurus SC or Termidor SC, which create a chemical barrier around your foundation, and bait stations like Spectracide or Advance Termite Bait System placed every 10 feet around your home’s perimeter. These work best for subterranean termites and can knock back a small, early-stage infestation. That said, DIY treatments rarely eliminate an entire colony the way a professional treatment does.
how much does professional termite treatment cost compared to DIY?
Professional termite treatment typically runs between $500 and $2,500 depending on your home’s size, the treatment method, and how severe the infestation is — whole-home fumigation can push $1,200 to $3,500 or more. DIY liquid termiticide kits cost around $50 to $150, but you’ll need a trench-and-treat application around your entire foundation to get real results. It’s worth getting at least 2 or 3 professional quotes before deciding, since many companies offer free inspections.
how do I know if I have termites or just carpenter ants?
The easiest way to tell them apart is by looking at the insect itself — termites have straight antennae, a thick waist, and equal-length wings, while carpenter ants have elbowed antennae, a pinched waist, and two differently sized wing pairs. Termites also leave behind mud tubes along your foundation or walls, and their frass looks like tiny pellets similar to sawdust, whereas carpenter ants push out coarser wood shavings. If you’re finding mud tubes, that’s almost always a termite red flag.
can I treat termites myself or do I need an exterminator?
You can treat a minor, localized termite problem yourself using foam termiticides, borate wood treatments, or perimeter bait stations — but if you’ve got an active infestation inside walls, in your crawl space, or throughout the structure, you really need a licensed pest control professional. Termite colonies can have hundreds of thousands of workers, and missing even a small section during treatment means the colony survives and keeps damaging your home. Most experts recommend DIY only as a preventive measure or for very early-stage activity.
how long does termite treatment last before you need to retreat?
Liquid termiticide barriers like Termidor typically last 5 to 10 years in the soil before breaking down enough to need reapplication. Bait station systems require ongoing monitoring — usually every 3 to 6 months — to stay effective. Professional treatments often come with annual inspection agreements, which is worth it since termite damage isn’t covered by most homeowners insurance policies.