
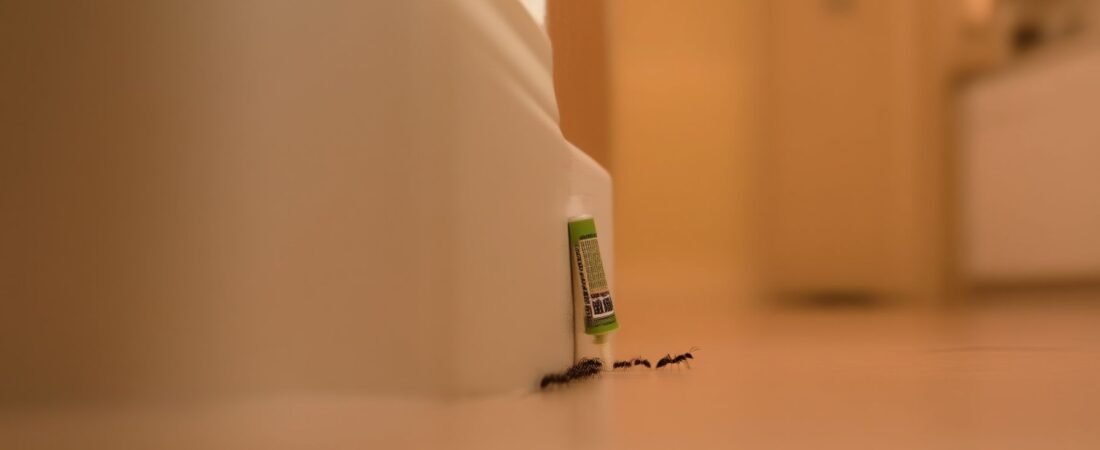
Spray ant killer hits ants you can see. Gel bait kills the ones you never will. That’s the difference that actually ends an infestation — and it’s the part most people skip entirely because they reach for a can of spray the moment they see a trail. The problem isn’t the ants on your counter. It’s the thousands of ants you’ll never spot, deep inside wall voids, behind baseboards, and tucked into quarter-inch gaps in cabinet toe kicks, all being fed by workers that your spray never touched.
Ant killer gel works through a mechanism called trophallaxis — ants share food mouth-to-mouth with nestmates, including the queen. A forager picks up gel bait, carries it back, and distributes it through the entire colony. Done correctly, this wipes out the colony from the inside within 3 to 14 days. But here’s what almost no one talks about: the gel only works this way if you apply it in exactly the right places, in exactly the right amounts. Too much bait in one spot, applied over a fresh pesticide residue, or placed in the wrong kind of crack, and the ants will refuse it entirely.
Why Ants Ignore Gel Bait in Cracks (And How to Fix That)
Ants reject bait for reasons that have nothing to do with product quality, and this trips up homeowners constantly. The biggest culprit is contamination — specifically, residual insecticide sprayed in the same zone as the bait. If you sprayed a pyrethroid along your baseboard two weeks ago, that residue can linger for 30 to 90 days and either repels ants from approaching or kills foragers before they can carry bait back to the nest. The colony learns fast. Once a few workers die near a food source, others avoid the area entirely.
The second reason ants reject gel is placement depth. A pea-sized glob of bait sitting on top of the crack opening is not the same as bait placed inside it. Ants traveling through cracks are in a protected highway. They don’t detour out into open space to eat. You need to use the included applicator tip — or a toothpick — to push bait 1 to 2 inches into the gap itself. That’s where foragers will actually encounter it. Placement matters more than brand in this situation.
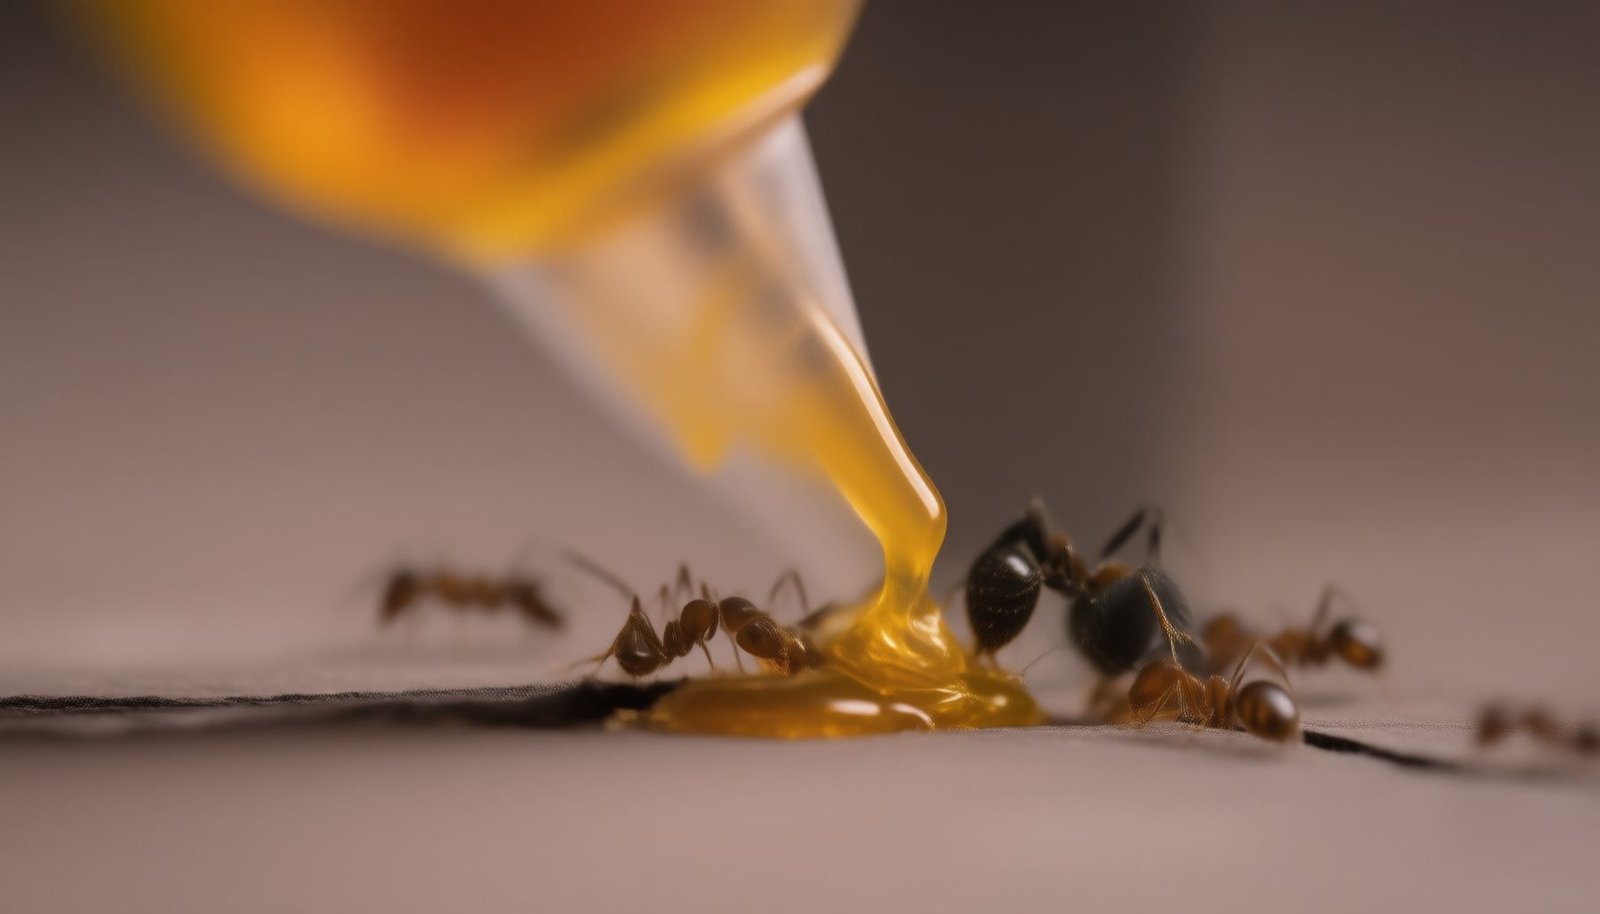
This close-up shows how a small, properly placed gel deposit sits flush inside a crack opening — the difference between bait that foragers will find and carry back versus a blob they’ll simply walk around.
Which Ant Killer Gels Actually Work in Tight Spaces?
Not all gel formulas behave the same way in narrow cracks. Viscosity — how thick or runny the gel is — determines whether it stays put inside a vertical seam or drips out within an hour. The best gels for crack-and-crevice application have a consistency closer to thick peanut butter than to jelly. They hold their shape without drying out too fast, which matters because bait needs to stay attractive to ants for 48 to 72 hours to give foragers enough time to recruit and shuttle it back to the colony.
Here’s how the top options compare on the specific factors that matter for crack application:
| Product | Active Ingredient | Best Crack Type | Bait Freshness Window |
|---|---|---|---|
| Advion Ant Gel (Syngenta) | Indoxacarb 0.05% | Narrow gaps, baseboards, cabinet seams | Up to 72 hours before replacement needed |
| Maxforce FC Ant Killer Bait Gel | Fipronil 0.001% | Deep wall voids, electrical conduit gaps | 48–60 hours in high-humidity areas |
| Optigard Ant Gel (Syngenta) | Thiamethoxam 0.01% | Exterior foundation cracks, door frames | Up to 5 days in dry, protected gaps |
Indoxacarb — the active in Advion — is a slow-acting metabolic disruptor that takes 24 to 48 hours to kill a forager, which is exactly what you want. A fast-kill active defeats the whole point of bait: the ant needs to live long enough to return to the nest and share the food. Fipronil in Maxforce works similarly but at a lower dose, making it a strong option when you’re dealing with trails that are already established deep inside wall voids.
Where to Apply Gel Bait for Maximum Colony Reach
Picture this: you trace an ant trail backward from your kitchen counter, past the backsplash, down behind the cabinet, and it disappears into a gap where the cabinet frame meets the subfloor — a gap maybe 3 millimeters wide, running the entire length of the cabinet run. That gap is the highway. Every application you make anywhere else is secondary to getting bait into that route. Colony exposure comes from interrupting the foraging line, not from placing bait in visible open areas.
These are the highest-priority crack locations for gel bait placement in most homes:
- Cabinet toe kicks and base seams — the gap between the cabinet bottom and the floor is a primary ant entry and travel zone in kitchens
- Expansion joints in tile grout — especially in bathrooms and laundry areas where moisture attracts certain ant species
- Behind electrical outlet and switch plate gaps — ants commonly use wall voids as travel corridors between floors
- Pipe penetrations under sinks — the foam or caulk around plumbing often shrinks over time, creating gaps as small as 1/8 inch
- Window frame corners and weep holes — exterior entry points where scout ants first enter during warm weather
- Door frame base gaps — especially garage-to-house transition doors, which often have poor weatherstripping
One thing worth knowing: the appropriate number of bait placements scales with the severity of the infestation, not the size of the room. A light trail along a single window needs 2 to 3 small placements. A full-blown colony with trails converging from multiple directions — which is common once a nest has been established indoors for more than two weeks — may need 8 to 12 placements across multiple zones before you see activity drop. More placements accelerate bait discovery, which speeds colony collapse.
“The single biggest mistake I see homeowners make with ant bait gels is under-placement — they put one drop in one spot and wait. Colony elimination requires saturation of the foraging zone. You need multiple small deposits along the entire trail route, inside the cracks the ants are already using, not adjacent to them. Placement precision is everything with crack-and-crevice bait work.”
Dr. Ellen Carruthers, Board-Certified Entomologist and Urban Pest Management Specialist, University Extension Advisory Panel
How Much Gel to Apply — And When to Reapply
Less is almost always more with crack-application gel bait — a deposit the size of a small pea (roughly 0.1 to 0.3 grams) is ideal per placement point. That amount gives foragers enough to recruit nestmates without overwhelming them with a quantity so large it dries out before they can work through it. A syringe-style applicator like the ones included with Advion lets you dial this in. One full 30-gram tube should yield somewhere between 100 and 150 individual crack placements, which is plenty for an average-sized home treatment.
Reapplication timing depends on activity, not a fixed schedule. Check placements every 24 to 48 hours during the first week. If the bait has been consumed and ant activity continues, that’s actually a good sign — foragers are actively recruiting. Replenish those spots. If a placement goes untouched for 48 hours and you can still see ants nearby, the bait is either contaminated, too old, or misplaced. Replace it with a fresh deposit slightly deeper in the crack or slightly closer to the active trail line. After about 5 to 7 days of heavy recruitment activity, ant traffic typically drops sharply as the colony begins to collapse. Don’t mistake that drop for success and stop — continue monitoring for another week to confirm the queen has been reached.
Pro-Tip: If ants are refusing bait even in a clean, uncontaminated zone, try switching the protein-to-sugar ratio. Many ant species shift their colony’s nutritional needs seasonally — they crave sugars in spring and summer but switch to protein and fat in late summer and fall. Advion and Optigard use sugar-based attractants. If those aren’t working, a protein-based bait like Maxforce Complete or InTice Gelanimo may be what the colony is actually foraging for at that time of year.
Step-by-Step Application Method for Hard-to-Reach Gaps
The technique itself matters as much as the product. Using a standard syringe tip on Advion or a similar gel straight into a gap wider than about 5 millimeters works fine, but narrower cracks require a different approach. Many pest control professionals cut the included tip at a sharper angle using scissors to create a finer bead. For gaps behind baseboards or inside wall switch covers, a flexible extension tip — sold separately for around $5 — lets you reach blind spots that would otherwise be inaccessible without removing trim.
Follow these steps for a complete crack-and-crevice gel treatment that actually reaches the colony:
- Suspend all sprays for at least 2 weeks before baiting — residual insecticide is the number one reason bait fails, and you need to give any recent applications time to degrade before placing gel.
- Trace active trails to their source crack — follow ants backward, not forward, to identify the entry point and primary travel route before placing any bait.
- Clean the surface minimally — don’t sanitize — a light wipe with a dry cloth removes debris that blocks access, but don’t use cleaning sprays near the crack, which can leave repellent residues and eliminate scent trails ants use to navigate.
- Apply gel 1 to 2 inches inside the crack opening — use a toothpick, the syringe tip, or a flexible applicator extension to deposit a pea-sized amount at depth, not just at the surface.
- Place additional deposits every 6 to 12 inches along the trail route — frequency of placement along an active foraging path dramatically increases the speed at which bait reaches the queen.
- Check and replenish every 48 hours for the first 7 to 10 days — if bait is being consumed, add more to the same spots; if untouched after 48 hours, reassess placement location or switch bait formulas.
It’s worth flagging that some crack scenarios are genuinely harder to treat with gel alone. Very deep wall void nests — especially in older homes where carpenter ants have been excavating galleries for months — may require a combination of gel at crack openings and a dry bait or dust injected into the void itself. How to Get Rid of Roaches in Bathroom Drain covers a related principle: surface treatments almost never reach pests living inside structural voids, and the same logic applies to ants traveling through wall cavities. Gel at entry points plus a foam or dust inside the void is the combination that actually gets there.
One last thing that rarely gets mentioned: ant bait gel works on a wide range of species, but not equally. Odorous house ants, pavement ants, and Argentine ants respond well to most commercial gels. Carpenter ants are more selective — they respond better to protein-based formulas and often require multiple bait types before finding one they’ll consistently recruit. Fire ants indoors are rare but aggressive and typically need granular bait outdoors combined with gel inside for any sustained control. If you’ve tried gel bait twice without results, species identification is worth the time — just as How to Get Rid of Jumping Spiders in the House demonstrates, knowing exactly what you’re dealing with changes the treatment approach completely.
Get the placement right, keep sprays out of the equation, and give the bait enough time to work through the colony — those three things matter more than which specific brand you choose. Once you’ve cracked that sequence, ant killer gel in cracks stops being a product and becomes a system. The colony doesn’t stand a chance against something it’s actively carrying back to its own queen.
Frequently Asked Questions
what is the best ant killer gel for cracks in walls and floors?
Gels containing imidacloprid or fipronil as the active ingredient tend to work best for cracks because they transfer back to the colony through contact. Brands like Advion, Maxforce, and Optigard are popular with pest control pros for exactly this reason. Look for a gel with at least 0.05% imidacloprid or 0.001% fipronil for reliable results.
how do you apply ant killer gel in tight cracks without making a mess?
Most ant killer gels come with a plunger syringe that lets you place small pea-sized dots — about 0.1 to 0.5 grams each — directly into cracks without spreading everywhere. Apply the gel every 6 to 12 inches along the crack rather than trying to fill the entire gap. A toothpick or small applicator tip can help you push the bait deeper into really narrow spaces.
how long does ant gel bait take to work in cracks?
You’ll usually start seeing fewer ants within 3 to 5 days, but full colony elimination typically takes 1 to 2 weeks depending on colony size. Don’t wipe up dead ants or disturb the gel during that window — other ants need to find and carry the bait back to the nest. If activity hasn’t dropped after 2 weeks, replace the bait with a fresh application since dried-out gel loses its effectiveness.
is ant killer gel safe to use inside the house near kids and pets?
Most gel baits used in cracks contain very low concentrations of active ingredient — typically under 0.1% — which makes them much lower risk than sprays when applied correctly. The key is placing the gel deep inside cracks where kids and pets can’t directly access it. Still, keep pets and children away from treated areas until the gel has settled, and always check the product label for specific precautions.
why are ants ignoring the gel bait I put in the cracks?
Ants will skip gel bait if they’ve got a better food source nearby, so clean up any crumbs, grease, or spills in the area before applying. It’s also possible the gel has dried out — most gels stay effective for only about 30 to 90 days depending on temperature and humidity. Try switching to a different active ingredient too, since some ant species strongly prefer protein-based baits over sugar-based ones and vice versa.