
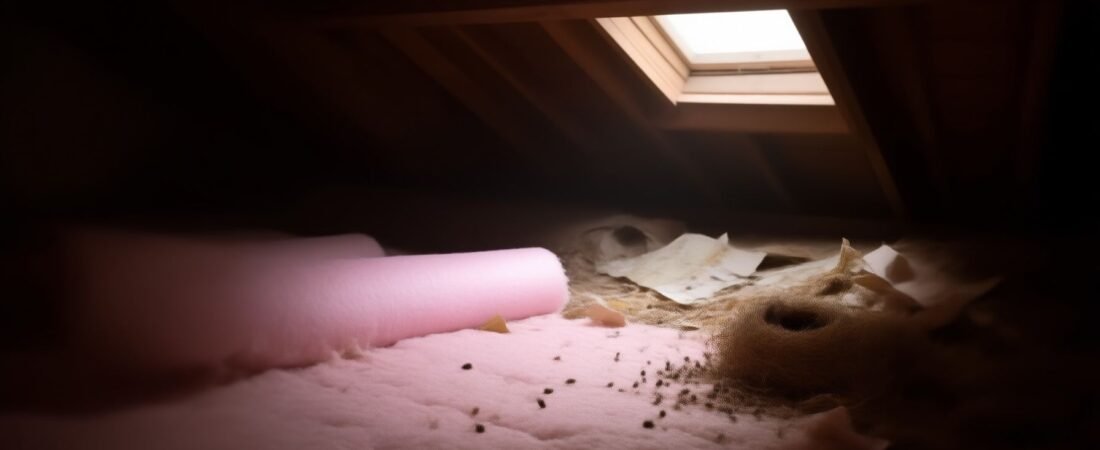
Replacing the insulation is not the fix — trapping the mice first is. That sounds obvious until you realize that most homeowners do it exactly backward: they rip out the ruined batts, install fresh material, and then wonder why there are droppings in the new insulation six weeks later. Mice nesting in insulation is a structural problem disguised as a pest problem, and if you treat it like a simple mouse-in-the-house situation, you’ll be back in the attic or crawl space doing it all over again.
Why Do Mice Nest in Insulation Specifically?
Insulation is basically a five-star hotel for mice — it’s warm, it’s soft enough to shred into nesting material, and it holds body heat better than any other material in your home’s structure. Fiberglass batts and blown cellulose are especially attractive because mice can tunnel through them without much resistance, creating hidden runways that stay thermally regulated even in a brutal January. A single female house mouse can produce up to 10 litters per year with 5–6 pups each, so a cozy insulation nest isn’t just shelter — it’s a breeding ground that compounds fast.
What most people don’t realize is that mice don’t randomly end up in your insulation — they follow predictable thermal gradients. During cold snaps, they move toward the warmest pockets in the building envelope, which means attic insulation near the ridge, crawl space batts directly below living areas, and wall cavity insulation adjacent to plumbing runs. Understanding this movement pattern is what separates a permanent fix from a temporary one.
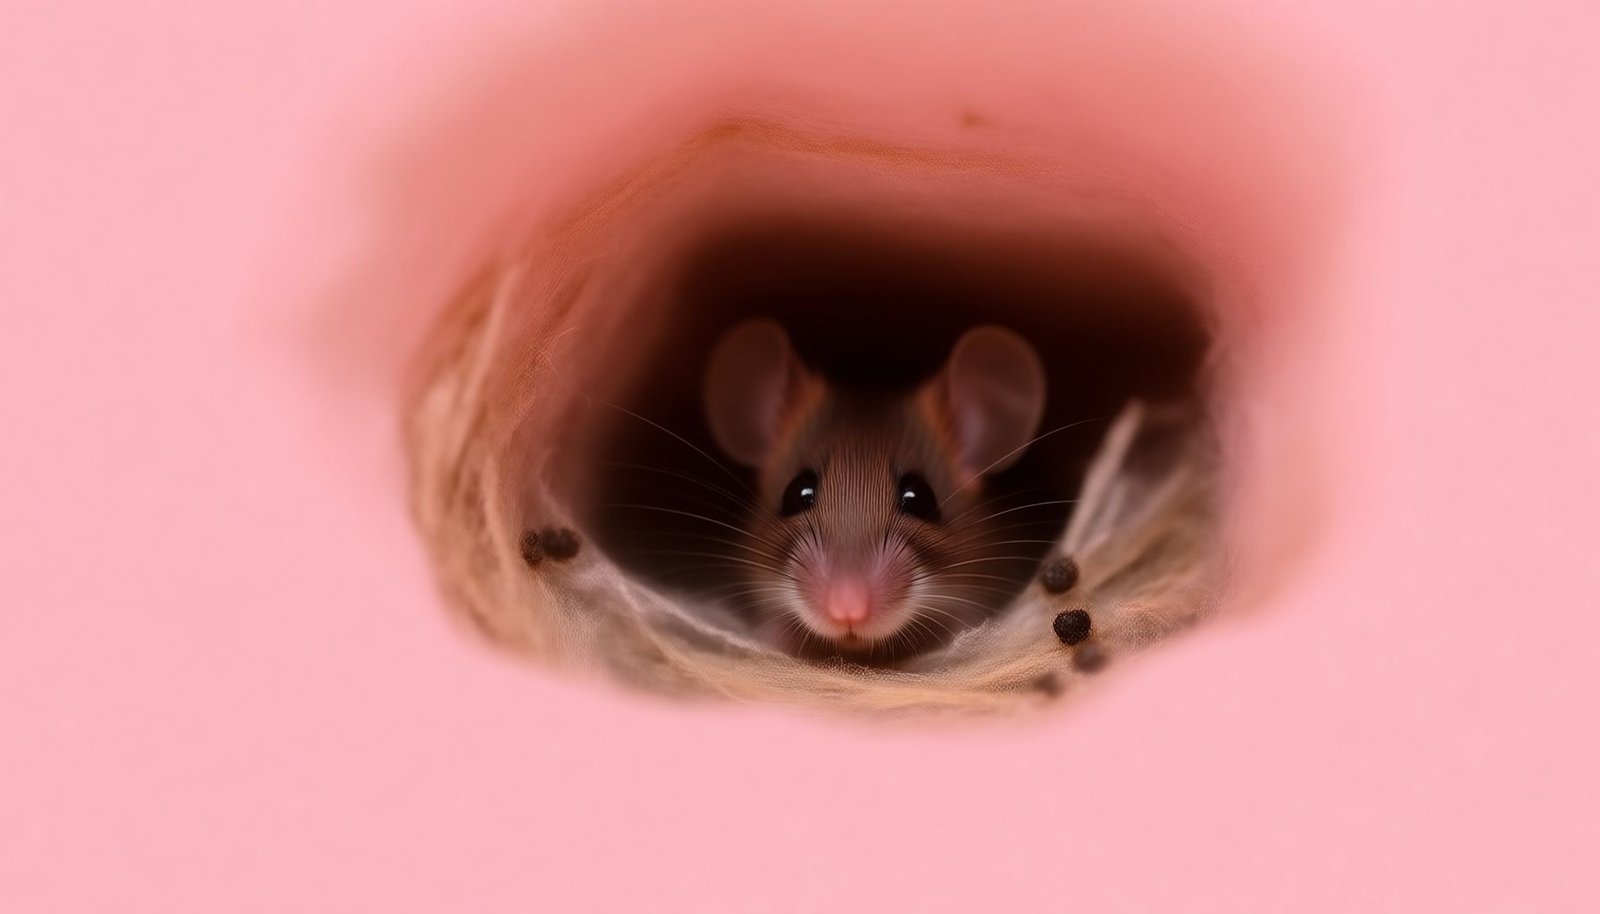
This close-up shows the characteristic shredded, compressed tunneling pattern mice leave in fiberglass insulation — notice how the material is matted flat in channels rather than torn randomly, which tells you an active runway is present and not just a one-time intrusion.
How Do You Know Mice Are Actually Nesting (Not Just Passing Through)?
There’s a meaningful difference between a mouse that crossed through your attic once and a colony that’s actively nesting there, and the treatment plan is completely different for each. A passing mouse leaves scattered droppings, maybe a few gnaw marks on a joist. An active nest looks like compressed, shredded insulation gathered into a palm-sized or larger ball, often laced with hair, fabric scraps, and seed casings — and the surrounding insulation smells distinctly of ammonia from concentrated urine.
Picture this: you go up to your attic in fall after noticing scratching sounds at night and find what looks like a 4-inch dome of gray fluff wedged between two joists. Pull back the surrounding batts and you’ll see dark staining, grease trails along the wood, and a cluster of rice-shaped droppings — sometimes 50 or more in a concentrated spot. That’s an active nest, not evidence of a scout. The grease trails are particularly telling because mice have oily fur that leaves dark smear marks along their regular routes, and those marks persist for months even after the mice are gone.
“The insulation itself isn’t what draws mice — it’s the thermal stability it provides. What I see repeatedly is homeowners treating the symptom, the nest, without addressing the thermal entry corridor that led the mice there in the first place. Until that corridor is sealed, new insulation is just new nesting material.”
Dr. Marcus Greely, Board-Certified Entomologist and Structural Pest Management Specialist, University Extension Program
What’s the Right Order of Operations for Mice Nesting in Insulation?
Here’s where almost every DIY guide gets it wrong: they jump straight to removal and replacement. The sequence matters enormously, because if you disturb an active nest before the mice have been eliminated, you scatter them deeper into the structure — and they’ll just re-nest in an adjacent area within 48 to 72 hours. Do this in the right order and you solve the problem once. Do it backward and you’re signing up for months of repeat treatments.
- Confirm and map the infestation first. Walk the perimeter of your attic, crawl space, or wall cavities with a flashlight and mark every area showing compressed tunneling, droppings, or ammonia odor. Don’t disturb anything yet — you’re building a map of activity zones.
- Set snap traps around (not inside) the nest areas. Place Victor or Tomcat snap traps on the joists and beams within 3 feet of identified nesting zones. Bait with peanut butter or a pinch of chocolate. Check traps every 24 hours — mice typically trigger traps within the first 1–3 nights if the infestation is active.
- Confirm no live activity before touching insulation. Once traps go unsprung for 5–7 consecutive days and you hear no new scratching, you can confidently declare the active population eliminated. This step is not optional.
- Remove contaminated insulation with proper PPE. Wear an N95 respirator (not a dust mask — hantavirus is a real risk), disposable gloves, and a Tyvek suit. Double-bag all removed material in contractor-grade garbage bags and seal immediately. Avoid creating dust clouds — don’t shake or toss batts.
- Disinfect the structural cavity before re-insulating. Spray joists, subfloor, and framing with an enzyme-based cleaner or a 10% bleach solution. Let it sit for 10 minutes and air dry completely before installing new material. This step eliminates the pheromone trails that would otherwise attract the next wave of mice.
- Seal every entry point before insulation goes back in. Install new insulation only after exclusion is complete. This is the only step that actually breaks the cycle.
One counterintuitive fact worth knowing: mice don’t need a door-sized opening to access your insulation. They can compress their body through a gap as small as 1/4 inch — roughly the diameter of a pencil. That means standard weatherstripping, unfilled pipe chases, and gaps around recessed light fixtures are all viable entry corridors, and most homeowners never even look at them.
Which Entry Points Actually Matter and How Do You Seal Them?
Exclusion is the single most underserved step in every mice-in-insulation article written online. Everybody talks about trapping and cleaning — almost nobody gives you the actual list of where mice get in specifically when insulation is involved. The entry points that matter most for attic and crawl space nesting are different from the ones that matter for kitchen mice, and confusing the two is why so many treatments fail.
| Entry Point | Why It’s a Risk | Best Seal Method |
|---|---|---|
| Soffit vents (damaged or open mesh) | Direct attic access; mice can chew through plastic mesh in under 10 minutes | Hardware cloth (1/4″ galvanized steel mesh), secured with screws not staples |
| Pipe and conduit penetrations in crawl space | Gap between pipe and framing is almost never sealed at install | Copper mesh stuffed in gap + spray foam over the top |
| Gaps at top plates where walls meet attic floor | Invisible from below, open directly into wall cavity insulation | Caulk with fire-rated acoustical sealant for code compliance |
| Crawl space vents with deteriorated screens | Foundation vents are the #1 crawl space entry point nationally | Replace screens with 1/4″ hardware cloth frames; check annually |
Spray foam alone is not a reliable long-term seal for mouse exclusion — mice can chew through cured foam in minutes, and it gives you a false sense of security. The combination that actually works is copper mesh (not steel wool, which rusts and collapses) packed firmly into the gap, followed by a layer of spray foam or caulk over the top to hold it in place and eliminate drafts. Steel wool is a popular recommendation you’ll see everywhere, and it genuinely does not hold up outdoors or in humid crawl spaces.
Pro-Tip: Before sealing any penetration, press a piece of tissue paper over it on a still day. If it flutters, air is moving through — and where air moves, mice will eventually follow. This is a faster and more reliable survey method than visual inspection alone, especially in dark crawl spaces where gaps are easy to miss.
What Type of Replacement Insulation Is Least Attractive to Mice?
Not all insulation is equally appealing to mice, and choosing the right replacement material can meaningfully reduce re-infestation risk — especially in crawl spaces and attics where complete exclusion is difficult due to age or architecture. This is the part of the conversation that almost never comes up, and it’s worth spending real time on before you buy anything.
- Spray polyurethane foam (closed-cell): The most mouse-resistant option. Closed-cell foam is rigid once cured, making tunneling physically difficult. It also air-seals as it insulates, eliminating the thermal corridors mice follow. Expensive, but it solves two problems at once.
- Mineral wool (Rockwool/Roxul): Significantly denser than fiberglass and doesn’t compress easily. Mice will still nest in it if motivated, but it’s noticeably less attractive than soft fiberglass batts. Good middle-ground option for attic floors.
- Blown-in fiberglass: Better than batts in attics because there are no obvious tunneling channels, but mice will still burrow through it. Not a deterrent on its own.
- Cellulose (blown-in): Often treated with borate, which is an irritant to mice and insects. Some pest professionals prefer borate-treated cellulose as a mild deterrent layer in crawl spaces. Not a standalone solution, but a reasonable supplemental step.
- Standard fiberglass batts: The easiest material for mice to shred and nest in. If you’re replacing contaminated insulation in a known high-risk area like a crawl space, fiberglass batts should be your last choice, not your first.
Honest nuance here: the right insulation choice genuinely depends on your building type, climate zone, and budget. A homeowner in Minnesota with a vented crawl space and repeated mouse problems will get far more value from closed-cell foam than someone in a mild climate dealing with a first-time attic nest. Don’t let anyone sell you a one-size-fits-all answer — assess your specific situation first. Just as the approach for a pest problem in a semi-enclosed space like How to Get Rid of Roaches in an RV or Camper depends heavily on the structure itself, the right insulation strategy for mice depends on your home’s architecture and how exposed the cavity is to the outside.
What Ongoing Monitoring Actually Looks Like After You’ve Treated
Getting rid of an active mouse nest in your insulation is a milestone, not a finish line. Mice operate on territorial memory — even after full elimination and re-insulation, new mice from outside will test the same entry zones that the previous colony used, because those areas carry faint chemical traces that persist in wood and concrete for a long time. This is why homes that had one mouse problem tend to have another within a year or two unless active monitoring stays in place.
The minimum ongoing setup that actually works is two to four snap traps placed permanently in your attic or crawl space along the perimeter walls, checked monthly. Not bait stations — snap traps, because bait stations in insulated spaces can allow a mouse to die inside the insulation before consuming a lethal dose, which creates a decomposition and odor problem worse than the original infestation. Check your soffit vents and crawl space screens each fall before temperatures drop, since that’s when mice ramp up their search for winter shelter. If you notice any new tunneling or compressed areas in the insulation during an annual inspection, treat it immediately rather than waiting to confirm — by the time a nest is obvious, there are usually already multiple generations present. If you enjoy staying on top of pest pressure throughout your home, the same kind of consistent monitoring mindset that helps with How to Get Rid of Gnats Around Houseplants for Good applies here — catch the problem early, when it’s still manageable, rather than after it’s entrenched.
The homes that stay mouse-free long term aren’t the ones that did the most aggressive one-time treatment — they’re the ones that made inspection a habit. A thirty-minute crawl space check twice a year is worth more than any amount of foam and trapping after the fact.
Frequently Asked Questions
How do I know if mice are nesting in my insulation?
The most obvious signs are shredded or flattened insulation, dark grease marks along walls, and a strong ammonia smell from droppings and urine. You might also hear scratching or rustling sounds in the walls or ceiling, especially at night when mice are most active. If you pull back insulation and find tunnels, nesting material like shredded fabric or paper, or small black droppings about 1/4 inch long, you’ve got a confirmed infestation.
Do I have to replace insulation after mice infest it?
Yes, in most cases you do — mice contaminate insulation with urine, droppings, and dander that can spread hantavirus and salmonella, and you can’t fully sanitize fiberglass or cellulose insulation once it’s been soaked through. The general rule is that any insulation with visible contamination, strong odor, or structural damage from nesting should be removed and replaced entirely. Trying to salvage it isn’t worth the health risk, especially in crawl spaces or attics where contamination tends to be heaviest.
What kind of insulation are mice least likely to nest in?
Spray foam insulation is your best bet — once it cures, it’s rigid and doesn’t give mice the loose, soft material they need to build nests. Rigid foam board is also harder for them to burrow through compared to fiberglass batts or blown-in cellulose, which mice shred easily. That said, no insulation is completely mouse-proof if entry points into the structure aren’t sealed first.
Is it safe to clean up mouse nesting in insulation myself?
It can be, but you need to take it seriously — always wear an N95 respirator, disposable gloves, and eye protection before touching any contaminated insulation. Don’t dry-sweep or vacuum the area first, because that kicks up airborne particles that can carry hantavirus. Spray the area with a disinfectant like a 1:10 bleach-to-water solution, let it soak for 5 minutes, then bag everything in heavy-duty plastic bags for disposal. If the infestation is large or in a confined crawl space, hiring a professional remediation company is the safer call.
How do I keep mice from coming back after replacing insulation?
Sealing entry points is the most important step — mice can squeeze through gaps as small as 1/4 inch, so use steel wool packed with caulk or metal flashing to close any cracks in the foundation, around pipes, and along the roofline. After sealing, set snap traps along the perimeter of your attic or crawl space as an early-warning system, and check them every few days. Keeping the area around your home free of woodpiles, dense shrubs, and debris within 2 feet of the structure also removes the harborage that draws mice in initially.
Disclaimer: This article is for informational purposes only and isn’t a substitute for professional pest control advice. Always read and follow the product label instructions exactly — label directions are legally binding and vary by brand and active ingredient. Keep all pesticides, baits and traps away from children and pets, ventilate treated areas as directed, and consider calling a licensed pest control professional if an infestation is large, recurring, or involves a structural pest like termites or carpenter ants.