

Earwigs don’t come inside because your home is dirty — they come inside because your home is exactly what they’re looking for when outdoor conditions turn against them. That’s the piece most people get wrong, and it’s why the standard advice of “spray the perimeter and call it done” keeps failing. If you don’t fix the moisture and entry points that made your house attractive in the first place, you’ll be fighting earwigs indefinitely.
The bottom line: a two-part approach — eliminate moisture sources indoors and seal the routes they’re using to get in — will stop earwigs faster and more permanently than any pesticide alone. Everything below explains exactly how to do that, starting with the thing that actually drives the infestation.
Why Are Earwigs Coming Inside Your House in the First Place?
Earwigs are outdoor insects by nature — they live under bark, leaf litter, mulch, and garden debris, hunting small insects and feeding on decaying plant matter at night. They don’t want to be in your home any more than you want them there. What pushes them inside is a combination of two triggers: extreme outdoor conditions (drought, heat, or heavy rain) and the irresistible pull of moisture somewhere inside your house.
A single earwig crawling across your bathroom floor at midnight is almost certainly a scout following a humidity gradient — a measurable difference in moisture between outside and inside that they can detect with their antennae. Where there’s one, there’s a population nearby. A female earwig lays between 20 and 50 eggs per clutch and actively guards them, which means a colony can establish itself surprisingly fast if conditions stay favorable.
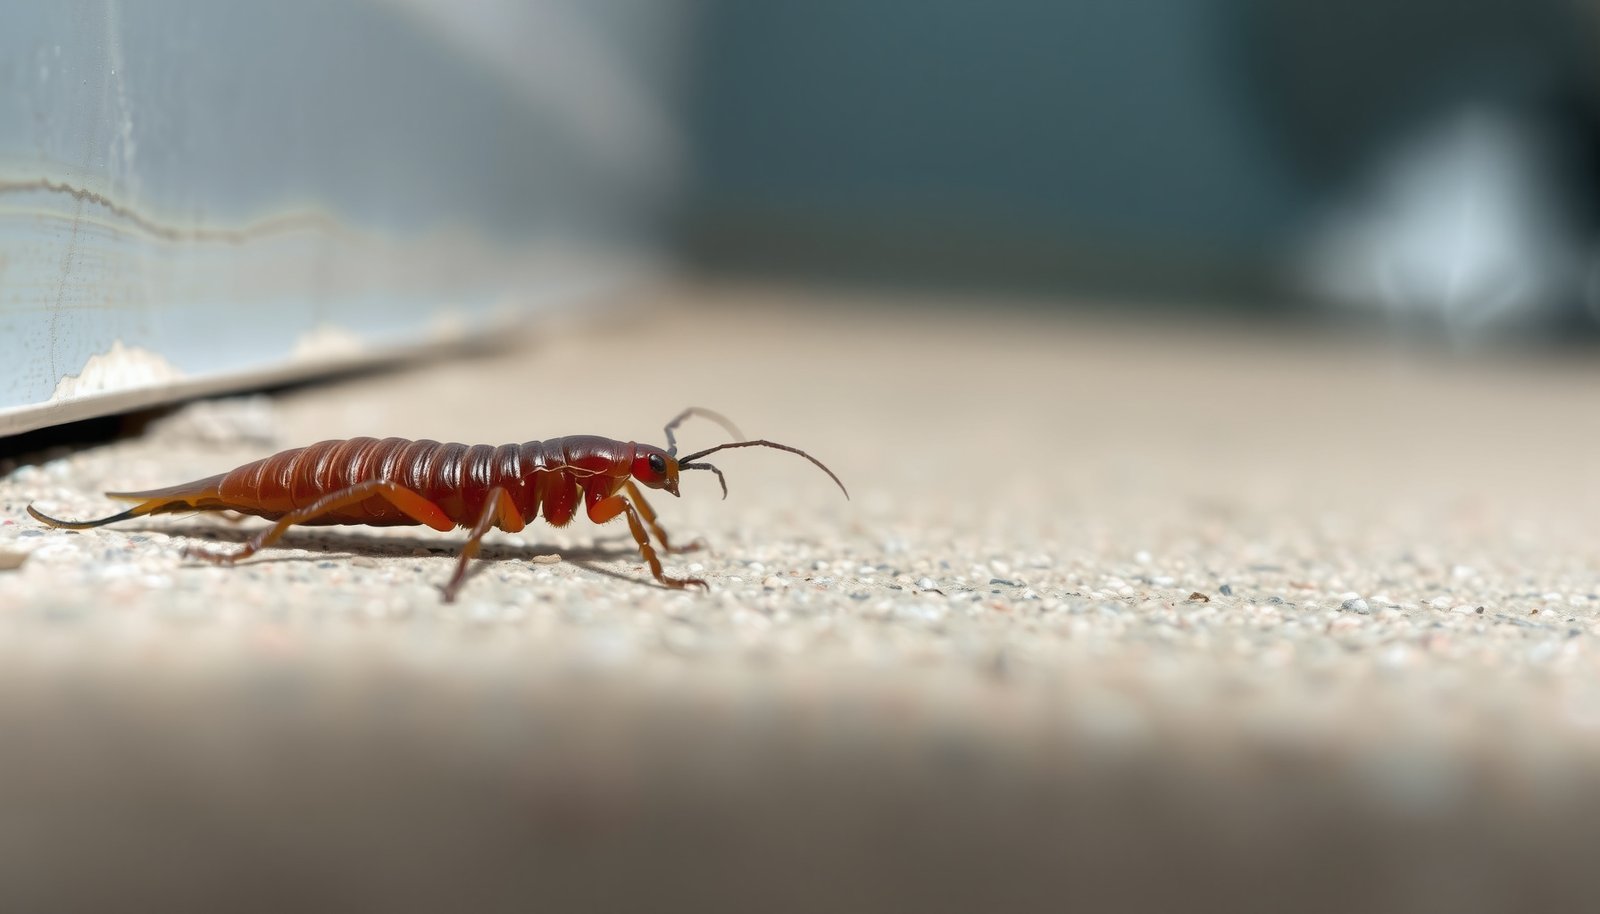
This close-up shows the distinctive rear pincers (cerci) that make earwigs immediately identifiable — knowing what you’re actually dealing with matters before you choose a treatment method.
What Keeps Earwigs Coming Back Even After You’ve Treated?
Here’s the counterintuitive thing about earwigs: they’re not particularly hard to kill. Most contact insecticides handle them within minutes. The reason people keep seeing them week after week is that the spray only addresses the earwigs already inside — it does nothing about the outdoor population staging outside your foundation, or the wet crawl space, leaky pipe under the sink, or overwatered landscaping that’s actively recruiting more of them inside. You’re treating a symptom, not the cause.
Picture this: you spray your bathroom baseboard on a Monday, find three dead earwigs by Tuesday, and then find two live ones by the following weekend. That cycle is what happens when the moisture source and entry point are still intact. The outdoor population — which can number in the hundreds under a single layer of mulch — just keeps sending new individuals through the same crack they’ve been using all along.
“Most earwig calls I get are from homeowners who’ve already tried a spray and can’t figure out why it didn’t last. Nine times out of ten, there’s either mulch piled directly against the foundation, a moisture problem in the crawl space, or both. Fix those two things and the indoor pressure drops dramatically within a week or two.”
Dr. Lisa Farrow, Board-Certified Entomologist and University Extension Specialist, Pacific Northwest Pest Management Center
How Do You Find Every Entry Point Earwigs Are Using?
Earwigs can squeeze through gaps smaller than you’d expect — any crack or void around 1/8 inch is enough for them to pass through. The most common entry routes aren’t the ones homeowners think to check first. People look at door frames and windows, which are valid, but miss the more productive routes: utility conduits, pipe penetrations through the foundation, and the gap where concrete meets siding at the base of the house.
Work through this entry-point audit systematically, room by room from the lowest level of your home upward:
- Foundation-to-siding joint: Run your hand along the base of your exterior walls. Any gap wider than a credit card edge needs to be sealed with exterior-grade caulk or foam backer rod.
- Pipe and conduit penetrations: Check under every sink, behind the washing machine, and anywhere a water line or cable enters through an exterior wall. Stuffing gaps with steel wool and sealing with expanding foam prevents entry and discourages chewing.
- Crawl space vents and access doors: Crawl spaces with missing or damaged vent screens are a primary earwig superhighway. Replace torn screens and add a vapor barrier if the crawl space floor is bare soil — soil moisture evaporates upward and keeps humidity high throughout your subfloor.
- Garage door weatherstripping: The rubber seal at the bottom of a garage door compresses and cracks over time. Earwigs can walk under a gap you’d barely notice at normal standing height. Replace the seal if it no longer contacts the floor uniformly.
- Window well drains: Basement window wells that collect standing water create perfect earwig habitat right against your foundation. Clear the drain, add gravel to improve drainage, and consider a window well cover.
Pro-Tip: Do your entry-point audit at dusk with a flashlight held at a low angle against your exterior walls. Gaps and cracks that are invisible in bright daylight show up clearly when light rakes across the surface — the same trick contractors use to find imperfections in drywall.
Which Treatments Actually Work for Earwigs Inside the House?
Once you’ve identified and addressed the moisture sources and sealed entry points, targeted chemical treatment handles the population that’s already inside. The key is choosing products that match where earwigs actually hide — dark, tight, damp spaces — not just the open surfaces you can easily spray.
Here’s how the main treatment options compare for indoor earwig control:
| Treatment Type | Best Used For | Speed of Action | Residual Effect |
|---|---|---|---|
| Diatomaceous earth (food-grade) | Voids, crawl spaces, behind appliances | 24–72 hours after contact | Months (if stays dry) |
| Pyrethroid spray (permethrin, bifenthrin) | Baseboards, entry points, perimeter | Within minutes of contact | 2–6 weeks indoors |
| Boric acid dust | Wall voids, under sinks, crawl spaces | Slow (days to a week) | Long-lasting if undisturbed |
| Sticky traps | Monitoring and locating hotspots | Passive/ongoing | Until full (replace every 2–4 weeks) |
Diatomaceous earth deserves special attention because it works mechanically rather than chemically — it damages the waxy outer layer of an earwig’s exoskeleton and causes it to dehydrate. That means there’s no resistance buildup the way there can be with repeated pyrethroid use, and it’s safe around kids and pets once settled. Apply a thin layer (thinner than you think you need — piling it up actually reduces effectiveness) in the back corners of cabinets under sinks, along the inside edges of crawl space walls, and around floor drains.
Sticky traps placed in corners under bathroom vanities and behind appliances serve a dual purpose: they catch earwigs, but more importantly, a high trap count in one area tells you exactly where the entry point or moisture source is concentrated. That’s information you can act on. Identifying where a pest is entering — not just what it is — is always the most actionable first step, regardless of the species you’re dealing with.
What Does a Complete Outdoor Earwig Reduction Look Like?
Treating the inside of your home while ignoring the outside is like bailing out a boat without plugging the hole. The outdoor population is the source, and reducing it dramatically lowers indoor pressure — often more effectively than any indoor-only treatment. The good news is that you don’t need professional-grade equipment or expensive products to do this well.
Focus your outdoor efforts on these modifications and treatments:
- Pull mulch back 6 inches from your foundation. Mulch is earwig paradise — moist, dark, full of organic material. A 6-inch dry zone directly against your foundation removes the most hospitable staging area they have.
- Remove ground-level harborage. Stacked firewood, flat stones, cardboard, landscape fabric with debris on top — all of these create the dark, damp conditions earwigs actively seek. Move firewood at least 20 feet from the house and elevate it off bare ground.
- Fix irrigation timing. Watering in the evening keeps soil moist overnight — the exact hours earwigs are most active. Switch to morning watering so the soil surface dries out before dusk.
- Apply a perimeter treatment of bifenthrin or cyfluthrin granules. A 5-foot band around your foundation, watered in lightly, kills earwigs before they reach the wall. Reapply every 4–6 weeks during peak activity months.
- Reduce exterior lighting near entry points. Earwigs are attracted to light at night because it draws the small insects they prey on. Switching porch and entryway bulbs to warm yellow or sodium vapor bulbs significantly reduces nighttime congregation near your doors.
One honest nuance worth stating: how much outdoor reduction matters depends heavily on your region and property type. Homeowners in the Pacific Northwest or Gulf Coast states — high-humidity climates where earwig populations are naturally dense — will need to be more consistent with perimeter treatments than someone in an arid climate dealing with a one-season pressure spike. Similarly, a ground-floor apartment with landscaping directly outside the patio door is a harder problem than a second-floor unit where outdoor access is limited. Know your situation before deciding how much effort the outdoor piece deserves. If you’re renting and the landscaping isn’t something you control, understanding your legal options when a pest problem is tied to conditions you can’t fix yourself is worth looking into.
When Should You Call a Professional for an Earwig Problem?
Earwigs are genuinely one of the more DIY-friendly pest problems — they don’t reproduce inside your walls, they don’t pose structural risk, and they’re not particularly hard to kill with widely available products. That said, there are specific scenarios where professional help makes sense and will actually save you time and money compared to iterating through DIY attempts.
Call a pest control professional if: you’ve addressed moisture and entry points and still find earwigs inside consistently after two to three weeks; you’re finding them on upper floors (which suggests a hidden moisture source like a slow roof leak or plumbing issue that needs a professional eye); or the volume of earwigs you’re finding outdoors is genuinely extreme — more than 20 to 30 individuals disturbed when you lift a single stone or log. That last scenario typically indicates a population density that outdoor DIY treatment alone won’t reduce fast enough to protect the interior. A licensed technician can apply professional-grade residual treatments at concentrations not available in consumer products, and they’ll spot harborage sites and moisture sources that are easy to miss on a self-inspection.
The decision also depends on what the earwig problem is telling you. A sudden, large indoor appearance of earwigs after a period of heavy rain is almost always a temporary pressure spike that resolves with basic sealing and indoor treatment. A slow, year-round trickle of earwigs inside despite multiple DIY attempts usually means there’s a moisture issue — a crawl space problem, a slow drain leak, or condensation buildup — that hasn’t been diagnosed yet. In that second scenario, a pest inspection is often more useful than another can of spray.
Earwigs are a pest that rewards a methodical approach over an aggressive one. Identify the moisture source, seal the entry point, reduce the outdoor population, then treat the interior with the right product for the right location — in that order. Do those four things, and you won’t be fighting this same battle again next season.
Frequently Asked Questions
why do I suddenly have earwigs in my house?
Earwigs usually come inside when outdoor conditions get too hot, dry, or wet — they’re looking for moisture and shelter. Check for gaps around doors, windows, and utility pipes, since that’s almost always how they’re getting in. They’re also drawn to damp areas like bathrooms, basements, and laundry rooms, so any moisture problem in your home will make it worse.
what kills earwigs instantly?
A direct spray of rubbing alcohol mixed with water (70% alcohol works fine) kills earwigs on contact. You can also use pyrethrin-based insecticide sprays, which are widely available at hardware stores and work fast. For a quick fix without chemicals, dropping them into soapy water does the job immediately.
where do earwigs hide in your house?
Earwigs love tight, dark, damp spaces, so focus your search in bathrooms, under kitchen sinks, in basements, and around laundry areas. They’ll also hide under rugs, behind baseboards, and inside potted plants you’ve brought indoors. If you’re finding them in multiple rooms, there’s likely a moisture issue or a crack somewhere letting large numbers in.
do earwigs in the house mean there is a bigger infestation?
Finding 1 or 2 earwigs inside is usually just a stray — they wander in through gaps and aren’t necessarily a sign of a nest indoors. If you’re consistently finding 5 or more in a short period, that points to a larger population living near your foundation or in a damp area of your home. Earwigs don’t typically reproduce indoors, so a heavy infestation almost always traces back to an outdoor colony close to your house.
how do I keep earwigs out of my house permanently?
Seal cracks and gaps around your foundation, doors, and windows with caulk or weatherstripping — that’s the most effective long-term fix. Fix any moisture problems like leaky pipes or poor drainage, since earwigs won’t stick around in a dry environment. Keeping mulch, leaf piles, and wood stacks at least 6 inches away from your foundation also removes the outdoor harborage that feeds indoor invasions.
Disclaimer: This article is for informational purposes only and isn’t a substitute for professional pest control advice. Always read and follow the product label instructions exactly — label directions are legally binding and vary by brand and active ingredient. Keep all pesticides, baits and traps away from children and pets, ventilate treated areas as directed, and consider calling a licensed pest control professional if an infestation is large, recurring, or involves a structural pest like termites or carpenter ants.