
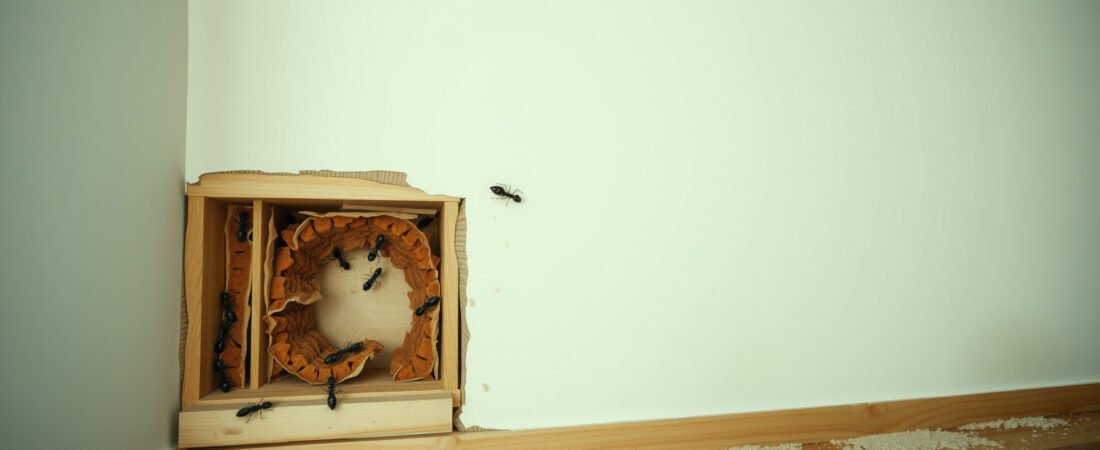
Spraying the ants you can see is exactly why carpenter ant infestations last for years. The workers marching across your kitchen counter or ceiling are scouts — expendable, replaceable, and completely disconnected from the queen and the colony doing real damage inside your walls. Kill every visible ant in the house and the nest behind your drywall won’t even notice. This is the mistake that turns a manageable problem into a structural one, and it’s why most DIY attempts at carpenter ants fail not because the products are weak, but because they’re aimed at the wrong target entirely.
Why Carpenter Ants Inside Walls Don’t Mean What You Think
Here’s the counterintuitive part: carpenter ants don’t eat wood. They excavate it. A colony hollows out galleries inside your wall framing, ceiling joists, or window headers to create a nest — but the wood shavings just get kicked out like sawdust. That means no mud tubes like termites leave, no visible frass trails on the surface, and no sound unless the colony is large enough that you can actually hear a faint rustling or crinkling noise at night inside the wall cavity. By the time you hear that sound, the colony has likely been established for two to three years.
A mature carpenter ant colony can contain anywhere from 2,000 to 10,000 workers, with satellite colonies — smaller offshoots of the main nest — spread across multiple locations in the same structure. The parent colony is almost always outdoors in a rotting log, tree stump, or moist landscape timber. What you have inside your walls is almost certainly a satellite nest. That distinction matters enormously for treatment, because eliminating only the indoor satellite nest leaves the outdoor queen completely untouched, and she’ll repopulate your walls within a single season.
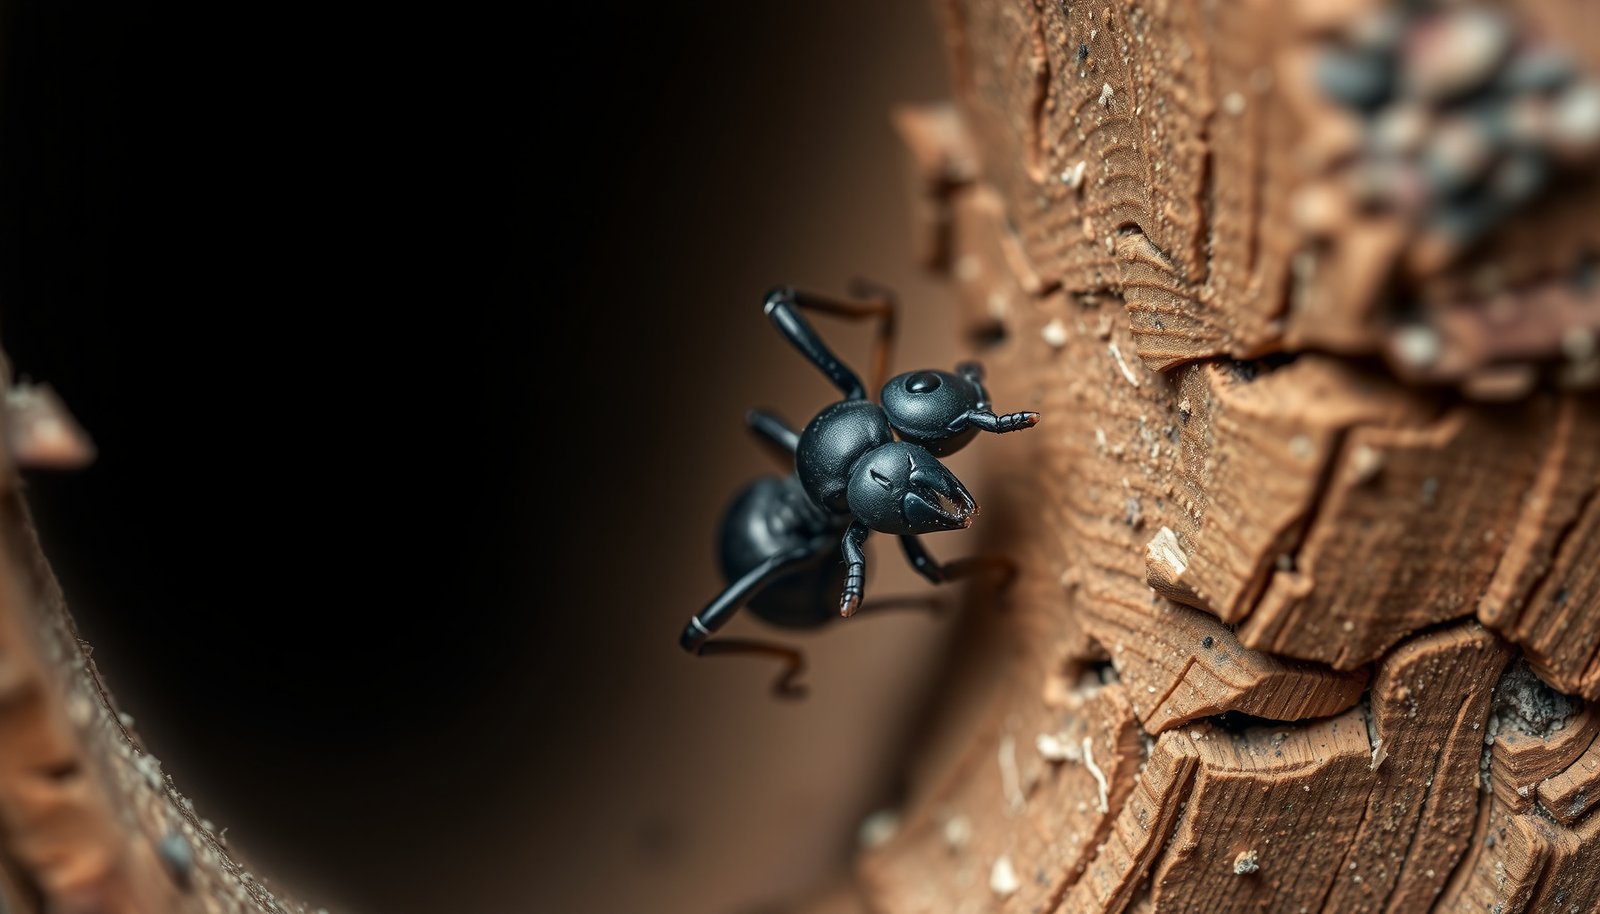
This close-up shows the telltale coarse sawdust-like frass that carpenter ants push out of gallery openings — finding this material near baseboards, window sills, or ceiling light fixtures is often your first real confirmation that a nest is active inside your structure.
How to Confirm Carpenter Ants Are Actually Inside Your Walls (Not Just Passing Through)
Seeing one large black ant in your kitchen in July doesn’t mean you have a wall infestation. Carpenter ants forage widely — up to 300 feet from the nest — so a single scout could have walked in through a gap around a pipe or door frame and is simply exploring. The red flag is consistent activity: multiple ants appearing repeatedly in the same area, especially between 10pm and 2am when carpenter ants are most active. Spotting winged carpenter ants, called swarmers, emerging from inside the home is the clearest sign of an established indoor colony.
The frass test is the most reliable DIY confirmation. Carpenter ant frass looks like coarse sawdust mixed with insect body parts — it’s not the fine powder that termites produce. Check behind electrical outlet covers, inside wall voids near window frames, and at the base of exterior walls where moisture problems are common. A flashlight and a flathead screwdriver to gently probe soft or discolored wood can reveal the spongy, channeled galleries that distinguish carpenter ant damage from simple wood rot. If the wood crumbles in distinct oval tunnels with smooth walls, ants made those.
“Homeowners almost always focus on foraging trails, but the diagnostic clue that changes everything is frass location. Frass found near the same spot on three consecutive nights tells you where the gallery entrance is — and that’s your treatment target, not the ant you swatted on the counter.”
Dr. Michael Raupp, Extension Entomologist, University of Maryland Department of Entomology
What Actually Kills a Carpenter Ant Colony in Walls — And What Just Moves It
Bait is the mechanism that reaches the queen. Unlike contact sprays that kill workers on the spot, slow-acting gel or granular bait gets carried back to the nest by foragers, transferred to other workers through food sharing, and eventually reaches the reproductive members of the colony. This process takes 1 to 3 weeks, which is why many people abandon bait prematurely — they see ants still active at day five and switch to a spray, which immediately disrupts the bait-sharing behavior and resets the clock. Patience with bait is genuinely the hardest part of carpenter ant control.
Direct void treatment is the second essential layer — especially for confirmed wall infestations. Borate-based dusts like Delta Dust or Tim-bor injected through small drilled holes into the wall cavity kill ants on contact as they move through galleries, and borate residuals remain active for months. The combination of bait outside the wall (to recruit foragers and carry toxicant back to the colony) and dust inside the void (to hit residents directly) is consistently more effective than either approach alone. Using only one method gives the colony room to adapt and relocate to an untreated section of wall.
Pro-Tip: Drill injection holes at a slight downward angle into the wall cavity so dust settles into the gallery floor rather than blowing back out. A single 1/4-inch hole every 12 to 18 inches along a suspected infestation zone is enough — you don’t need to open the wall to treat it effectively.
The Step-by-Step Treatment Plan for Carpenter Ants in Walls and Ceilings
Treatment has to work on two fronts simultaneously: suppressing the indoor satellite colony and cutting off the parent colony outside before it sends more workers in to replace the ones you’ve eliminated. Skipping either step is why infestations seem to cycle back every spring. Here’s the sequence that addresses both:
- Locate frass and trail entry points first. Spend two nights watching ant movement with a flashlight before buying any product. Map where ants are entering the living space — this is where you’ll apply bait and drill for void treatment.
- Place protein and sweet bait stations along foraging trails. Carpenter ants need both protein and sugar, and their preference shifts with the season — protein in spring and early summer, sweets in late summer. Use a dual-source bait like Advance Carpenter Ant Bait granules near active trails inside and within 10 feet of the home’s exterior foundation.
- Treat wall voids with borate dust. Drill 1/4-inch holes into suspect wall cavities — especially near windows, plumbing penetrations, or anywhere you found frass — and inject Delta Dust or similar pyrethroid dust using a hand duster. Seal holes with painter’s putty when done.
- Apply a non-repellent perimeter spray outside. Products containing fipronil or imidacloprid work as transfer insecticides — ants walk through the treated zone and carry residual toxicant back to the nest without detecting it. Spray a 3-foot band along the foundation, around window frames, and at any wood-to-soil contact points. Repellent sprays like permethrin will drive ants deeper into walls rather than eliminating the colony.
- Locate and treat or remove the parent colony outdoors. Check within 100 feet of the structure: rotting stumps, landscape timbers, wooden fence posts, and dead tree limbs. Drench active outdoor nests with a liquid bifenthrin or fipronil solution. Remove dead wood if at all possible — no nest, no re-infestation.
- Reassess at 3 weeks. Ant activity should drop by 70 to 90 percent within three weeks of combined treatment. If foraging continues at previous levels, reapply bait (don’t switch to spray) and inspect for a second satellite colony in an untreated area of the structure.
Picture this: a homeowner in a split-level house spends $180 on contact sprays over two summers, sees improvement for six weeks each time, then watches the ants return. A pest control tech spends forty minutes drilling the ceiling joists above the garage — where water had been pooling from a slow roof leak — injects borate dust, and places granular bait along the driveway edge near a rotting railroad tie planter. Six weeks later, the infestation is gone. The key wasn’t a better spray. It was hitting the right location with the right product type.
Moisture Is the Real Reason Carpenter Ants Chose Your Walls
Carpenter ants don’t infest structurally sound, dry wood. Their colonies require wood with elevated moisture content — typically 15 percent or higher — because dry wood is too hard to excavate efficiently and doesn’t support the microenvironments the colony needs for brood development. This means every carpenter ant infestation is pointing at a moisture problem somewhere in your structure. Treat the ants without fixing the moisture source and you’re essentially installing a revolving door: new colonies will find and colonize the same softened wood within a few seasons.
The moisture culprits are almost always predictable. Here’s where to check, ranked by frequency:
- Roof leaks tracking into ceiling joists — even a slow intermittent leak creates enough sustained moisture to soften framing over 12 to 18 months
- Plumbing condensation or slow pipe leaks inside wall cavities, especially under bathrooms and around dishwashers
- Poorly sealed window and door frames where rainwater infiltrates the framing and gets trapped behind caulk that looks intact from the outside
- Crawl space moisture migration traveling upward through floor joists into first-floor wall bases — a chronic problem in humid climates without proper crawl space vapor barriers
- Wood-to-soil contact along deck ledger boards, porch posts, or exterior stair stringers where ground moisture wicks directly into the framing
One honest caveat here: in older homes with balloon-frame construction or in regions with consistently high ambient humidity, keeping every piece of wall framing below carpenter ant threshold moisture levels may not be fully achievable without major renovation. In those situations, ongoing perimeter treatment and annual monitoring become the realistic long-term strategy rather than a one-time fix. That’s not a failure — it’s just an accurate read of what the structure allows.
| Moisture Source | Common Location | Fix Priority |
|---|---|---|
| Roof leak into ceiling joists | Attic, top-floor ceilings | Immediate — causes fastest structural damage |
| Plumbing condensation or leak | Kitchen, bathroom walls | High — often hidden for years |
| Failed window/door caulking | Exterior wall framing | High — easy to address, often overlooked |
| Crawl space moisture migration | First-floor wall bases | Moderate — vapor barrier resolves most cases |
For renters dealing with carpenter ants where a landlord controls structural repairs — and moisture issues are almost always structural — the moisture problem is the landlord’s legal responsibility to address. If you’re in a situation where the pest problem is tied to building deficiencies your landlord refuses to fix, understanding your legal standing matters. The same principle that applies to suing a landlord for a pest infestation applies here: you need to document the condition, the source, and the inaction in writing before you have a strong case.
When to Call a Professional vs. Handle It Yourself
DIY treatment is genuinely effective for carpenter ant infestations caught early — one satellite colony, a defined entry point, and an identifiable outdoor parent colony that can be drenched. The products available to homeowners (Delta Dust, Advance granular bait, Termidor SC for perimeter application) are the same categories professionals use, just in smaller quantities. The limiting factor isn’t product access — it’s accurate nest location. If you can’t find where the colony is living inside the structure, you can’t treat it directly, and surface treatments alone won’t solve the problem.
Call a licensed pest control professional when: frass is appearing in multiple disconnected areas suggesting more than one satellite colony, you can hear rustling in walls or ceilings across a wide area, winged swarmers have been emerging from inside the home (not outside through a window), or the structure shows visible wood damage beyond a small localized section. Professionals can use thermal imaging cameras and acoustic detection devices to locate colonies without opening walls unnecessarily — technology that changes what’s findable and treatable without major demolition. That said, any pest control company treating carpenter ants without discussing moisture remediation with you isn’t giving you a complete solution, just a temporary one. It’s worth asking directly: “Where do you think the moisture source is?” If they don’t have an answer, press harder or get a second opinion. Some pest issues, like mysterious bites from an unknown source, require the same methodical investigation — the approach you’d use to rule out chigger bites versus scabies versus bed bugs is the same discipline that good pest identification always demands: eliminate assumptions, follow physical evidence.
The real measure of a successful carpenter ant treatment isn’t whether you see zero ants the day after treatment — it’s whether foraging activity and frass production have stopped completely after 30 days, with no recurrence the following spring. That’s the benchmark worth holding any treatment plan to, professional or otherwise.
Frequently Asked Questions
How do I know if I have carpenter ants in my walls?
The clearest sign is a rustling or crinkling sound inside your walls, especially at night when carpenter ants are most active. You might also find small piles of sawdust-like material called frass near baseboards or window frames — unlike termites, carpenter ants don’t eat wood, they push it out as they tunnel. Spotting large black ants (usually 1/4 to 1/2 inch long) inside your home, particularly in spring, is another strong indicator.
What kills carpenter ants in walls without an exterminator?
Boric acid dust injected into wall voids through small drilled holes is one of the most effective DIY options — it damages the ants’ digestive systems and kills them within a few days. Diatomaceous earth works similarly and is a good non-toxic alternative if you have kids or pets. Carpenter ant bait gels like Advance Carpenter Ant Bait can also work well because foragers carry the poison back to the colony and kill the queen.
How long does it take to get rid of carpenter ants in walls?
With consistent treatment, most homeowners see a significant reduction in activity within 1 to 3 weeks. If you’re using bait, it can take up to 6 weeks to fully eliminate a large colony because the poison needs time to spread through the nest. If you’re still seeing heavy activity after 6 to 8 weeks of treatment, it’s worth calling a pest control professional to locate satellite nests you may have missed.
Do carpenter ants in walls mean I have water damage?
Almost always, yes — carpenter ants strongly prefer wood that’s already soft, wet, or decaying, so finding them in your walls is a red flag for a moisture problem. Common culprits include leaky pipes, roof damage, or poor drainage around your foundation. It’s worth inspecting areas like under sinks, around window frames, and in your attic or crawl space before or alongside any ant treatment, since eliminating the moisture source is key to preventing them from coming back.
Can carpenter ants in walls cause structural damage to my house?
Yes, but it typically takes several years of unchecked activity to cause serious structural damage — they’re not as fast or destructive as termites. A single mature colony can contain 3,000 or more workers, and over time their tunneling can significantly weaken joists, beams, and studs. If you’ve had an active infestation for more than a year or notice soft, hollow-sounding wood, it’s a good idea to have a contractor inspect the affected areas along with getting pest control treatment.
Disclaimer: This article is for informational purposes only and isn’t a substitute for professional pest control advice. Always read and follow the product label instructions exactly — label directions are legally binding and vary by brand and active ingredient. Keep all pesticides, baits and traps away from children and pets, ventilate treated areas as directed, and consider calling a licensed pest control professional if an infestation is large, recurring, or involves a structural pest like termites or carpenter ants.