
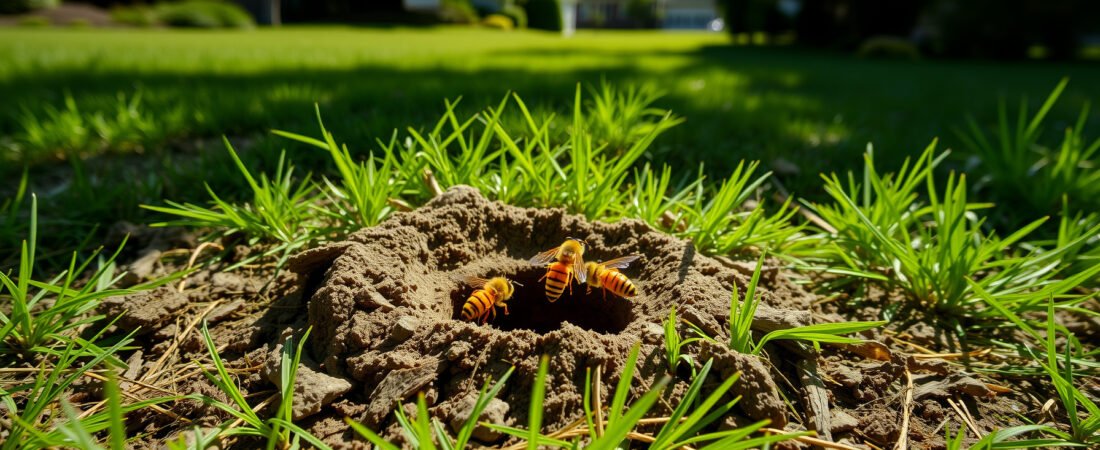
A single yellow jacket nest in the ground can contain between 1,500 and 15,000 workers by late summer — and the colony will defend every inch of that territory. Here’s what almost nobody tells you: the nest you’re trying to kill probably isn’t where you think it is. The entry hole you see in your lawn is just the front door. The actual brood chambers can extend 12 to 18 inches underground, branching in directions that have nothing to do with where you’re pouring, spraying, or dumping. That gap between where you treat and where the colony actually lives is exactly why so many DIY attempts fail on the first, second, and sometimes third try.
Why Ground Yellow Jacket Nests Are Harder to Kill Than Any Other Wasp Nest
Aerial wasp nests — the papery ones dangling from eaves — are almost embarrassingly easy to deal with. You can see the whole structure, coat it with a pyrethroid spray at night, and be done with it. Ground nests are a completely different problem because the colony is insulated from treatment by several inches of soil, and the underground architecture is designed in a way that creates natural barriers against liquid insecticides. A single application of whatever you grabbed from the hardware store usually only kills the foragers near the entrance, not the queen, not the larvae, and not the 80% of the colony that’s deeper in the nest.
Yellow jackets also prefer nesting in pre-existing cavities — abandoned rodent burrows are a favorite, which means the tunnel system can be far more elaborate than anything they excavated themselves. That old mole run under your garden? It’s the exact kind of real estate a yellow jacket queen scouts for in spring. This is why the nest entrance is often offset from the main colony mass by a foot or more in any direction.
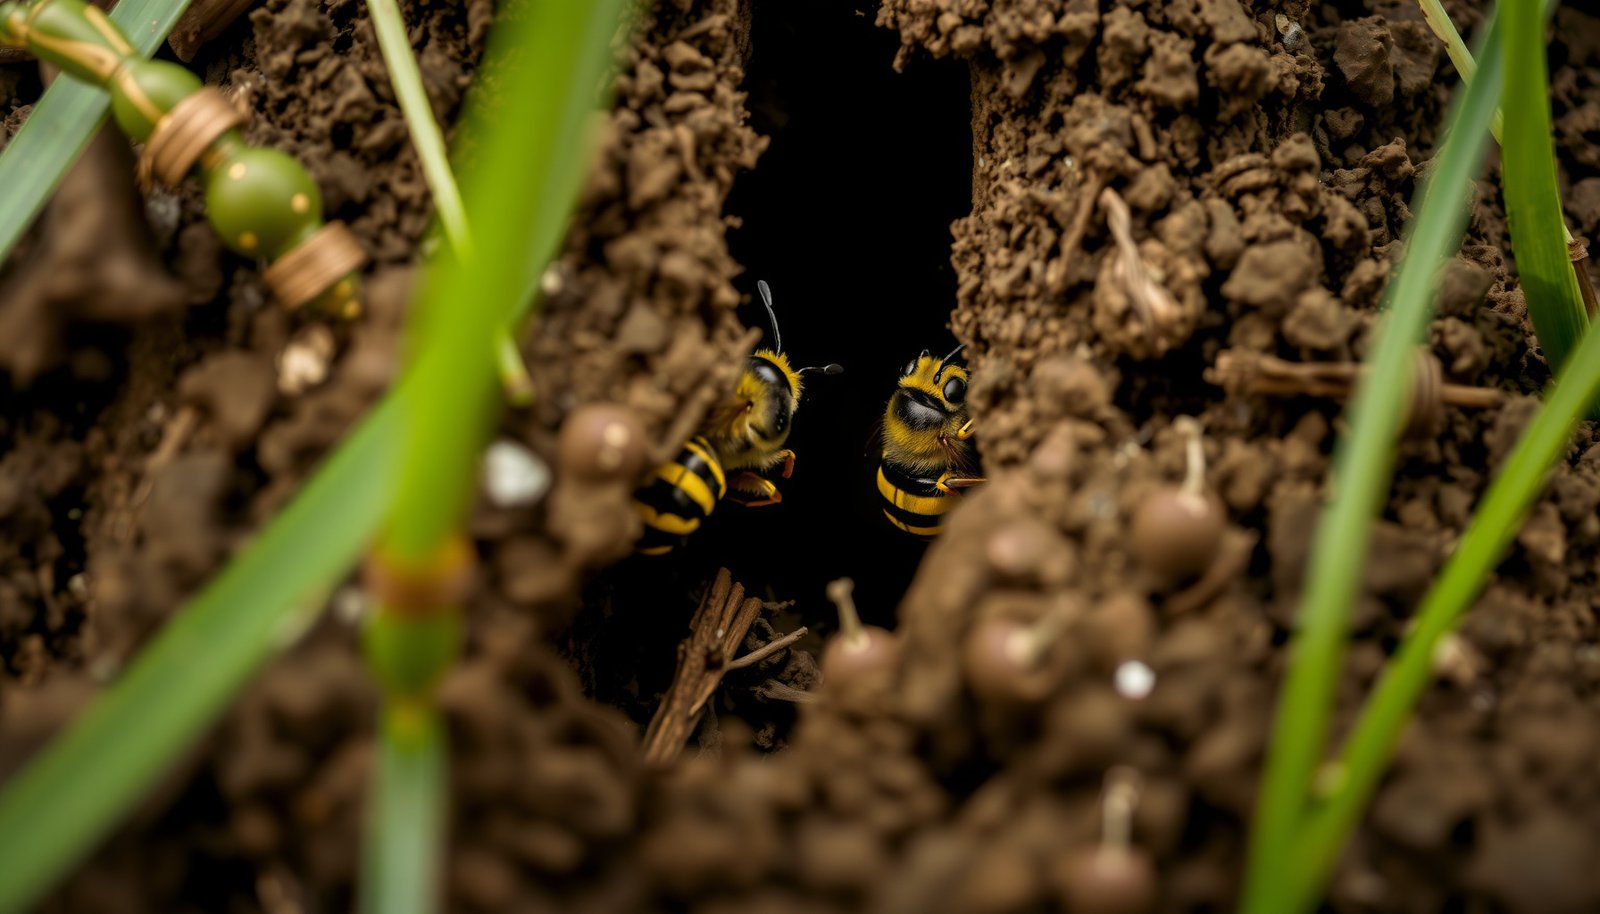
This close-up view of a ground yellow jacket nest entrance shows how deceptively small and ordinary the opening looks — understanding that the tunnel drops steeply before branching is the key to choosing the right treatment method and application depth.
When Should You Actually Treat a Ground Yellow Jacket Nest?
Timing isn’t just about avoiding getting stung — it directly determines whether your treatment will work at all. The best window is late evening or pre-dawn when temperatures drop below 50°F. At that temperature, yellow jackets are metabolically sluggish and clustered deep in the nest rather than spread through foraging tunnels near the surface. Treating during the day when workers are actively foraging means a large portion of the colony isn’t even home, and those returning foragers will encounter only a treated entrance, not a treated colony.
Seasonally, late summer to early fall (August through October) is when ground nests are at peak size and peak aggression — colonies that started with a single queen in May have had all summer to build. Counterintuitively, this is also when treatment is most satisfying because you’re eliminating a fully-mature colony rather than just disrupting a small one. If you treat too early in the season, a surviving queen can simply re-establish. Wait until the colony is large enough that complete elimination is the goal, then hit it hard.
What Actually Works: The Right Products and How to Apply Them Correctly
The product category matters more than the brand name. There are essentially three approaches that have reliable track records for ground nests — dust insecticides, liquid drenches, and aerosol foam — and they work through completely different mechanisms. Knowing which one fits your specific situation will save you two or three failed attempts.
- Insecticide dust (carbaryl or deltamethrin-based): This is the most consistently effective option for ground nests. Dust particles adhere to the exoskeleton of every wasp that passes through the treated entrance tunnel, then get carried into the nest on their bodies. Within 24–48 hours, the contamination spreads through grooming behavior to workers and often to the queen. Apply 1–2 tablespoons directly into the entrance hole at night using a hand duster or squeeze bottle — do not tamp it down or cover the hole immediately.
- Liquid pyrethroid drench (bifenthrin, cyfluthrin): Mix according to label directions and slowly pour 1–2 gallons directly into the entrance hole. The volume forces the insecticide deep into the tunnel system and reaches chambers that surface sprays never contact. Move fast and move away — even sluggish workers will respond if disturbed enough.
- Aerosol wasp freeze spray: Best for small or newly-established nests where the colony is still compact. Shoot the entire can into the entrance in one sustained burst to freeze workers at the entrance and penetrate the first few inches of tunnel. This is less effective on large, mature colonies with deep chambers.
- Dish soap and boiling water: Widely recommended online, rarely effective in practice. Boiling water cools rapidly as it soaks into soil and almost never reaches the main brood chambers. Dish soap disrupts surface tension for crawling insects but doesn’t travel as a lethal concentration to the depths where the colony lives. Skip this one.
- Sealing the entrance after treatment: Wait at least 48–72 hours before sealing the entrance. Premature sealing traps returning foragers outside, where they aggressively cluster around the now-blocked hole — and they will dig a new entrance if the colony is still alive. Once you see no activity for two full days, seal with gravel or compacted soil.
One detail that genuinely surprises people: insecticide dust outperforms liquid treatments in most soil types because it doesn’t get absorbed into the earth before reaching the colony. Liquid drenches work best in sandy, loose soil where the liquid flows freely through tunnel systems. Dense clay soil absorbs and disperses a liquid treatment before it reaches its target.
“The single biggest mistake I see homeowners make with ground nests is treating the entrance as if that’s the whole nest. The tunnel to the main chamber is often 12 inches or longer and bends — meaning any spray or pour that doesn’t have serious penetrating volume will just treat the first three inches of tunnel and leave the colony intact. Dust formulations win here because the workers carry the active ingredient in themselves, doing the work for you.”
Dr. Marcus Elway, Board-Certified Entomologist and Urban Pest Management Specialist, Purdue University Extension
How Do You Know If the Nest Is Actually Dead?
This is where most people get stung — literally and figuratively. A treated nest can look inactive for 12 to 24 hours while workers are immobilized but not dead, and survivors will resume normal activity the following morning as if nothing happened. “No activity at the entrance right now” does not mean the nest is eliminated. You need to watch the entrance at multiple points across 48 to 72 hours to confirm the colony is truly gone.
Here’s a reliable confirmation method: place a small piece of raw meat or a sugar-water cotton ball 6 to 8 feet from the nest entrance 72 hours after treatment. If the colony is alive, foragers will find it within 15–20 minutes. If nothing appears after 45 minutes on two separate days, the colony is almost certainly dead. Picture this — you’ve treated the nest, sealed it, told yourself it’s done, and then three days later you’re mowing the lawn and the mower vibration reopens a secondary tunnel that you didn’t know existed, releasing 200 still-living workers. That’s not a hypothetical. It’s the kind of scenario that accounts for a large share of “I thought it was dead” stinging incidents.
Pro-Tip: Wear disposable nitrile gloves when handling insecticide dust and immediately change any clothing that yellow jackets made contact with before going back inside — yellow jackets release an alarm pheromone when disturbed, and traces of it on your clothes will trigger defensive behavior from any surviving workers even hours later.
What to Do When the Nest Is in a Difficult or Dangerous Location
Ground nests under concrete slabs, deck footings, retaining walls, or at the base of a fence post present a genuine problem — you can’t pour or dust into a hole you can’t easily access, and you definitely can’t tell how far the tunnel network extends beneath a hard surface. This is the honest situation where DIY stops being the smart call. A colony nesting under a concrete patio can have the main brood chamber 18 or more inches from the visible entrance, completely inaccessible to any product you can apply without specialized equipment.
Whether to call a professional depends on a few real variables, not just personal comfort level. Colony size, access difficulty, proximity to a door or play area, and whether anyone in your household has a venom allergy are all factors that genuinely shift the risk calculation. A licensed pest control technician has access to pressurized dust application tools that force insecticide dust several feet into tunnel systems — something no consumer product can replicate. The cost typically runs $100–$300 depending on location and nest size, which is reasonable if the alternative is a half-treated, agitated colony 8 feet from your back door.
| Treatment Method | Best For | Effectiveness on Deep Nests | Typical Cost |
|---|---|---|---|
| Insecticide dust (DIY) | Accessible holes in open soil | High — workers spread it internally | $10–$25 |
| Liquid pyrethroid drench (DIY) | Sandy/loose soil, shallow nests | Moderate — soil type dependent | $15–$35 |
| Aerosol freeze spray (DIY) | Small or new nests | Low on mature colonies | $8–$18 |
| Professional pressurized dust treatment | Deep nests, hard-to-access locations, large colonies | Very high | $100–$300 |
One thing worth knowing about professional treatments: much like the question of who pays for bed bug extermination in rental situations, the question of who’s responsible for ground wasp nest removal on rental or shared property isn’t always obvious. If the nest is on a landlord’s property and poses a health and safety risk, the obligation to treat it typically falls on the property owner — and it’s worth getting that in writing before you spend your own money on it.
How to Stop Ground Yellow Jacket Nests From Coming Back Next Year
Yellow jackets don’t reuse old nests — each spring, a newly-mated queen starts from scratch. But they absolutely reuse the same areas of your yard, especially spots that previously hosted a successful colony, because the old tunnel network makes construction dramatically easier. The same corner of your garden where you battled a nest this year is genuinely more likely to host one next spring than any other part of your yard.
Prevention focuses on two things: removing existing tunnel systems and reducing what makes your yard attractive to a scouting queen. After successfully treating a nest, excavate the tunnel entrance and collapse as much of the old burrow as you can find — fill it with tightly-packed gravel or compacted soil, not just loose dirt, which a new queen can excavate with minimal effort. Beyond that:
- Control mole and vole activity — their abandoned burrows are prime yellow jacket real estate and eliminating that infrastructure removes the easiest nesting sites
- Keep garbage cans with tight-fitting lids and rinse sweet residue from recycling — yellow jacket foragers that find reliable food sources near your yard will scout nearby ground for nesting sites
- Treat the soil around known previous nest sites in early spring with a labeled perimeter granule insecticide — this won’t kill a queen outright but will discourage her from excavating in that zone
- Hang a commercial fake wasp nest decoy in late spring before colonies establish — yellow jackets are territorial and will avoid areas where they believe a colony already exists; this works best as an early-season deterrent, not a cure for an active nest
- Walk your lawn in May and June looking for the earliest signs of ground nest activity — a small hole with a few workers coming and going is a colony of maybe 50–200 individuals and is dramatically easier to eliminate than the 5,000-worker nest it becomes by August
Just as you’d research the most effective options before buying a targeted pest product — the way you’d compare options when looking for something like the best indoor-safe fruit fly and gnat sprays — getting the right product category right for ground yellow jackets is half the battle before you even step outside.
The hardest part about ground yellow jacket nests isn’t the treatment — it’s the patience to wait for the right conditions, confirm the colony is truly gone, and follow through on prevention before next spring’s queens start scouting. Get that sequence right and you won’t be dealing with the same patch of lawn two summers in a row.
Frequently Asked Questions
What kills yellow jackets in the ground instantly?
Pyrethrin-based aerosol sprays labeled for wasps and hornets work the fastest — you’ll see results within seconds of direct contact. For a DIY option, pouring boiling water into the nest entrance kills a large portion of the colony immediately, though it’s rarely 100% effective on the first try. Either way, treat the nest at night when yellow jackets are less active and inside the nest.
How do I find a yellow jacket nest in the ground?
Watch where the yellow jackets are flying and follow their flight path back to the source — they’ll usually fly in a straight line to the nest entrance. The opening is typically a small hole about the size of a quarter, often hidden under grass, a tree root, or a pile of leaves. You may hear a faint buzzing sound coming from the ground if the colony is large.
How long does it take to get rid of yellow jackets in the ground?
Most insecticide dust treatments, like carbaryl or permethrin, kill the colony within 24 to 72 hours. If you’re dealing with a large, established nest — which can hold 1,500 to 15,000 workers — it may take a second treatment after 5 to 7 days to finish off stragglers. Don’t seal the nest entrance right away; you want foragers returning to the nest to carry the insecticide in.
Is it safe to pour gasoline down a yellow jacket nest?
No — pouring gasoline or other flammable liquids into a ground nest is dangerous and illegal in many states. There’s a real risk of fire, explosion, and serious injury, plus it contaminates the soil and groundwater. Stick to EPA-registered insecticide dusts or sprays, which are both safer and more effective.
When should I call an exterminator for yellow jackets in the ground?
You should call a professional if the nest is near a doorway, play area, or anywhere people walk frequently, or if anyone in your household is allergic to stings. Large colonies — anything you estimate to be over a few hundred workers — are also worth handing off to a pro. Exterminators typically charge between $100 and $400 depending on nest size and location, and most offer a follow-up visit if the colony isn’t fully eliminated.
Disclaimer: This article is for informational purposes only and isn’t a substitute for professional pest control advice. Always read and follow the product label instructions exactly — label directions are legally binding and vary by brand and active ingredient. Keep all pesticides, baits and traps away from children and pets, ventilate treated areas as directed, and consider calling a licensed pest control professional if an infestation is large, recurring, or involves a structural pest like termites or carpenter ants.