
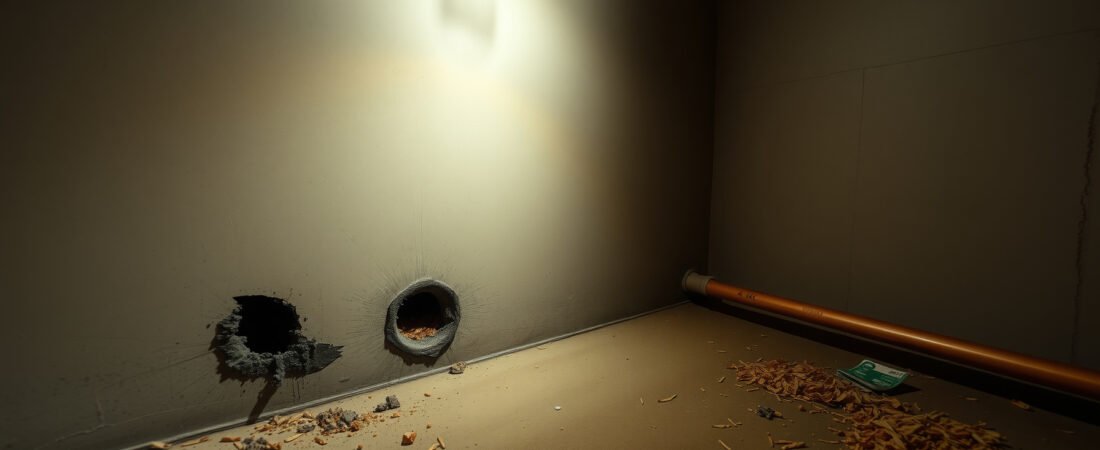
A mouse hole that looks like a cartoon — round, smooth-edged, the size of a golf ball — does not exist in your house. That image is the single biggest reason homeowners miss active entry points for months. Real mice holes are ragged, often smaller than a dime, and usually hidden somewhere you’d never think to look. By the time you spot one that’s obvious, the mouse using it has probably been coming and going for weeks.
What Do Mice Holes Actually Look Like in a Real House?
Actual mouse entry points are almost never holes in the traditional sense — they’re gaps, cracks, and compromised material that mice exploit or enlarge. A mouse can squeeze through an opening as small as 1/4 inch, which is roughly the diameter of a pencil eraser. What you’re looking for is less “hole” and more “damage with dark edges.”
The defining visual clue isn’t the shape of the gap — it’s the grease and rub marks around it. Mice have oily fur, and they use the same routes repeatedly, depositing dark smudging along any edge they brush against. A gap in your baseboard with a dark, greasy halo around it is a far more reliable indicator of active mouse use than the size of the opening itself.
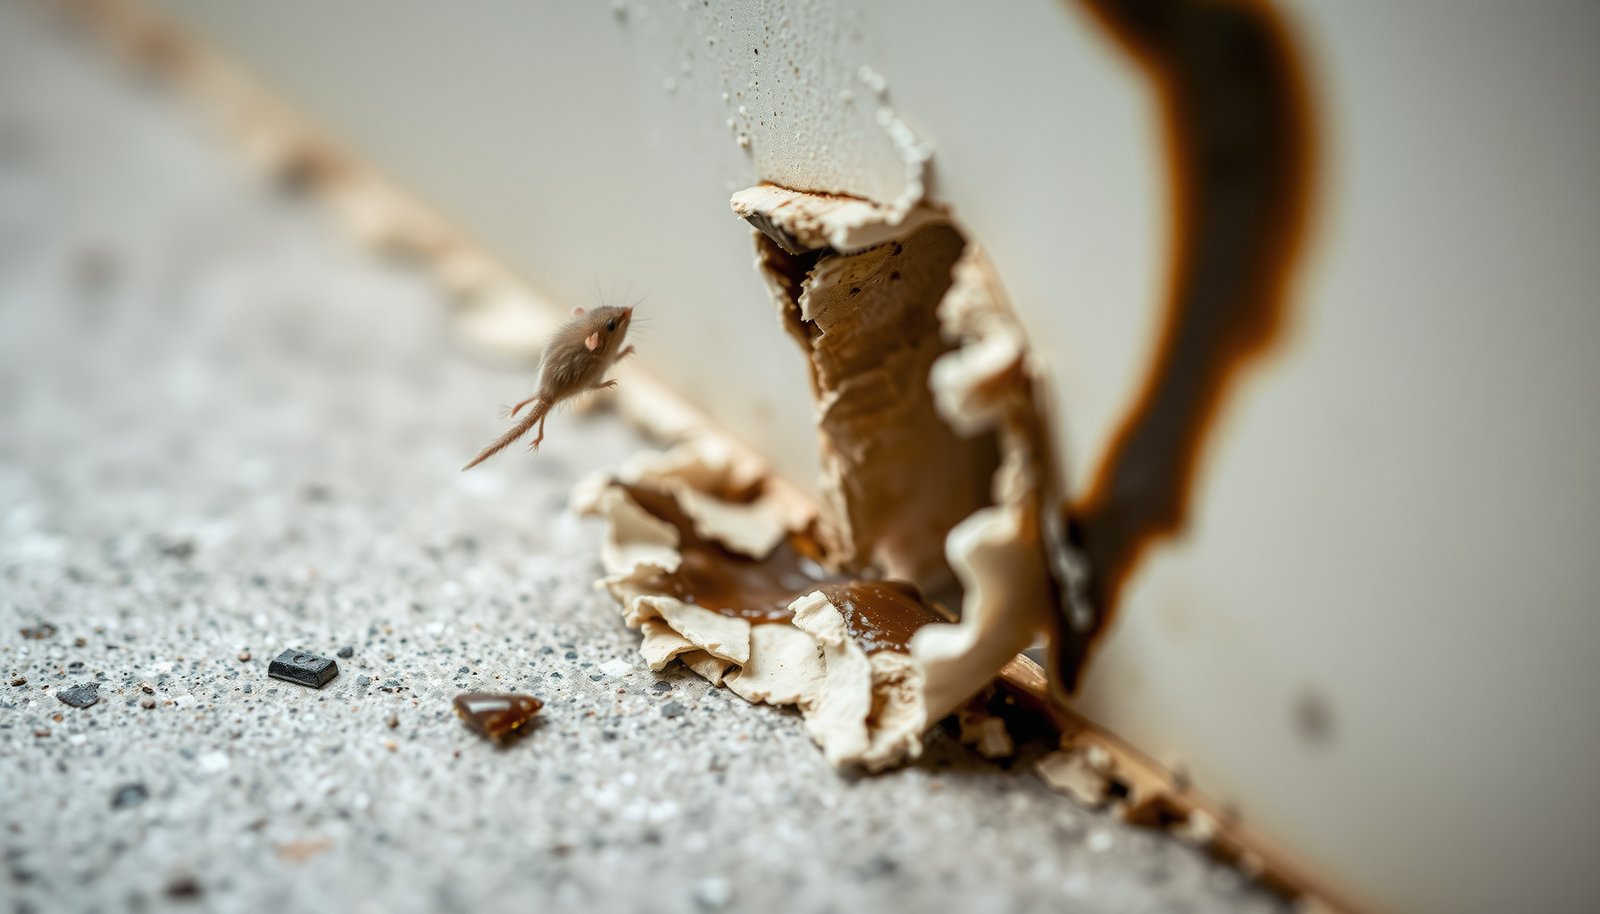
This close-up shows the telltale grease smearing and gnawed, irregular edges that distinguish a real mouse entry point from ordinary household wear — details that are easy to overlook until you know exactly what you’re comparing against.
Where Are Mice Actually Getting In? The Locations Most People Skip
The front door and window frames get all the attention, but mice rarely use obvious entryways. They follow pipes, wires, and HVAC lines — infrastructure that punches through your walls, foundation, and floors — and those penetration points are almost never sealed properly after installation. Picture this: a plumber runs a new water line under your kitchen sink, leaves a 3/4-inch gap around the pipe, and a mouse finds it within the same week. This happens constantly, and homeowners don’t discover it for months because it’s at the back of a dark cabinet.
Here are the locations to check systematically, ranked by how often they’re actually used by mice:
- Utility penetrations under sinks and behind appliances — any gap around water supply lines, drain pipes, or gas lines that passes through a cabinet floor or wall. These are almost never sealed by contractors.
- Foundation cracks and weep holes — brick veneer construction has intentional weep holes for moisture drainage that are exactly the right size for a mouse. They’re usually at ground level and completely overlooked.
- Where exterior walls meet the sill plate — the wooden plate sitting on your foundation often has gaps where it doesn’t sit perfectly flush. This is one of the most common entry zones in older homes.
- Dryer vents and exhaust fan covers — plastic louvered covers degrade and warp. If the flap doesn’t fully close or is missing, you have an open conduit from the outside directly into your wall cavity.
- Garage door weatherstripping gaps — the bottom seal of most residential garage doors doesn’t make perfect contact with the floor. A mouse doesn’t need much. A 1/4-inch low spot is enough.
- Roof-line entry at the soffit — where the fascia board meets the soffit, gaps routinely open up as wood shifts with temperature. Mice will climb siding, downspouts, and nearby shrubs to get there.
How Do You Tell a Fresh Entry Point from an Old One?
Not every gnawed gap is an active entry point. Wood rots, animals come and go, and sometimes you’re looking at damage from a mouse that’s long gone. The difference matters because you don’t want to seal an entry point while a mouse is still inside — you’d trap it in the wall, and a dying mouse inside your walls creates an entirely different problem.
Fresh entry points have a few consistent markers that distinguish them from old damage:
- Light-colored wood exposed at gnaw edges — fresh gnawing reveals pale, unstained wood. Old gnaw marks are darker because the exposed wood oxidizes and absorbs dust over time.
- Droppings that are still moist and shiny — fresh mouse droppings have a moist, glossy surface. Droppings older than 48-72 hours start to dry out and become dull gray. Finding them directly at or near a gap is significant.
- Smear marks that transfer to a white cloth — press a white paper towel against the edges of a suspected entry point. A fresh grease rub mark will leave a visible brown-gray smear. Old marks are drier and transfer less readily.
- Scattered nesting material nearby — shredded paper, insulation fibers, or fabric scraps within a few feet of a gap suggest active use. Mice carry nesting material through their established routes.
- Footprints in dust or flour — lay a thin line of flour or baby powder across suspected pathways near a gap. Check within 24 hours. Tiny four-toed prints (front feet) and five-toed prints (back feet) confirm active traffic.
“Homeowners consistently underestimate how small an active entry point can be. I’ve found fully active mouse runs through gaps that were barely 3/8 of an inch at their widest. The gnaw marks and grease rubs are the story — the hole size alone will mislead you every time. Always verify activity before sealing, or you risk entombing an animal that’s already inside.”
Dr. Marcus Tibbett, Board-Certified Entomologist and Urban Pest Management Consultant, member of the Entomological Society of America
What Does the Surrounding Damage Tell You About the Entry Point?
The hole itself is actually the least informative part of a mouse entry point. The context around it — what the mouse had to chew through, what’s scattered nearby, how it connects to the rest of your home — tells you far more about the infestation’s size, age, and access routes than the gap dimensions ever will. This is the thing most inspection guides completely ignore.
Here’s a comparison of what different types of entry point damage indicate about the severity and age of your problem:
| What You See | What It Likely Means | Urgency Level |
|---|---|---|
| Small gap with dark grease marks and fresh droppings within 12 inches | Active entry point, currently in use | High — address within 24-48 hours |
| Gnawed drywall with pale exposed material and no droppings nearby | Possible entry point; fresh but no confirmed recent traffic | Medium — monitor with flour test, then seal |
| Old, darkened gnaw marks with dried-out droppings and no grease transfer | Historical entry point, likely inactive | Low — seal to prevent re-use, but not urgent |
| Chewed pipe insulation or wiring alongside a gap | Established run with extended mouse presence; potential secondary damage | High — inspect for wiring damage before sealing |
Chewed wiring is the detail that changes everything. A mouse entry point that’s just a gap in drywall is a pest problem. A mouse entry point near gnawed electrical wiring is a fire risk. The National Fire Protection Association estimates that rodents are responsible for roughly 20-25% of house fires with undetermined causes — and the entry point is where that damage chain starts. If you find a suspected entry point near any wiring, treat it as an electrical inspection issue first, pest issue second.
Pro-Tip: Before sealing any entry point, stuff it temporarily with steel wool and wait 48 hours. If a mouse is inside and using the gap to exit, it won’t be able to push through the steel wool on its way back in — and you won’t trap it inside your walls. Once you’re confident no mouse is actively using the gap from the inside, seal it permanently with hardware cloth, sheet metal flashing, or a rodent-exclusion foam rated for gaps under 1/2 inch.
How Do You Seal Mouse Entry Points So They Stay Sealed?
Sealing a mouse hole with expanding foam from a hardware store is one of those fixes that feels satisfying and accomplishes almost nothing. Mice chew through standard expanding foam in under an hour — it’s essentially lightweight polyurethane, which is no match for rodent incisors that generate around 12,000 pounds per square inch of bite force. You need materials with actual physical barrier properties.
The approach that actually holds depends on the gap size and location. Gaps under 1/2 inch in walls or floors can be sealed with copper mesh or steel wool packed tightly, then covered with a silicone caulk that bonds to the surrounding material. Gaps larger than 1/2 inch need a rigid barrier — 1/4-inch hardware cloth (galvanized steel mesh) cut to size and secured with screws, not staples, which mice can pop out. Any penetration point for pipes or conduit should be fitted with a metal escutcheon plate or stuffed with copper mesh before caulking. This is also the kind of detailed documentation that matters if you’re a renter trying to establish that your landlord failed to maintain the property — a clear record of where entry points were found and what condition they were in can be essential if you need to legally document a pest problem for a landlord dispute.
One honest nuance worth acknowledging: in older homes with fieldstone foundations, balloon-frame construction, or significant settling, the number of potential entry points can be genuinely overwhelming. You might seal ten gaps and find that mice are still getting in through areas you can’t easily access — inside finished wall cavities, under concrete slabs, or through the foundation itself. In those situations, exclusion alone won’t solve the problem fast enough, and you’ll need to combine sealing with an active trapping program run simultaneously. The sealing prevents new entries; the traps address what’s already inside. Running both in parallel is standard practice for serious infestations, and it’s roughly the same logic behind why pest control treatments for roaches require multiple rounds rather than a single application.
Once you’ve sealed everything you can find, the most important thing you can do is come back in two weeks and look for new grease marks. Mice will probe every sealed point and any new gaps they find. If you see fresh rub marks at a location you sealed, that tells you the mouse either found a new point or the seal failed. It’s not a sign that your effort was wasted — it’s information that directs your next step.
Identifying entry points isn’t a one-time inspection. It’s an ongoing process of reading what your house is telling you. A house that’s been fully inspected, documented, and sealed with the right materials will stop being a viable target — not because mice gave up, but because you removed what they came for: an easy way in.
Frequently Asked Questions
What do mice holes look like in walls?
Mice holes in walls are typically small, ragged openings about the size of a dime — roughly 1/4 inch in diameter. The edges are often gnawed and rough, not clean-cut, and you’ll usually spot dark grease marks or rub stains around the hole from the oils in the mouse’s fur.
How do I know if a hole in my house is from a mouse or a rat?
Mouse entry holes are smaller, around 1/4 to 1/2 inch wide, while rat holes are at least 1 to 2 inches across and often have a cleaner, more burrowed appearance. Rats also tend to create holes at ground level near foundations, while mice are more likely to squeeze through gaps higher up near pipes or baseboards.
What are signs of mice entry points besides holes?
Besides the holes themselves, look for dark smear marks along walls and baseboards, small black droppings clustered nearby, and gnaw marks on wood, drywall, or insulation. You might also notice a musty odor close to active entry points, especially in enclosed spaces like cabinets or crawl spaces.
Where do mice most commonly enter a house?
Mice most often get in through gaps around utility pipes, dryer vents, door frames, and where the foundation meets the siding. They can squeeze through any opening larger than 1/4 inch, so even a small crack where a pipe enters a wall is enough for them to get inside.
What should I use to seal mice entry holes?
Steel wool stuffed into the hole and secured with caulk is one of the most effective options because mice can’t chew through it. For larger gaps, use hardware cloth or metal flashing, and avoid using foam alone since mice can gnaw right through it within a day or two.