
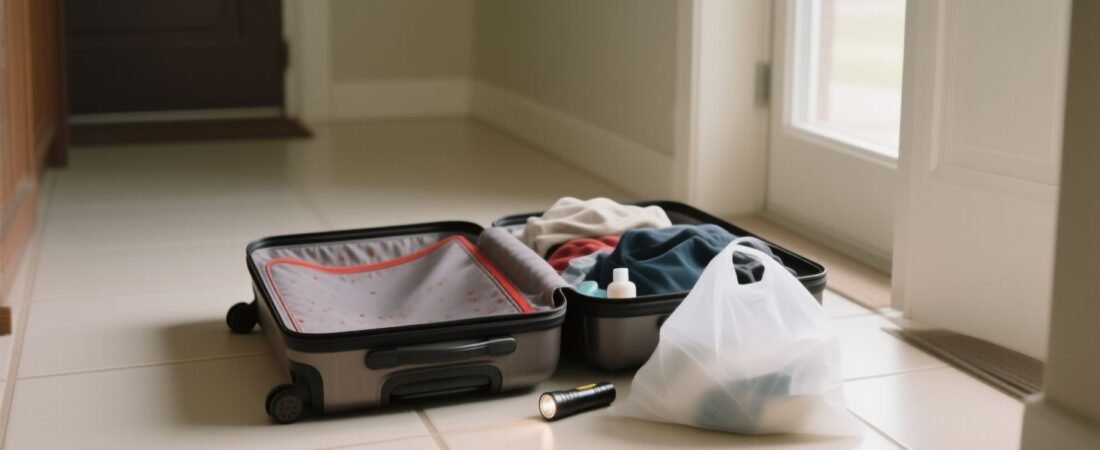
Your luggage is clean. You shook it out, checked the seams, maybe even Googled “bed bugs in luggage” from the hotel room before packing up. And yet — bed bugs don’t travel the way most people think they do, which is exactly why the standard post-trip inspection ritual fails so often. The mistake isn’t skipping the check. It’s checking in the wrong places, at the wrong stage of the bug’s life cycle, and then treating the bag instead of treating the process.
Here’s the bottom line: isolate your luggage before it enters your home, treat it within 24 hours of arrival, and verify with monitoring — not just a visual check. Everything below explains exactly why, and what happens to the homeowners who skip any one of those steps.
Why Bed Bugs in Luggage Are Harder to Detect Than You’ve Been Told
The mental image most travelers have is a fat, rust-colored bug crawling across a suitcase zipper. That bug exists, but it’s not the one you need to worry about. Nymphs — bed bug juveniles in their first two instars — are roughly the size of a sesame seed, nearly translucent, and they tend to hide flat against the interior fabric layers of a bag rather than moving across surfaces. A visual inspection, even a thorough one, has about a 30% detection rate for low-level infestations according to published entomology research. You can look directly at an infested bag and see nothing.
The other factor nobody mentions: bed bugs don’t just ride in the main compartment. They prefer the rigid framework seams, the interior pockets where fabric is layered and stitched, and the wheels and wheel wells of hard-sided luggage — spots where pressure and darkness mimic the harborage conditions they look for in a mattress. A single gravid female can lay 1–5 eggs per day and up to 500 eggs in her lifetime. She doesn’t need a mate present in the bag to start that process if she’s already been fertilized at the source.
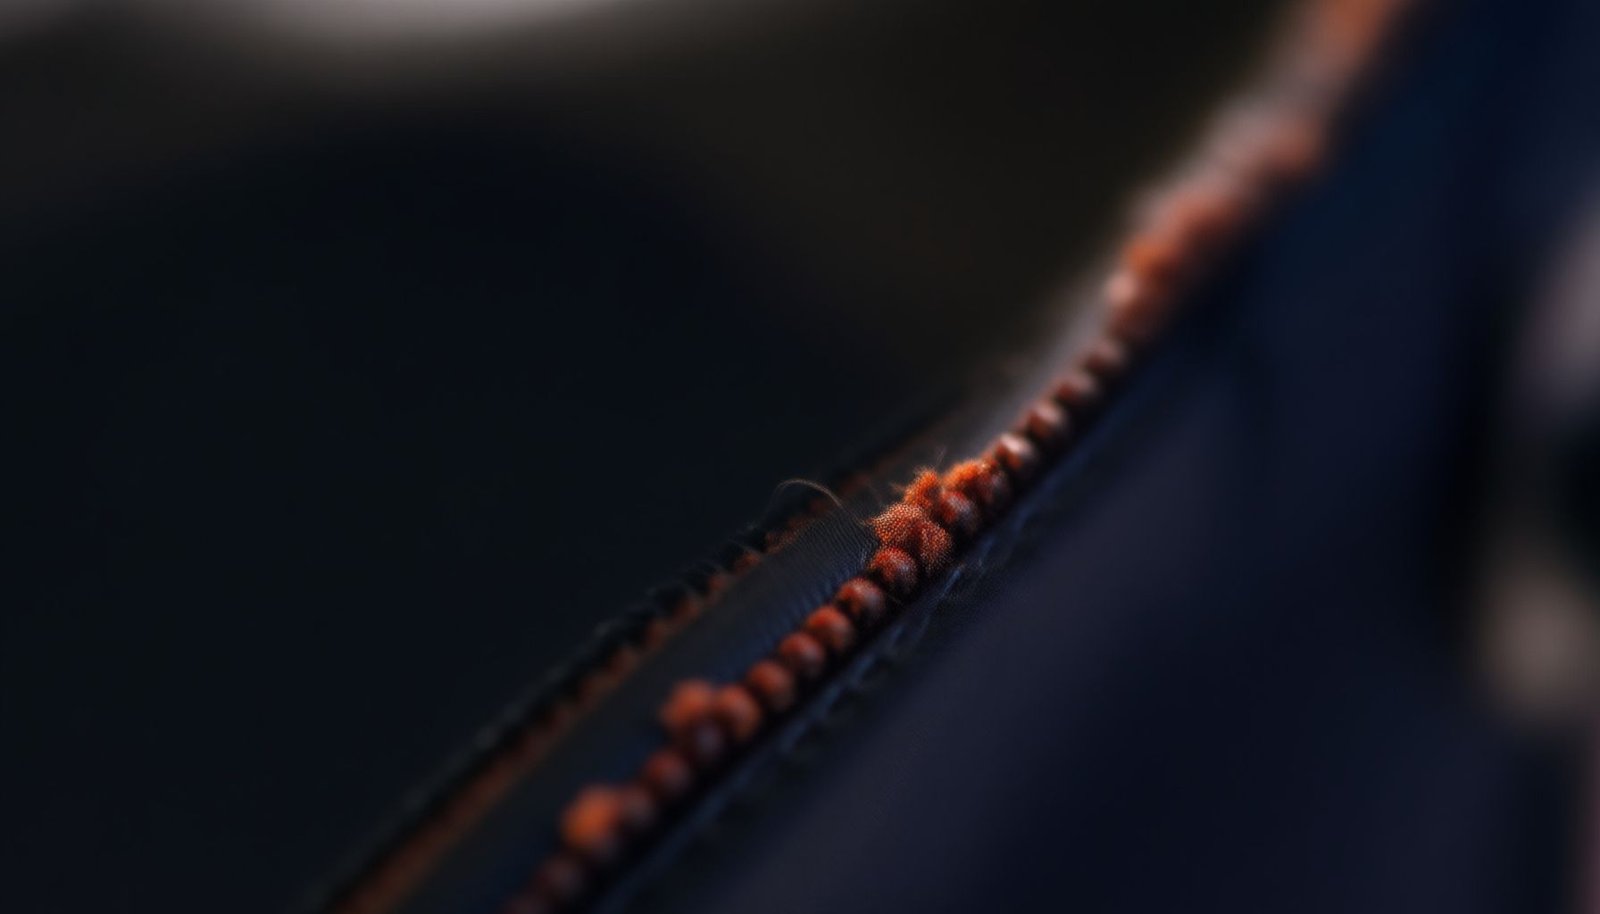
This close-up shows the kinds of fabric seams and recessed zipper tracks where bed bug nymphs and eggs actually hide — not on the outer surface where most travelers look first.
Where Should You Actually Treat Luggage — Inside, Outside, or Garage?
Location matters more than almost any other variable in this process, and it’s the step most guides gloss over with a single sentence like “keep luggage out of the bedroom.” Picture this: you get home from a five-day work trip, drop your bag by the front door, and start unpacking straight onto the bedroom floor. That’s the single most common way a hotel-acquired bed bug makes it into a mattress — not because the pest jumped out mid-flight, but because the bag sat next to your bed for 20 minutes while you sorted clothes. Bed bugs can travel 3–4 feet per minute on a flat surface. The distance from a carry-on on your bedroom carpet to the underside of your bed frame is nothing.
The correct location for post-travel luggage treatment is a hard-surface, isolated space: a garage floor, a bathtub, a utility room — somewhere with tile or concrete that makes any escapees immediately visible and gives you a working perimeter. Don’t use a carpet-floored room. Don’t set the bag on upholstered furniture “just for a second.” The garage-first rule applies even if you’re 90% sure the hotel was fine, because the risk-to-effort ratio of one extra step is never worth arguing with.
What Actually Kills Bed Bugs in Luggage (and What Doesn’t)
Heat is the most reliable kill method — not warm, not “hot enough to be uncomfortable,” but sustained heat above 118°F (48°C) for at least 90 minutes. That’s the thermal death point for bed bugs at all life stages, including eggs. A portable luggage heat chamber like a ZappBug or PackTite unit reaches this consistently. A car trunk in summer gets close, but surface temperature and air temperature inside a bag aren’t the same thing — the interior of a packed bag can lag 20–30 degrees behind ambient air temperature, which means a car parked in 100°F heat may not actually finish the job on a densely packed suitcase.
Cold works too, but the bar is higher than most people realize. Bed bugs die at 0°F (-18°C), but only after 4 continuous days at that temperature. A standard home freezer that cycles between 0°F and 10°F won’t reliably kill eggs — you need a deep freezer set at or below 0°F maintained for at least 96 hours straight. Chemical sprays applied to luggage interiors have spotty results because they can’t reach eggs effectively, residual contact killers require a bug to walk across a treated surface, and most sprays are not labeled for use on fabrics you’ll pack clothing into. Here’s a breakdown of common treatment methods and their realistic effectiveness:
| Treatment Method | Kills Adults | Kills Eggs | Practical at Home? |
|---|---|---|---|
| Portable heat chamber (118°F+, 90 min) | Yes | Yes | Yes — most reliable option |
| Deep freezer (0°F, 96 hours) | Yes | Yes | Yes — but slow and space-limited |
| Car trunk in summer heat | Sometimes | Unreliable | Inconsistent — bag interior lags |
| Residual chemical spray | Yes (contact) | No | Limited — doesn’t reach harborage |
How to Decontaminate Your Clothes and Contents Without Spreading Bugs
The clothing is actually the easier part — and getting this step right first reduces the risk of spreading anything during the luggage treatment itself. Every item from your bag should go directly into a sealed plastic bag before it leaves the isolated treatment area, then straight into the dryer at high heat for 30 minutes minimum before washing. The dryer — not the washer — is what kills bed bugs. Washing with hot water helps, but water temperature alone doesn’t reliably sustain the thermal threshold long enough. Dry heat is faster and more consistent at eliminating all life stages.
Shoes, belts, toiletry bags, and other non-clothing items need individual attention. Here’s how to handle specific contents that don’t go in the dryer:
- Hard-soled shoes: Inspect the interior and welt carefully, then bag and place in a heat chamber or sealed bag in a deep freezer.
- Toiletry bags and cosmetic pouches: Empty completely, inspect each item, treat the pouch itself with heat, and wipe down hard-surface containers with a damp cloth.
- Electronics (phones, chargers, laptops): Wipe down exteriors and inspect port openings and seams — bed bugs rarely infest electronics but can hide in transit.
- Books, papers, and fabric accessories: Place in a sealed bag and run through a heat chamber, or seal and freeze if heat isn’t an option for delicate items.
- The luggage bag tag and exterior straps: Often overlooked — inspect strap hardware and slide adjusters before putting luggage into storage.
Pro-Tip: Use large, clear zip-lock storage bags for transporting clothes from the isolation area to the dryer — you’ll be able to spot any movement inside before opening the bag, and clear plastic eliminates any guessing.
How Do You Know the Treatment Worked? Verification Matters More Than the Treatment Itself
This is the step that almost nobody includes, and it’s arguably more important than whatever treatment method you chose. Treating a bag and then storing it in a closet immediately is like treating a wound and never checking if it healed. Even a well-executed heat treatment has a small failure margin if the bag wasn’t fully unpacked, if a pocket was accidentally left zipped, or if the heat chamber’s sensor was reading ambient air temperature rather than the temperature inside the bag itself. Verification closes that margin.
The practical approach is to store treated luggage on a hard floor, elevated slightly if possible, and place bed bug interceptors beneath the feet or corners for 7–10 days after treatment. Interceptors won’t catch every bug, but they will catch any adults that survived and are moving — and movement is what happens when a surviving bug gets hungry. If the interceptors are clean after 10 days and you’ve seen no bites, you can reasonably call the treatment successful. Some pest control professionals also recommend a CO2-based lure trap inside a sealed bag for the same monitoring window, since CO2 mimics the breath of a sleeping host and draws hungry bugs out of harborage.
“The verification window after treating luggage is non-negotiable. Bed bugs can survive over 300 days without feeding in the right conditions — a surviving egg that hatches two weeks later is just as much of an infestation as one you brought in on arrival. Monitoring after treatment is how you actually know, rather than how you hope.”
Dr. Patricia Hawn, BCE — Board Certified Entomologist and urban pest management consultant
One nuance worth acknowledging: the severity of your risk actually varies depending on where you stayed and how long you were there. A single night in a boutique hotel carries a different exposure profile than a week in a budget motel with high turnover. If you’re returning from a longer trip with multiple hotel stays, or from a destination where bed bug prevalence is documented to be higher (dense urban areas, certain tourist-heavy regions), it’s reasonable to add a second verification pass at the 14-day mark rather than just the 10-day window. Eggs hatch in 6–10 days under typical conditions, so a two-week clear from any monitoring device is as close to certainty as you’ll realistically get without lab analysis.
Step-by-Step: The Correct Post-Travel Luggage Protocol
What follows isn’t a generic checklist — it’s the specific sequence that matters, because doing these steps out of order is how bugs spread from bag to bedroom in the time between steps. The order is the point. A lot of guides list these actions without emphasizing that “unpack, then treat” is fundamentally different from “treat, then unpack” in terms of contamination risk.
- Stop at the door: Don’t bring luggage past the entryway or garage until treatment is complete. Set bags on a hard surface immediately — not carpet, not the couch, not near the bedroom door.
- Bag the clothes first: Before anything else, transfer all clothing into sealed plastic bags while still in the isolated area. These go directly to the dryer at high heat for 30+ minutes, then into the washer.
- Empty the bag completely: Remove all contents, inspect each non-clothing item individually, and bag or treat each one separately. Don’t leave anything inside the suitcase during heat treatment — a packed bag doesn’t heat evenly.
- Treat the empty bag: Use a portable heat chamber, a deep-freeze cycle, or a combination — making sure the interior of the bag reaches and sustains the target temperature. Check manufacturer specs on your heat chamber to confirm internal (not ambient) temperature readings.
- Monitor for 7–14 days: Place the treated, empty bag on hard flooring with interceptors under the legs or corners and check them every two days. Don’t store the bag in a closet or under a bed during this window.
- Clear to store: After a clean monitoring period, you can move luggage to standard storage. Consider a sealed storage bag for long-term storage between trips to prevent any future cross-contamination from other household sources.
There’s an interesting parallel in how people approach luggage decontamination versus pantry pest situations — in both cases, the instinct is to throw out what’s obviously contaminated and call it done. But just as grain beetles in a pantry persist because the source isn’t eliminated, a surviving bed bug egg in an untreated bag pocket will simply restart the problem on the next trip or in the next hotel room your bag visits. The process has to be complete.
The counterintuitive insight here — and it’s one that even experienced travelers miss — is that hard-sided luggage is actually harder to decontaminate than soft-sided bags. The rigid internal frame creates gap spaces that soft fabric doesn’t, and the wheel assembly on many rolling suitcases is a near-perfect bed bug harborage: dark, narrow, warm from friction, and almost never inspected. If you’re a frequent traveler, your wheel wells deserve at least as much attention as your main compartment seams.
Getting this protocol right once means you have it for every trip going forward — and that’s genuinely worth something, because bed bugs caught at the luggage stage cost nothing beyond your time. The same infestation caught three weeks later, after it’s moved into a mattress or a wall void, is a different problem entirely: one that typically runs $500–$1,500 for professional heat treatment and weeks of disruption. The prevention window is always the cheapest window.
Frequently Asked Questions
How do I know if I have bed bugs in luggage after a hotel stay?
Check your luggage carefully in a well-lit area or use a flashlight to inspect seams, zippers, pockets, and folds. You’re looking for tiny reddish-brown bugs about 1–7mm long, small white eggs, dark fecal spots, or shed skins. Do this inspection outside or in your garage — never bring potentially infested luggage straight into your bedroom.
What temperature kills bed bugs in luggage?
Bed bugs die when exposed to heat above 120°F (49°C) for at least 90 minutes. You can run a hard-shell suitcase through a hot dryer cycle for 60–90 minutes on high heat if it fits, but always check the manufacturer’s care label first. Soft luggage items and clothing from your bags should go straight into a dryer on high for at least 30 minutes before anything enters your home.
Can bed bugs survive in a sealed plastic bag?
Yes — bed bugs can survive in a sealed plastic bag for several months without a blood meal, so simply bagging your luggage won’t kill them. Sealing is useful for containing them temporarily while you figure out your treatment plan, but it’s not a solution on its own. You’ll still need heat treatment, a bed bug spray, or professional help to actually eliminate them.
Should I throw away my luggage if it has bed bugs?
You don’t have to — most luggage can be treated successfully without tossing it. Heat treatment is your best option: place soft luggage in a dryer on high heat for 30–45 minutes, or use a bed bug heat chamber designed for luggage if you have a hard-shell bag. If the infestation is severe and the bag can’t be treated safely, replacing it may be easier than the risk of spreading bugs through your home.
What spray kills bed bugs in luggage?
Sprays containing isopropyl alcohol (91% concentration), pyrethrin, or permethrin can kill bed bugs on contact and are generally safe to use on luggage after testing a hidden spot for fabric damage. Products like Bedlam Plus or CimeXa dust applied to seams and crevices are commonly used by pest control professionals for luggage treatment. Keep in mind that sprays alone rarely reach every hiding spot, so combining a spray with a heat treatment gives you the best chance of getting rid of all of them.
Disclaimer: This article is for informational purposes only and isn’t a substitute for professional pest control advice. Always read and follow the product label instructions exactly — label directions are legally binding and vary by brand and active ingredient. Keep all pesticides, baits and traps away from children and pets, ventilate treated areas as directed, and consider calling a licensed pest control professional if an infestation is large, recurring, or involves a structural pest like termites or carpenter ants.