
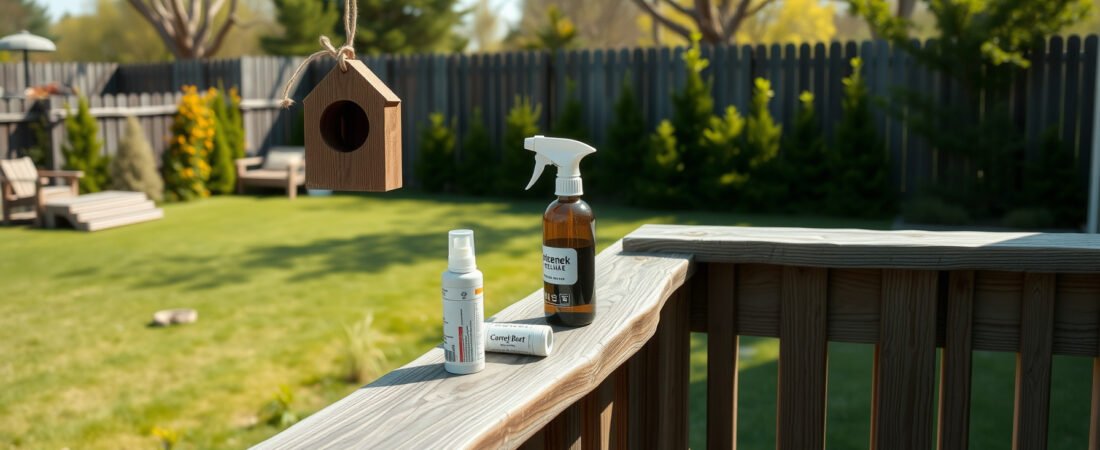
A carpenter bee trap catches bees. That part is obvious. What most people don’t realize is that an empty trap hanging in the wrong spot is actually worse than doing nothing — it gives you false confidence while a female bee is drilling a new 1/2-inch gallery just four feet away from where you hung the thing. The real problem with carpenter bee traps isn’t quality. It’s placement, timing, and the fact that traps alone can’t address an active infestation that’s already inside the wood.
Here’s the bottom line: wood traps work well for interception and prevention, insecticidal dust is the only product that reliably kills bees already inside active galleries, and sprays mostly function as a perimeter deterrent rather than a solution. Using all three in the right sequence is how you actually stop the damage — not by picking one and hoping.
Why Carpenter Bee Traps Alone Won’t Stop Wood Damage
Carpenter bees are solitary nesters, which sounds less scary than a colony — and it is, until you understand how their tunneling actually works. A single female can excavate a gallery up to 10 inches deep in unpainted or weathered softwood, and she’ll reuse that same gallery for years. Meanwhile, her offspring from the previous season often return to the same structure to start new tunnels within 3 to 5 feet of where they hatched. One trap on the corner of your deck doesn’t intercept any of that.
The other thing traps can’t touch is the woodpecker problem. Woodpeckers actively hunt carpenter bee larvae inside those galleries, and the secondary damage they cause — ripping open 2-inch sections of fascia board to get at one larva — is often worse than what the bee herself did. Trapping adult bees reduces future nesting, but it does nothing about the larvae already hibernating in wood through winter. That’s not a knock on traps; it’s just a mechanical reality you need to plan around.
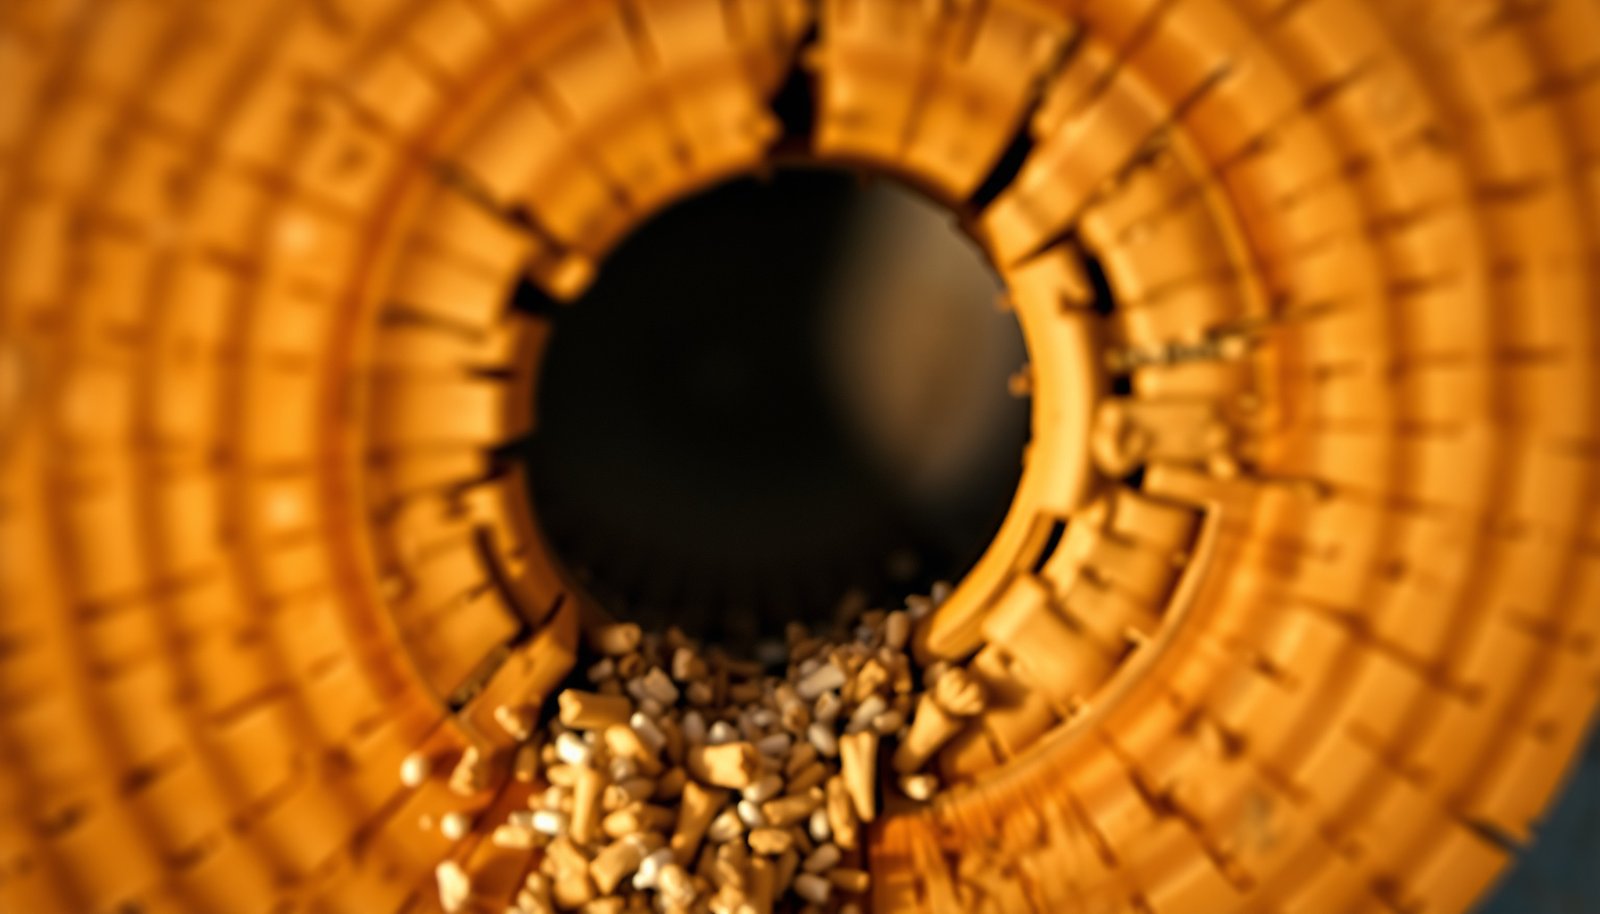
This close-up shows the entrance hole of a wood trap positioned against a structural beam — the angle and proximity to an actual nesting surface is what determines whether a trap intercepts bees or just decorates your porch.
How Do Wood Carpenter Bee Traps Actually Work?
A wood carpenter bee trap is essentially a block of untreated softwood — usually pine — with a pre-drilled 1/2-inch entry hole angled upward into a hollow chamber. The bee enters the hole thinking she’s found or is starting a gallery, moves into the chamber, and can’t figure out how to escape because the exit is below her and bees instinctively fly toward light above them. She dies from dehydration within 24 to 72 hours. There’s no bait, no chemical, no attractant — just geometry working against the bee’s own instincts.
The trap works best when it’s placed directly against a surface where bees are already active, ideally touching a soffit, rafter tail, or deck railing. Hanging it 18 inches away from the structure on a shepherd’s hook, as many homeowners do, cuts trap effectiveness by more than half because you’re not intercepting bees mid-tunnel — you’re hoping they’ll investigate a random floating box. Placement within 6 inches of an active hole, or at the corner of a structure where females patrol for nesting sites, is where these traps earn their reputation.
Which Wood Traps Are Actually Worth Buying?
Not every wood trap is built the same, and the construction details matter more than the brand name. The entry hole must be exactly 1/2 inch in diameter — larger holes let bees turn around and escape, and smaller holes they simply won’t enter. The chamber should be a minimum of 4 inches deep, and the wood should be unfinished, unpainted pine or cedar. Any finish on the wood kills the effectiveness immediately because the bee is looking for raw, workable softwood.
Here’s a breakdown of the most commonly purchased options and what you actually get for the money:
| Trap Type | Best Use Case | Honest Limitation |
|---|---|---|
| Pine box trap (hanging) | Prevention along eaves and rafters | Must be mounted flush to structure, not hanging free |
| Cedar block trap | Decks, fences, exposed beams | Heavier; harder to reposition mid-season |
| Bottle-top trap with jar | Easy monitoring of catch count | Glass jar needs weekly emptying in hot climates |
One legitimate counterintuitive finding: traps made from cedar, which repels many insects, still catch carpenter bees reliably — because the bee isn’t responding to scent, she’s responding to the visual cue and geometry of the entry hole. This is why you’ll also see cedar traps outperform pine in humid climates where pine traps swell and warp after a few rainy weeks.
“Carpenter bee traps are a legitimate tool, but homeowners consistently underestimate how many you need. For a standard 40-foot deck with active nesting, you’d want four to six traps mounted at beam ends and corner posts — not one trap centered on the railing. One trap covering 40 linear feet is like putting a single mousetrap in the middle of the kitchen floor.”
Dr. Michael Bentley, Ph.D., Staff Entomologist, National Pest Management Association
When Should You Use Insecticidal Dust Instead of a Trap?
Picture this: it’s mid-June, you find a perfectly round 1/2-inch hole in your fascia board with fresh sawdust underneath it, and you can hear faint buzzing inside the wood. That’s an active gallery. A trap hanging next to it will catch zero bees — the female is already inside doing her work. This is where insecticidal dust is the only tool that makes mechanical sense.
Dusts like Delta Dust (deltamethrin) or CimeXa (silica gel) work because they cling to the interior walls of the gallery. The bee walks through the treated tunnel, picks up the particles on her body, and dies within 24 to 48 hours. The dust also coats any larvae that hatch later in the season. The sequence matters: treat galleries in late afternoon when the female is inside, leave the hole open for 48 hours to let the bee re-enter, then seal the hole with a wooden dowel and exterior-grade wood filler. Sealing too early traps the bee inside where she’ll chew a new exit hole.
Pro-Tip: Apply dust with a hand bellows duster, not a squeeze bottle. A bellows gives you a controlled puff that travels 4 to 6 inches into the gallery. A squeeze bottle dumps most of the product at the hole entrance where it just falls out. Two puffs per gallery is enough — overapplication packs the dust and actually reduces its clinging effectiveness.
A few things determine whether dust or a trap is your first move:
- Active gallery with fresh sawdust: dust first, trap second for intercepting returning males
- Old sealed holes from a previous season: don’t treat — nest is dormant or abandoned
- New nesting in early spring: traps can intercept females before they commit to a site
- Multiple holes in same beam: dust every open gallery, then hang traps at both ends of the beam
- Painted or stained wood: bees prefer bare wood, so check the paint condition first — fixing peeling paint eliminates the attraction
Do Carpenter Bee Sprays Actually Do Anything Useful?
Sprays occupy a specific and limited role in a carpenter bee strategy, and most of the frustration homeowners have with them comes from expecting sprays to do things they’re not designed to do. A contact spray like Cyzmic CS or Suspend SC applied to the wood surface around gallery openings and along eave lines works as a preventive deterrent — bees land, contact the residual, and either die or move elsewhere. They do not penetrate into galleries more than a fraction of an inch, which is why spraying directly into a hole does almost nothing to a bee that’s 6 inches inside the tunnel.
Residual sprays hold up for roughly 4 to 6 weeks on bare wood, but that number drops sharply on sun-exposed southern exposures where UV degradation is faster. In high-sun environments, you’re looking at reapplication every 3 weeks during active season (late spring through early summer) to maintain any deterrent effect. That’s a real commitment, and for a homeowner with a large structure, it can mean the spray approach is genuinely less practical than people assume. Just as you’d pick a specific treatment method based on the scale of a problem — similar to how choosing between granules and mound treatments for fire ants depends on the severity of the infestation, as detailed in Best Fire Ant Killers: Granules and Mound Treatments Compared — spray selection for carpenter bees needs to match the actual surface area you’re dealing with.
How to Set Up a Full Carpenter Bee Control Strategy That Actually Works
The sequence you use matters as much as the products. Treating dust before traps, traps before sprays, and sealing last is the order that makes sense — not because of any arbitrary rule, but because each step assumes the previous one happened. Sealing galleries before dusting traps surviving bees inside, where they’ll drill new exit tunnels. Hanging traps before dusting active holes means the same female may already be laying eggs 8 inches inside the wood while you’re waiting for her to find the trap.
Here’s a workable sequence for a property that has both old and new carpenter bee activity:
- Identify all active galleries — look for fresh cream-colored sawdust (frass) below holes; old dark holes with no frass are likely abandoned
- Apply insecticidal dust to every open, active gallery — late afternoon, two puffs per hole, leave open 48 hours
- Seal all treated holes — wooden dowel plus paintable caulk, then paint over to eliminate the bare-wood visual cue
- Hang wood traps at every corner and beam end — flush to the surface, within 6 inches of where activity was observed, one trap per 8 to 10 linear feet of exposed structure
- Apply residual spray to surrounding wood surfaces — eaves, fascia, rafter tails — to deter new scouts from landing and probing
- Inspect and empty traps every 2 weeks — dead bees decomposing in the chamber can actually attract secondary pests; a half-full trap that smells of decay may also deter new bees from entering
One honest nuance worth acknowledging: if you’re dealing with a cedar-sided home or a structure with hardwood components, your infestation is likely lighter than you think. Carpenter bees strongly prefer soft, weathered pine, redwood, and Douglas fir. Homes with hardwood siding or composite trim get dramatically less activity. This strategy works differently on a pine pergola versus a composite deck — on composite, you’re mostly dealing with bees investigating but not actually nesting, and traps alone may be sufficient. It’s the same kind of material-dependent logic that applies when identifying whether wood damage comes from beetles rather than bees — if you’re ever unsure what’s actually doing the damage, How to Get Rid of Beetles in the House: All 6 Types walks through the key differences in damage patterns.
Don’t wait until you see bees actively hovering to set up traps. Carpenter bees emerge from overwintering inside those same galleries in early spring — sometimes as early as March in southern states — and they begin investigating new nesting sites almost immediately. Traps hung in late February or early March intercept females before they’ve committed to a location. Traps hung in May are catching bees that have already been drilling for four to six weeks.
The final piece of this that almost nobody talks about is long-term wood maintenance. Carpenter bees aren’t drawn to your home because of a pheromone or food source — they’re drawn to exposed, weathered softwood because it’s physically easier to excavate than fresh-painted or stained wood. Every time you repaint or restain your eaves, fascia, and exposed deck framing, you’re doing more to prevent future nesting than any trap or spray ever will. Traps and dust manage the current season. Properly maintained wood manages the next five.
Frequently Asked Questions
what is the best carpenter bee trap that actually works?
Wood traps with a pre-drilled 1/2-inch entry hole are the most effective option for most homeowners — they mimic natural nesting sites and catch bees without chemicals. Hang them within 6 inches of an active hole or under a roofline overhang where you’ve seen bee activity. Brands like BeeBuilt and Carpenter Bee Inn consistently get strong reviews, but honestly, placement matters more than the brand.
how long does it take for a carpenter bee trap to start catching bees?
Most wood traps start catching bees within 3 to 7 days if they’re placed correctly near active tunnels. If you’re not seeing results after two weeks, move the trap — location is usually the problem, not the trap itself. Spring is the best time to deploy them since that’s when bees are actively searching for nesting sites.
is carpenter bee spray or dust better for killing carpenter bees?
Dust is generally more effective than spray for carpenter bees because it gets worked deeper into the tunnel as bees move in and out. Delta Dust with deltamethrin is a popular choice — you inject it directly into the hole and leave it unplugged for 24 to 48 hours before sealing. Sprays can work on contact but they don’t have the same residual effect inside the nest tunnel.
do carpenter bee traps work on existing holes or only new ones?
Carpenter bee traps work best when mounted near existing holes, not over them — the trap needs to present a new entry point that bees find attractive. For holes that are already active, treat them with dust first, then hang the trap nearby to catch any returning bees. Plugging old holes without treating them first can cause bees to bore new tunnels right next to the old ones.
how many carpenter bee traps do I need for my house?
A good starting point is one trap per corner of the structure, so a typical house needs 4 traps minimum. If you have a large deck, pergola, or outbuilding, add one trap for every 15 to 20 linear feet of exposed wood. Carpenter bees tend to return to the same areas year after year, so focus extra traps on spots where you’ve had damage before.