

Sealing every gap in your RV and setting a few snap traps is not enough — and that’s exactly why so many campers deal with repeat infestations season after season. The real problem isn’t that mice find your rig attractive. It’s that most RV owners treat a mouse problem the same way they’d treat one in a house, and an RV is an entirely different animal. The entry points are different, the harborage spots are different, and critically, the conditions that make your camper irresistible to mice are often created by the way you store it — not the way you live in it.
Why RVs and Campers Get Mice Even When They Look Sealed Up Tight
Mice can compress their skeleton and squeeze through any gap as small as 1/4 inch — roughly the diameter of a pencil eraser. An RV has dozens of those gaps by design. Every utility hookup port, every slide-out seal, every spot where a wire harness passes through the underbelly creates a potential entry point that doesn’t exist in a stick-built home. Manufacturers seal these at the factory, but vibration from road travel works those sealants loose over time, and most owners never think to check them.
There’s also a timing issue that catches people off guard. Mice don’t usually move into your RV while you’re using it. They move in during storage — especially in fall, when outdoor temperatures drop and mice are actively searching for warm, undisturbed spaces packed with soft insulation material and the residual smell of food. A camper that sat unused in a driveway or storage lot from October through April is exactly what a pregnant female mouse is looking for.
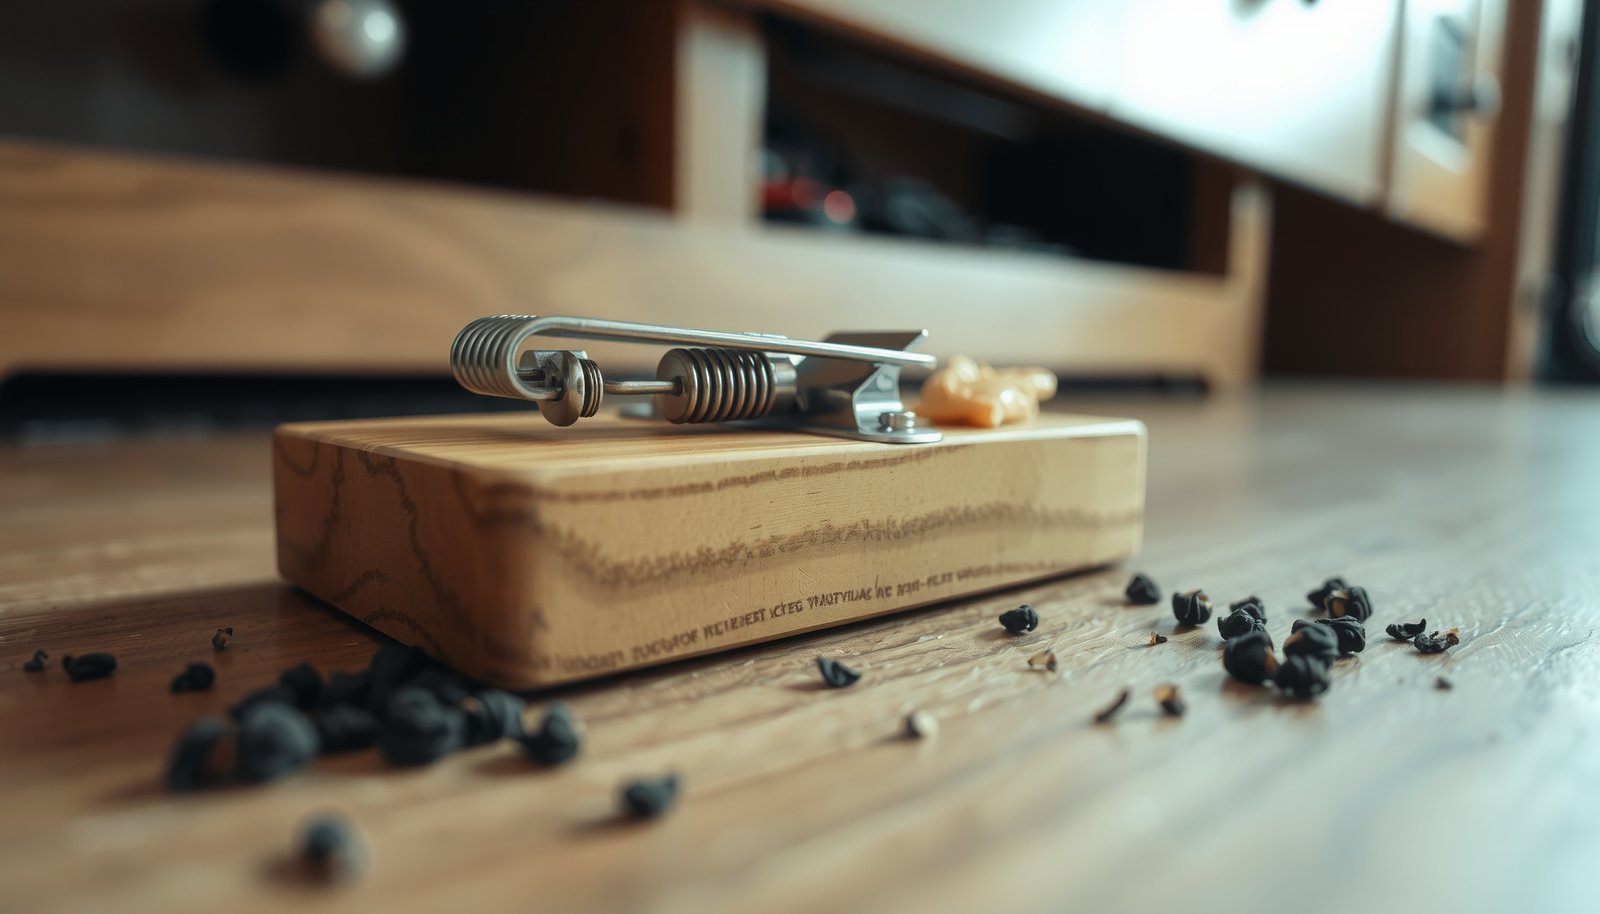
This photo shows the kind of gap-riddled underbelly entry zones that are common on travel trailers — the exact areas most owners never inspect and mice exploit first.
Where Mice Actually Hide Inside a Camper (It’s Not Where You’d Guess)
Picture this: you open your camper in spring, do a quick walkthrough, don’t see anything alarming, and assume you’re fine. Then three weeks into a camping trip you pull a drawer out and find a fist-sized nest of shredded upholstery foam, mouse droppings, and what used to be a granola bar wrapper. Mice in RVs nest in places most people never look — inside the walls of slide-outs, inside the kick panels below cabinets, behind the refrigerator’s exterior access vent, inside the furnace compartment, and deep inside the underbelly insulation batt.
The furnace compartment deserves special attention. It’s warm, rarely disturbed, and often has gaps that connect directly to the interior. Mice nesting near the furnace also chew wiring, which creates fire risk — not just a hygiene problem. A licensed wildlife control operator will typically check the furnace and water heater compartment as a first priority in an RV inspection, precisely because homeowners consistently overlook it.
“RV mouse infestations are almost always storage-related, not travel-related. The mice get in during the months the rig sits still, and by the time owners find evidence, there’s usually been at least one litter born inside. The nesting material they use — foam insulation, batting, paper — is almost always sourced from the RV itself, which means structural damage is happening even when the infestation looks minor.”
Daniel Pratt, NPMA-Certified Wildlife Control Professional and RV Pest Specialist, Pacific Northwest
How to Get Rid of Mice Already Living in Your RV
Before you set a single trap, you need to understand that mice in an RV move differently than mice in a house. They tend to run along the perimeter of the floor, hug the wall behind appliances, and travel through the same pathways repeatedly. That’s actually useful — it means trap placement accuracy matters enormously. A trap set in the middle of a cabinet is a trap that won’t catch anything.
Here’s a step-by-step approach that actually addresses the problem systematically rather than just reacting to it:
- Do a full droppings survey first. Before removing anything, identify every location where you find droppings. High-dropping areas tell you where mice are spending time — that’s where your traps go. Fresh droppings are dark and moist; old droppings are dry and gray.
- Place snap traps flush against walls and cabinet edges with the trigger end touching the wall. Use unscented peanut butter or a hazelnut spread — mice are drawn to high-calorie, high-fat foods. Set traps in pairs at each location, spaced 2-3 inches apart and perpendicular to the wall.
- Check traps every 24 hours. Mice that encounter a trap and aren’t caught quickly learn to avoid it. If a trap sits unsprung for 3-4 days in a location with active droppings, move it — don’t assume there are no mice there.
- Address the furnace compartment and underbelly separately. These spaces require a different approach — snap traps placed inside bait stations or enclosed trap boxes so you can access them without reaching blindly into a confined space. Electric traps (like the Victor M250S) work well in enclosed compartments.
- Deep clean after capture, not before. Cleaning the RV before you’ve caught all the mice disrupts scent trails and nesting patterns you’re still using to locate them. Do your thorough sanitization — with an enzyme cleaner or a diluted bleach solution — after trapping is complete.
- Dispose of nesting material wearing gloves and a mask. Hantavirus is shed in mouse urine and droppings, and disturbing dried nesting material can aerosolize particles. Wet the nesting material with disinfectant spray before removal, bag it, and don’t vacuum dry droppings directly.
One honest nuance here: if you’re dealing with a camper that’s been sitting unused for six months or more and you’re finding droppings in multiple rooms, the infestation is probably larger than a DIY trap-and-clean approach can handle quickly. In that case, getting a professional rodent exclusion inspection done before you start trapping will save you significant time and frustration.
How to Mouse-Proof a Camper Before You Store It (The Approach That Actually Prevents Re-Infestation)
Here’s the counterintuitive part that most RV pest articles completely skip: exclusion done only before you store the rig is far more effective than exclusion done after you find mice. Most owners reverse this — they react after an infestation. Doing the sealing work in the fall, before storage, means you’re fortifying against the exact behavior pattern mice use to get in. Doing it in the spring, after you’ve found evidence, means you may be sealing mice inside.
Physical exclusion materials that hold up in an RV environment differ from what works in a house. Expanding foam alone won’t cut it — mice chew through standard polyurethane foam in under a minute. Use steel wool packed tightly into gaps first, then seal over it with an appropriate caulk or a copper mesh product like Xcluder. For larger gaps around utility ports and slide-out frames, self-adhesive door sweep foam is a temporary fix at best; aluminum-backed tape or sheet metal patches last significantly longer under road vibration.
Pro-Tip: Before storing your RV, remove every food item — including canned goods with paper labels, which mice shred for nesting material even without eating the food inside. Also remove any fabric items like extra blankets, throw pillows, or cloth bags that make ideal nesting material. An empty, food-free, soft-material-free RV is dramatically less attractive to a scouting mouse than one that’s simply “locked up.”
| Exclusion Material | Best Use in RV | Durability Against Chewing |
|---|---|---|
| Expanding foam (standard) | Last resort only / temporary | Poor — mice chew through in minutes |
| Steel wool + caulk | Small utility gaps, wire pass-throughs | Good — steel wool irritates mouth and paws |
| Copper mesh (Xcluder) | Larger holes, underbelly gaps | Excellent — won’t rust, can’t be chewed |
| Sheet metal patches | Slide-out frames, access panel edges | Excellent — permanent when screwed in |
What Repellents Actually Work in a Camper — and Which Ones Are a Waste of Money
Peppermint oil-soaked cotton balls are the single most recommended “natural” mouse deterrent on the internet, and the honest truth is the evidence behind them is thin. Lab studies have shown that high concentrations of peppermint oil do irritate mice — but “irritate” doesn’t mean “repel permanently.” In an enclosed space like a camper where food scents are strong, a peppermint cotton ball is competing against months of residual food odor baked into the upholstery. It’s not winning. The same goes for ultrasonic devices — if you’re curious about the actual science on those, it’s worth knowing they’ve consistently underperformed in controlled studies conducted in real-world environments rather than laboratory settings.
What does have better real-world support is the combination of fresh cab botanical pouches (which contain balsam fir oil at much higher concentrations than homemade peppermint remedies) and physical deterrents like dryer sheets placed in enclosed compartments. Neither is a substitute for exclusion — they’re best used as a secondary layer inside a camper that’s already been properly sealed. Some RV owners also place pre-baited snap traps during storage as a “catch them if they get through” backstop, which is a smart belt-and-suspenders approach. Just as managing pests in an outdoor setting requires understanding what actually deters versus what just smells strong — similar to how getting rid of ants in the garden without killing plants requires knowing which deterrents have real mechanical effect versus which are myths — the same critical thinking applies to mouse repellents in an RV.
Rodenticide bait stations inside a stored RV present a specific problem worth knowing: mice that consume bait often die in inaccessible spaces inside the walls or underbelly insulation, creating an odor problem that can persist for weeks and is nearly impossible to resolve without partially disassembling the RV’s interior. For that reason, most professional rodent specialists recommend against poison bait as a primary strategy inside a camper — snap traps and electric traps that retain the mouse in an enclosed kill chamber are a much more practical option in this specific environment. This is a very different calculus than what applies to, say, tick control products where residual chemical action is the whole point — just as choosing between granules and concentrates matters for best tick yard sprays, the format of your rodent control product matters enormously in a confined RV space.
Repellents work best as one layer in a multi-pronged strategy, not as a standalone solution. A camper that has been thoroughly sealed, cleared of food and soft materials, and equipped with active traps as a backstop is going to fare far better over a storage season than one that’s just been sprayed with peppermint and locked up. The mice don’t care how nice it smells inside — they care whether they can physically get in, and whether there’s something worth staying for when they do.
Here’s a summary of repellent options and their realistic role in an RV mouse prevention plan:
- Fresh Cab botanical pouches: Most evidence-backed natural option; replace every 30-90 days during storage; useful in enclosed compartments and under sinks
- Dryer sheets (unscented or scented): Minimal deterrent effect on their own, but useful as a nesting material deterrent — mice dislike the texture and some of the chemical compounds
- Ultrasonic repellers: No consistent evidence of effectiveness in real-world conditions; not recommended as a primary strategy
- Peppermint oil cotton balls: Very short duration effect (days, not weeks); concentration dissipates quickly; insufficient in food-scented environments
- Rodenticide bait stations: Effective at killing mice but creates disposal and odor problems inside enclosed RV spaces; best avoided in favor of contained mechanical traps
The one thing every RV owner should do before putting a camper into storage is treat the entire process like a pre-flight checklist — not a one-time cleaning. Mice are persistent, and a rig that was clean and sealed last fall isn’t automatically protected this fall. Re-inspect every seal, replace every botanical pouch, reset every backstop trap. The campers that never get mice aren’t lucky — they’re just owned by people who treat fall prep as a system, not a task.
Frequently Asked Questions
how do mice get into a camper or RV?
Mice can squeeze through gaps as small as 1/4 inch, so they typically enter through holes around pipes, vents, slide-out seams, and utility access points. Wheel wells and the undercarriage are also common entry spots that most RV owners overlook. Do a full inspection with a flashlight and seal any opening you find with steel wool, caulk, or expanding foam.
what is the best bait to use in mouse traps for an RV?
Peanut butter is consistently the most effective bait for mouse traps in a camper — use just a pea-sized amount so mice have to work for it and trigger the trap. Nesting materials like cotton or bits of string can also work well, especially during colder months when mice are building nests. Check and reset traps every 24 to 48 hours for best results.
how to keep mice out of a camper in storage?
When your RV is in storage, seal every gap on the exterior, place multiple snap traps inside along the walls, and use peppermint oil-soaked cotton balls near cabinets and entry points. Dryer sheets tucked into drawers and storage bays are a popular DIY deterrent, though they work best as a supplement rather than a standalone solution. Remove all food — including sealed dry goods — before storing, since even packaging smells can attract mice.
can mice damage wiring in an RV?
Yes, and it’s one of the most serious risks of a mouse infestation in a camper. Mice gnaw on wire insulation to grind down their teeth, which can cause electrical shorts, dead circuits, or even fires. If you’ve had mice in your RV, it’s worth inspecting the wiring under the chassis and inside the walls before your next trip — look for frayed wires, chew marks, or droppings near electrical components.
does peppermint oil really work to repel mice in a camper?
Peppermint oil can help deter mice but it’s not reliable on its own — it works best as part of a layered approach that also includes traps and sealing entry points. The scent fades quickly, so you’d need to reapply it every few days to keep it effective. Don’t skip the physical barriers and traps just because you’ve put out peppermint oil; mice will push through the smell if they’re motivated enough.
Disclaimer: This article is for informational purposes only and isn’t a substitute for professional pest control advice. Always read and follow the product label instructions exactly — label directions are legally binding and vary by brand and active ingredient. Keep all pesticides, baits and traps away from children and pets, ventilate treated areas as directed, and consider calling a licensed pest control professional if an infestation is large, recurring, or involves a structural pest like termites or carpenter ants.