
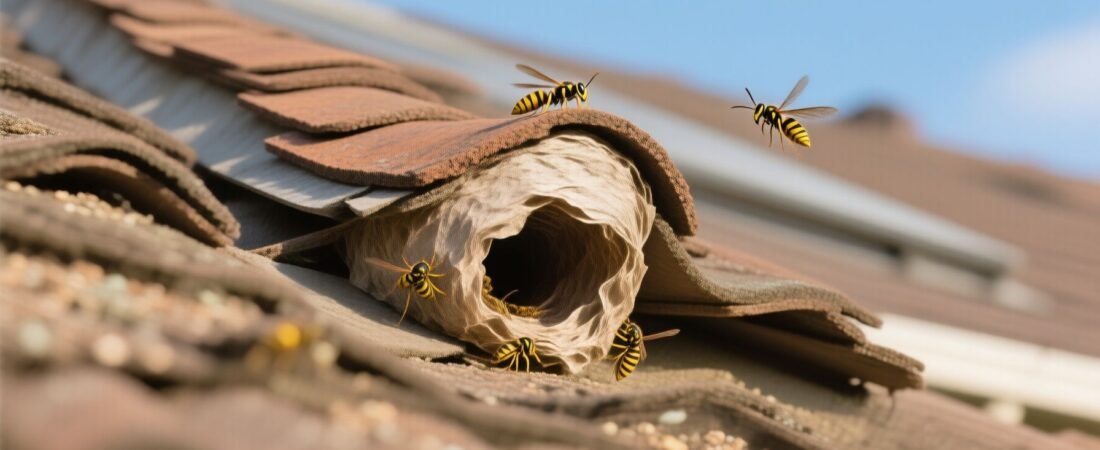
Spraying a wasp nest you can see is the easy part — the problem is that wasps nesting under roof shingles are almost never visible from the ground, and the standard advice to “just spray the nest” doesn’t apply when the colony is tucked 6 inches back into a gap you can’t reach without getting on a ladder at the exact wrong time of day. The real issue most homeowners miss isn’t how to kill the wasps — it’s that they treat the visible entry point as the nest, spray it, and then wonder why the colony is still active three days later. The entry hole and the actual nest are almost always in different places.
Why Wasps Choose Roof Shingles in the First Place
Wasps — particularly yellow jackets and paper wasps — are drawn to the narrow air gap between lifted or warped shingles and the roof deck beneath them because it mimics a natural cavity almost perfectly. That gap is dark, sheltered from wind and rain, and maintains a relatively stable temperature, which is exactly what a founding queen is searching for in early spring when she’s scouting solo for a nest site. A gap as small as 3/8 of an inch is wide enough for a queen to enter and begin building, and once she does, the colony can grow to between 1,500 and 15,000 workers by midsummer depending on the species.
Older roofs are especially prone to this because asphalt shingles curl at the edges after years of thermal expansion and contraction, creating gaps that simply didn’t exist when the roof was new. South- and west-facing roof sections are hit hardest because the repeated heating and cooling cycles are most extreme on those exposures. If you’ve noticed wasp activity increasing every summer near the same corner of your roofline, the shingles on that section are almost certainly lifting — and that’s not a pest problem, it’s a roof maintenance problem that’s attracting one.
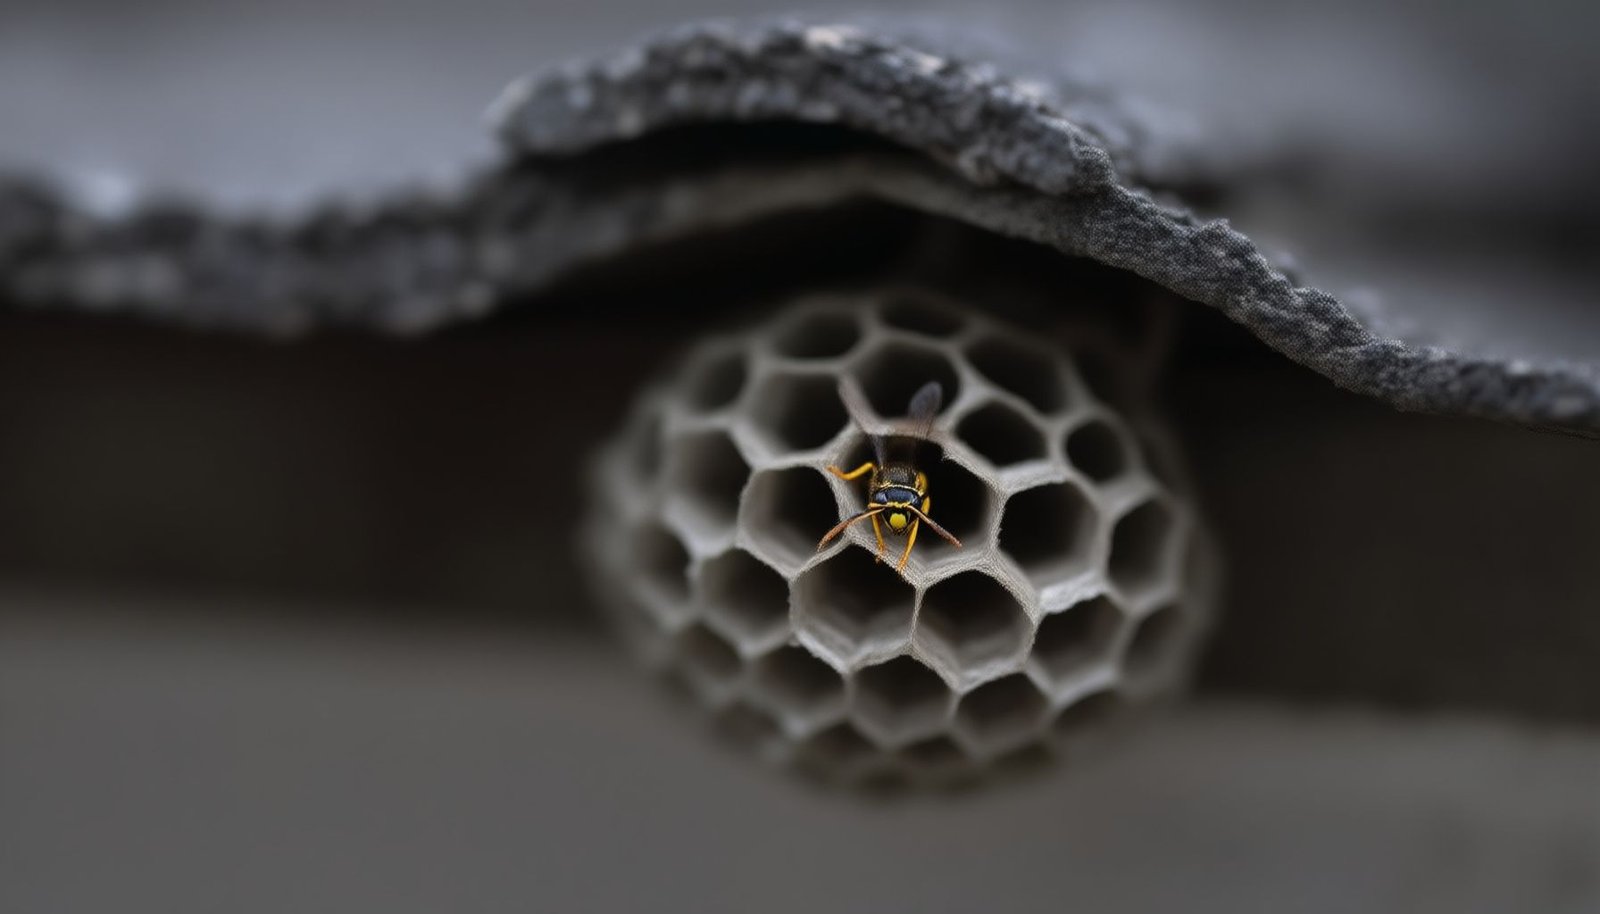
This close-up shows the typical gap between a curled asphalt shingle and the roof deck — a space that looks insignificant from ground level but is more than large enough to house an active wasp colony with thousands of workers by peak summer.
How to Confirm a Wasp Nest Is Actually Under the Shingles (Not Just Nearby)
Before you do anything, you need to confirm where the nest actually is — because wasps foraging near your roofline doesn’t automatically mean they’re nesting there. Wasps from a ground nest or a soffit nest nearby will routinely fly up and over a roofline while hunting for food, and if you spray the wrong location you’ll just anger a large colony without doing any real damage to it. The tell is directional: watch for wasps flying in a consistent, purposeful path toward a specific point on the roof surface and disappearing underneath — not just passing through the area.
The best time to observe this is in the early morning between 7 and 10 a.m., when foragers are leaving the nest in waves, or at dusk when they’re returning. You’ll often see 3 to 8 wasps per minute funneling into a single gap if the colony is well-established. A strong colony will also produce a faint buzzing sound that you can sometimes hear by pressing your ear to the fascia board below the entry point — though don’t do this unless you’re confident in what you’re dealing with and can move away quickly.
The Right Way to Treat Wasps Under Shingles Without Making It Worse
Here’s where almost every DIY article gets it wrong: they tell you to spray insecticide into the entry gap at night, which is partially correct — but they don’t tell you that spraying the entry point seals off the wasps’ preferred exit and forces them to find a secondary escape route, which is sometimes into your attic space or through gaps into living areas. Picture a family who sprays the entry gap on a Saturday night and wakes up Sunday morning to wasps crawling out from behind a ceiling light fixture in the bedroom directly below the roofline. That’s not a hypothetical — it’s a predictable outcome when you block an exit without eliminating the colony first.
The correct sequence is to treat first and seal second, and the treatment needs to reach the nest itself, not just the entry tunnel. Aerosol wasp sprays with a 20-foot jet stream can reach into the gap from a safe distance, but they rarely penetrate far enough to contact the nest comb directly. Insecticide dust — particularly deltamethrin or carbaryl dust — is far more effective for this situation because workers carry dust particles back into the nest on their bodies, transferring the active ingredient throughout the colony in a way that liquid spray never can.
Pro-Tip: Apply insecticide dust into the shingle gap using a hand duster with a curved extension tip at dusk when wasp activity is lowest and nearly all workers are inside the nest. A single application of deltamethrin dust will typically cause visible collapse of forager activity within 24 to 48 hours as returning workers carry the dust to the nest comb and queen.
Step-by-Step Treatment Plan for Shingle Nest Removal
Timing and sequence matter more than the product you use. Follow these steps in order — skipping any one of them is usually why homeowners end up calling a professional after a failed first attempt. Just as getting rid of ants nesting inside a wall void requires you to treat the colony rather than just the workers you can see, eliminating wasps under shingles means targeting the nest structure itself, not the entry hole.
- Observe and mark the entry point during daylight. Use binoculars from the ground if needed. Mark the location with a piece of painter’s tape at the gutter level directly below the entry gap so you can locate it in low light.
- Wait until dusk or early dawn to treat. Wasp activity drops sharply below 50°F or after dark, and workers are inside the nest. Treating at this time means you’ll contact the maximum number of wasps with the least risk of defensive stinging.
- Apply insecticide dust directly into the gap. Use a hand duster with an extension tube to direct deltamethrin or carbaryl dust into the entry point. Apply 2 to 3 puffs — more product doesn’t mean faster results, and overfilling can blow dust back out of the gap.
- Do not seal the entry gap for at least 72 hours. Foragers returning over the next few days need to be able to re-enter the nest and contact the treated area. Sealing early traps surviving wasps and pushes them toward interior gaps.
- Re-treat if activity persists after 5 days. Large colonies — especially yellow jacket colonies over 5,000 workers — may require a second application. Activity should be measurably reduced by day 3; if it isn’t, the nest is deeper than the treatment reached.
- Seal and repair the gap after confirmed colony collapse. Once you’ve seen no wasp activity for 7 consecutive days, seal the shingle gap with paintable exterior caulk and address the underlying shingle curl with a roofing adhesive or professional repair to prevent re-infestation.
One thing worth acknowledging honestly: if your roof is two stories or higher, this entire process becomes significantly more dangerous regardless of your confidence level. Working on a ladder at night, in proximity to a disturbed wasp colony, is a situation where the math genuinely doesn’t favor DIY — not because the treatment is complicated, but because a fall from 20 feet while being stung is an emergency room event.
Which Wasp Species Is It — and Does It Change What You Do?
Species identification matters more for shingle nests than most people realize, because yellow jackets and paper wasps behave very differently when disturbed, and that affects both your treatment approach and your risk level. Yellow jackets are the species most commonly found nesting under shingles — they build enclosed paper nests, they recruit hundreds of defenders within seconds of a perceived threat, and they will sting repeatedly without provocation once the colony is agitated. Paper wasps build open-comb nests that look like upside-down umbrellas and are considerably less aggressive, though they’ll still sting if the nest is directly threatened.
Bald-faced hornets, which are technically a type of yellow jacket despite the name, occasionally use shingle gaps to access a void where they build their large gray paper football-shaped nests — these colonies can hold up to 700 workers and are among the most defensively aggressive stinging insects in North America. Knowing which species you’re dealing with helps you gauge how much protective gear to wear, how quickly to move after applying treatment, and whether a second application is likely. The table below breaks down the key differences for the three most common culprits:
| Species | Colony Size at Peak | Aggression Level | Nest Type Under Shingles |
|---|---|---|---|
| Yellow Jacket | 1,500–15,000 workers | Very High — recruits rapidly | Enclosed paper comb in void |
| Paper Wasp | 20–75 workers | Moderate — defensive only | Open umbrella comb at gap edge |
| Bald-Faced Hornet | 400–700 workers | Extremely High — unprovoked | Large enclosed paper football in adjacent void |
If you’re seeing a paper wasp nest at the edge of a shingle — small, open-comb, with fewer than a dozen wasps visible at one time — the risk profile is entirely different from a hidden yellow jacket colony with thousands of workers. Paper wasp nests at accessible heights can often be knocked down with a long stick at night and the area treated with a quick spray, with far less drama involved. Don’t let one article’s advice about yellow jackets make you overcomplicate a paper wasp situation, and equally, don’t let a paper wasp article make you cavalier about what might actually be a yellow jacket colony you can’t fully see.
“The single biggest mistake I see homeowners make with shingle-nesting yellow jackets is blocking the entry hole after the first spray treatment. The colony doesn’t die instantly — it takes 48 to 96 hours for a dust treatment to reach full effect through the nest, and if you seal the gap prematurely, surviving workers start probing interior wall voids and ceiling cavities looking for an exit. I’ve seen this turn a roofline problem into an interior wasp problem in under 24 hours.”
Dr. Ellen Marsh, Board-Certified Entomologist and Structural Pest Control Consultant, University Extension Service
How to Keep Wasps From Nesting Under Your Shingles Again Next Year
Prevention here is genuinely more durable than repeated annual treatments, because the same gap that produced a colony this summer will attract a new queen next spring if you don’t close it. Queens scout for nest sites as early as late March in warmer climates and April through May in the northern US, so your window to seal gaps and make repairs is the late winter and early fall — not midsummer when you’re actively dealing with the problem. Sealing a gap while a colony is still alive and active is dangerous and counterproductive, but once the colony collapses in late fall (yellow jacket colonies die off naturally with the first hard frost), you have several months to make repairs before the next queen season begins.
Beyond sealing shingle gaps, a few other structural habits significantly reduce your roof’s appeal as a nesting site. This same logic of addressing structural vulnerabilities as a pest-prevention strategy applies broadly — similar to how getting rid of roaches in a dishwasher ultimately comes down to eliminating the conditions that make the appliance hospitable, not just the roaches themselves. For wasps, that means:
- Replace curled or cracked shingles promptly. A shingle that’s lifted even 1/4 inch at the edge is an invitation. Roofing adhesive can temporarily flatten minor curls, but replacement is the only reliable long-term fix.
- Install or repair drip edge flashing. Properly installed drip edge closes the gap between the shingle edge and the fascia board — one of the most common wasp entry points that homeowners overlook entirely.
- Seal gaps in fascia and soffit boards. Even if your shingles are tight, gaps in the fascia behind them give wasps access to the same void from a different angle. Use paintable exterior caulk rated for outdoor use.
- Apply a residual insecticide spray to the roofline in early spring. A pyrethroid-based spray (permethrin or bifenthrin) applied to the fascia, soffit, and lower shingle edge in late March creates a treated barrier that discourages queens from investigating the area during their scouting period — before any nest gets started.
- Trim back overhanging branches. Branches touching or overhanging the roofline give wasps an easy landing platform and a direct path to inspect gaps. Keeping branches at least 6 feet from the roofline eliminates this bridge.
One counterintuitive thing worth knowing: fake wasp nests — the decoy paper lanterns sold at garden centers — actually do work reasonably well for paper wasps, which are territorial and will avoid establishing a nest within 10 to 20 feet of what they perceive as an existing colony. They don’t work at all for yellow jackets, which are not territorial in the same way and will happily nest inches from an existing colony if conditions are right. If you’ve identified paper wasps as your recurring problem, a decoy nest hung near the roofline in early spring is a genuinely useful tool. Just don’t expect it to do anything for the more aggressive species.
If you’ve addressed the treatment correctly this season and sealed the gaps before spring, you’ve done more than most homeowners ever do — and you’ve broken the cycle that causes the same corner of the roofline to produce a new colony year after year. The wasps aren’t coming back to the same spot by coincidence; they’re following structural signals that say “this is a good nest site,” and the only way to change that signal is to change the structure.
Frequently Asked Questions
how do I know if I have wasps under my roof shingles?
Look for wasps flying in and out of a specific spot along your roofline, especially on warm afternoons. You might also hear a faint buzzing or papery crackling sound from inside the attic. If you’re seeing more than 10-15 wasps per day hovering near the same area under your eaves or shingles, there’s almost certainly a nest up there.
what kind of wasps nest under roof shingles?
Paper wasps and yellow jackets are the two most common species that build nests under roof shingles in the US. Paper wasps build open, honeycomb-style nests and prefer sheltered overhangs, while yellow jackets are more aggressive and often nest inside wall voids or attic spaces they access through gaps in the roofline. Mud daubers will occasionally nest there too, but they’re far less aggressive and usually a minor problem.
can I spray wasp killer under roof shingles myself?
Yes, but it comes with real risks — you’re working at height near an active nest, and disturbed wasps will sting. If the nest is accessible and smaller than a softball, a pyrethroid-based aerosol spray like Spectracide or Raid Wasp & Hornet Killer applied at dusk gives you the best shot with minimal activity. For larger nests or anything deep inside the roofline, it’s safer to call a licensed pest control company.
will wasps under roof shingles cause damage to my roof?
Wasps themselves don’t eat wood or shingles, so they won’t cause structural damage the way carpenter ants or termites do. That said, large nests can trap moisture against the wood sheathing underneath shingles, which can lead to rot over time if left for multiple seasons. It’s more of a secondary risk than a direct one, but it’s still worth removing the nest sooner rather than later.
how do I keep wasps from coming back under my roof shingles?
After removing the nest, seal any gaps, cracks, or lifted shingles along the roofline with roofing caulk or mesh — wasps return to familiar nesting sites every year. Hanging a decoy wasp nest near the area can also deter scouts from setting up again, since wasps are territorial and avoid nesting near other colonies. Inspect your roofline each spring before temperatures hit 70°F consistently, which is when queens start scouting for nest sites.
Disclaimer: This article is for informational purposes only and isn’t a substitute for professional pest control advice. Always read and follow the product label instructions exactly — label directions are legally binding and vary by brand and active ingredient. Keep all pesticides, baits and traps away from children and pets, ventilate treated areas as directed, and consider calling a licensed pest control professional if an infestation is large, recurring, or involves a structural pest like termites or carpenter ants.